
photoshopcs6怎样抠图的
发布时间:2017-03-08 14:22
相关话题
其实学PS最基本的就是抠图合成图片。那么大家知道photoshopcs6怎样抠图的吗?下面是小编整理的photoshopcs6怎样抠图的方法,希望能给大家解答。
photoshopcs6抠图的方法
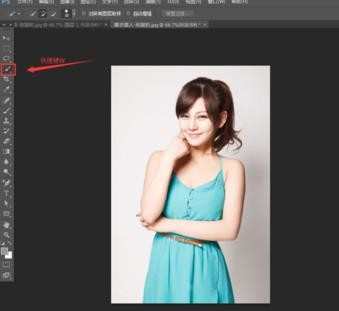
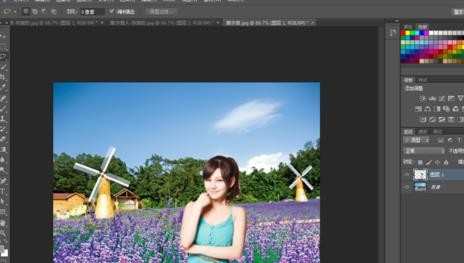
打开图片,点击快捷键W快速选择工具
大概抠图,点击调整边缘.快捷键Alt+Ctrl+R
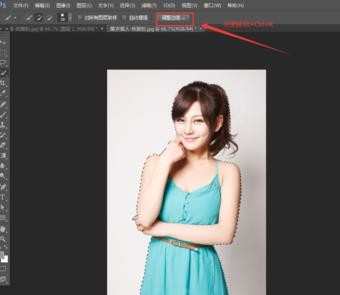
点击显示半径。边缘检测条调到能看到所有细节、头发等。主要就调这个,其他羽化、移动边缘什么的看情况,这都得看经验的。

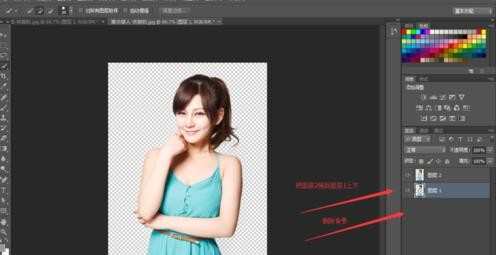
点击确定后,复制粘贴,得到图层1。因为图层一有些地方是透明的,为了不让它透明,再抠图一次,粗略的抠图就行了

抠图后,复制粘贴得到图层2。把图层2拖到图层1的上面,删除背景图。合并两个图层。
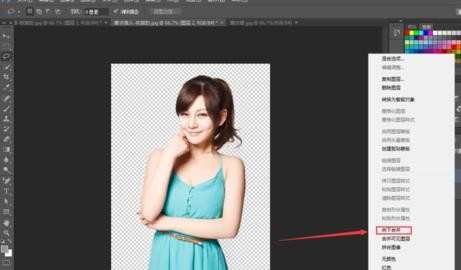
打开另一张图片作为背景图。然后返回刚刚抠图的窗口。按快捷键Ctrl+A全选。再回到作为背景图的窗口,复制粘贴。完成。
photoshopcs6怎样抠图的的评论条评论