
photoshop如何对图片羽化
发布时间:2017-05-04 16:44
相关话题
大家在photoshop中处理图片时难免不会用到羽化,羽化这个功能其实说简单也简单,下面是小编带来关于photoshop如何对图片羽化的内容,希望可以让大家有所收获!
photoshop对图片羽化的方法
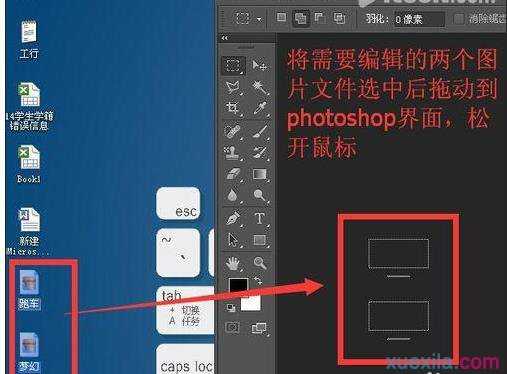
1、将需要编辑的两个图片文件选中后拖动到photoshop界面,松开鼠标
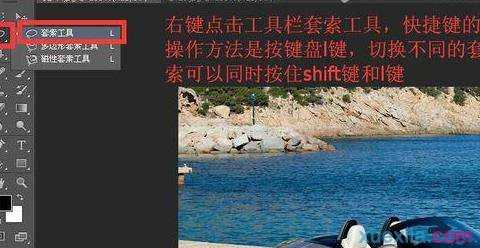
2、右键点击工具栏套索工具,快捷键的操作方法是按键盘l键,切换不同的套索可以同时按住shift键和l键
3、按住鼠标沿着汽车的四周拖动鼠标

4、用套索画出选区之后点菜单栏选择 修改 羽化命令,快捷键的操作方法shift+f6
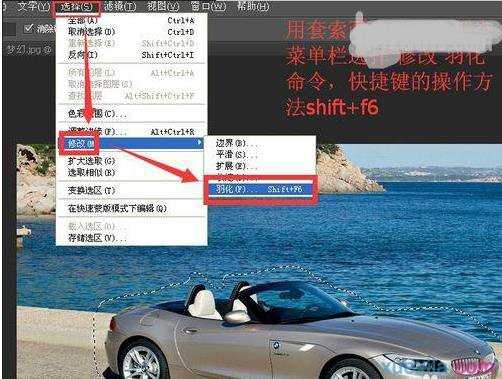
5、羽化值设置成15像素后点击确定

6、设置羽化值确定之后,点击移动工具,快捷操作是按v键,然后左键拖动选区向第二个文件标签移动
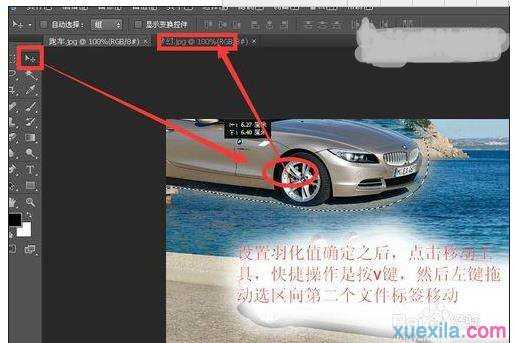
7、这是将选区拖动到第二幅图中的显示效果

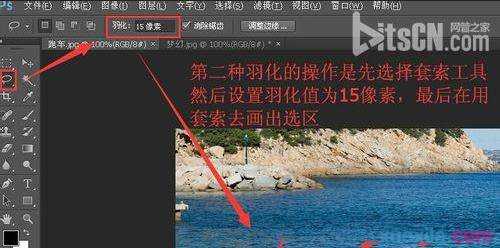
8、第二种羽化的操作是先选择套索工具然后设置羽化值为15像素,最后在用套索去画出选区
9、再按第六步的操作将选区复制到第二个文件

10、这是通过先设置羽化值,然后在画出选区,复制选区到第二幅图的的显示效果

photoshop如何对图片羽化的评论条评论