
photoshop绘制空心字教程
发布时间:2016-12-11 15:00
相关话题
如何在PS中制作出空心字?下面是小编为大家整理的photoshop绘制空心字教程,仅供大家参考~
photoshop绘制空心字教程如下:
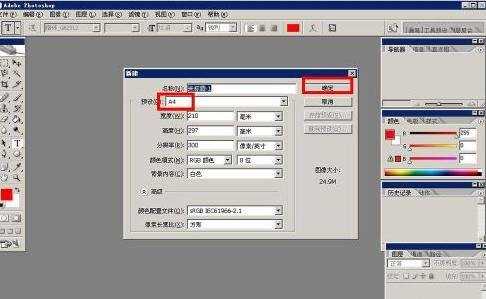
首先我们打开photoshop,然后新建一个A4的空白画布,如下图所示;
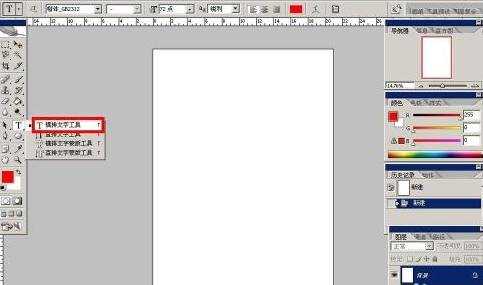
然后我们直接点击左侧的工具栏,点击输入文字工具,在画布上输入文字;
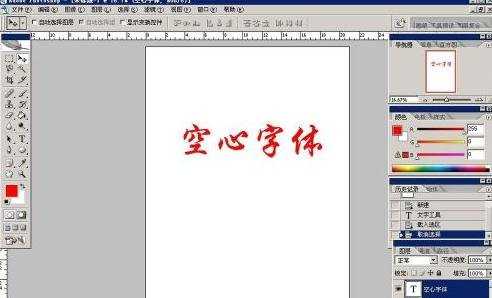
如下图所示我们输入空心字体四个字,然后我们将字体移动到合适位置;
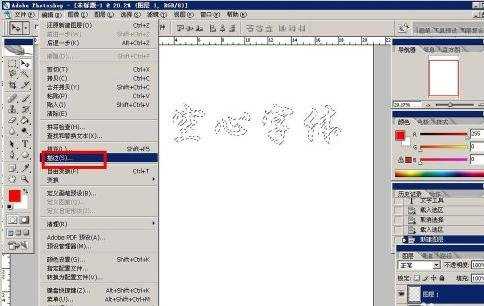
下面我们按住ctrl键点击该文字图层的图标,即可将文字边缘选中,然后我们新建一个图层,并且将文字图层隐藏,即可得到下图所示效果;
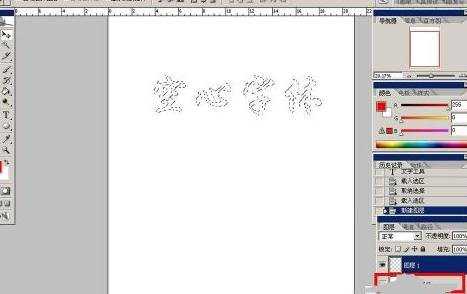
下面我们选择边距——描边,打开描边对话框,对选区进行描边;
描边之后的效果如下图所示,我们可以根据需要调整描边的像素;
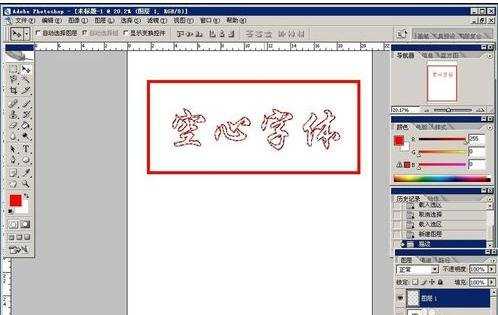
一切就绪之后,我们按ctrl加D键来取消选区,即可得到下图样子的空心字了;

photoshop绘制空心字教程的评论条评论