
photoshop制作图标的案例教程
发布时间:2017-05-16 17:45
相关话题
hotoshop其实除了图像处理很厉害之外,我们一般还可以制作很多精美的图标。接下来就是小编精心整理的一些关于photoshop制作图标的案例教程的相关资料,供你参考。
photoshop制作图标的案例教程
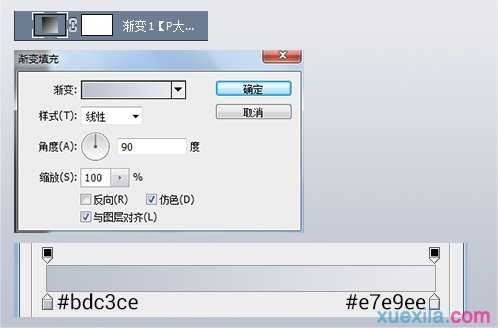
新建文档,我用的大小是1500*1000像素,透明背景。 创建一个“渐变”调整层,设置一个#bdc3ce到#e7e9ee的90度的线性渐变。
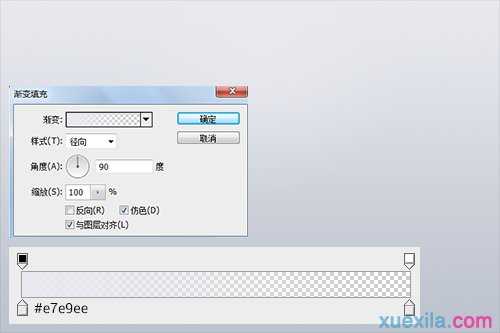
再创建一个“渐变”调整层,模拟背景上的顶部中央位置的高光效果。 设置为#e7e9ee到透明的90度的径向渐变。
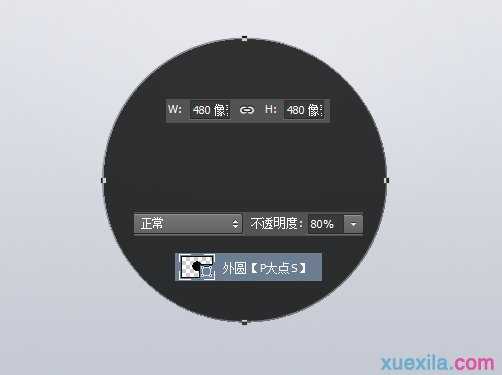
画一个480*480像素的圆,将圆的不透明度更改为80%。
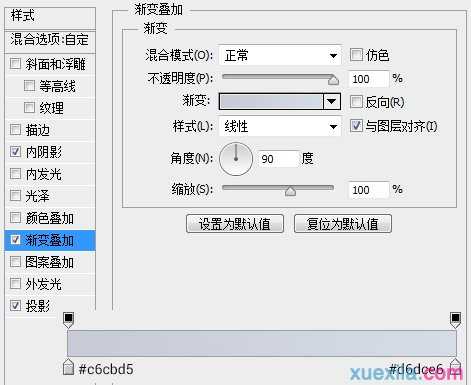
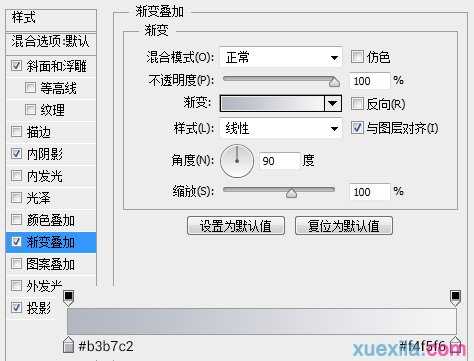
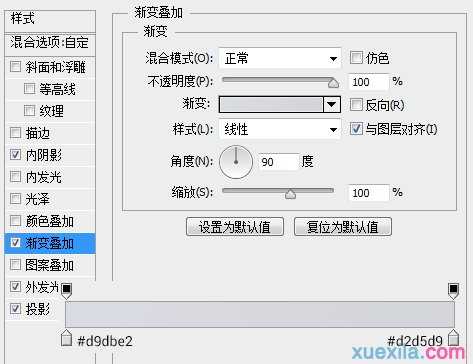
为这个圆添加一个渐变叠加。
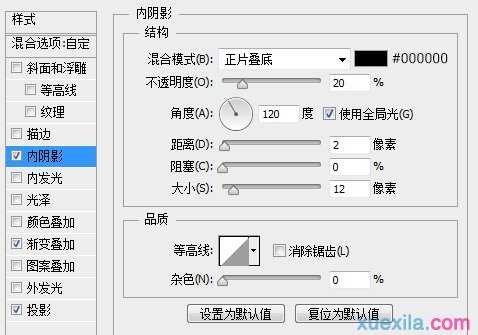
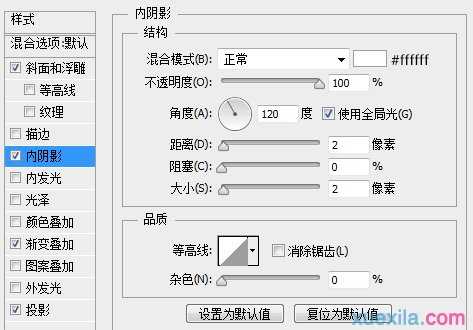
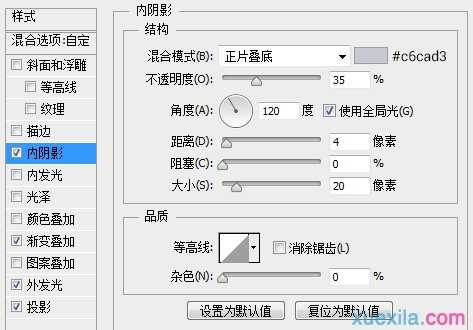
添加一个内阴影
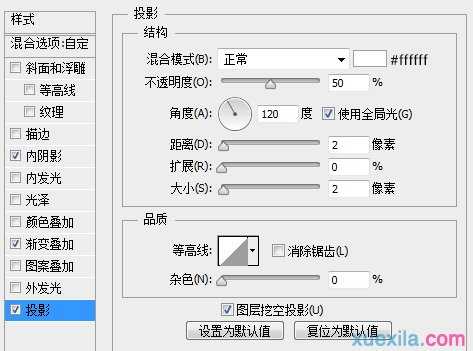
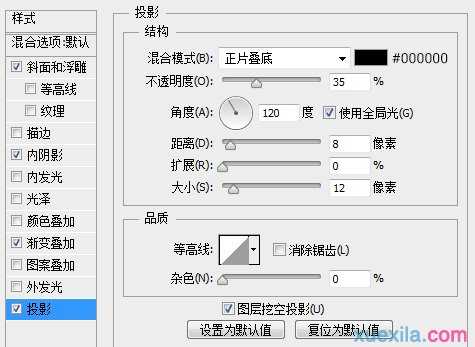
设置一个白色的投影
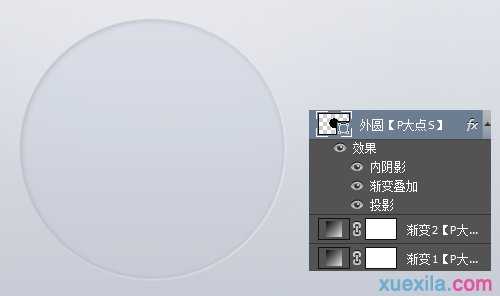
现在,我们完成了外圆的设置,得到了如下效果。
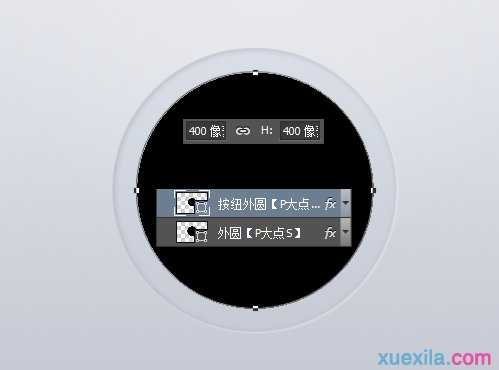
下面,我们用椭圆工具画出按纽外圆,我用的大小是400*400像素。
为其添加一个斜面浮雕

添加一个白色的内阴影
添加一个渐变叠加
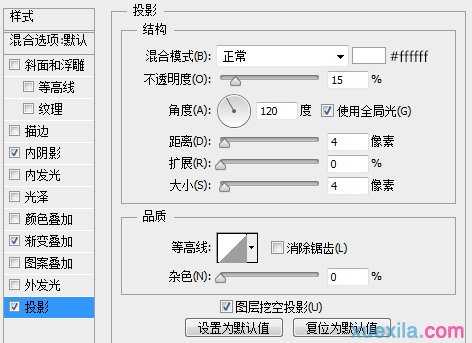
添加一个投影
OK,完成了图层样式的设置,我们目前得到如下效果。

复制一层按纽外圆图层,将其命名为投影,放置在按纽外圆图层下层,右键清除图层样式,将填充更改为0,添加一个投影图层样式。

下面,我们画按纽内部的那个圆,用椭圆工具画一个240*240像素的圆,将图层不透明度设置为80%。
为这个圆添加一个渐变叠加。
添加一个内阴影。
添加一个白色的投影。

现在我们得到如下效果

接下来,我们来画最外层那里那个颜色的环状。
我们复制一下最底层的那个外圆图层,放置在外圆顶层,其余图层下层,我们把颜色改成绿色,
photoshop制作图标的案例教程的评论条评论