
PS怎么处理带人像的图片
发布时间:2017-05-15 11:51
其实带人像的图片和照片处理方法差不多,今天我们拿一个动漫的人物图片来举例。下面是小编带来关于PS怎么处理带人像的图片的内容,希望可以让大家有所收获!
PS处理带人像的图片的方法
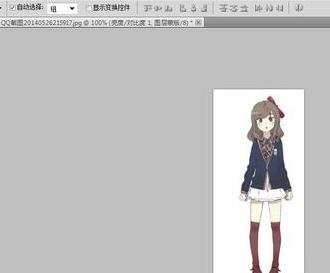
首先打开要处理的相片。
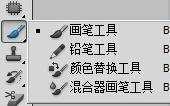
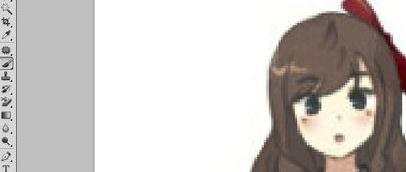
然后点击画笔工具。按Z键+鼠标放大照片。再按Alt键吸取脸上比较好皮肤作为样板。然后在有痘痘等地方进行涂抹。把皮肤涂抹得好看写就可以了。
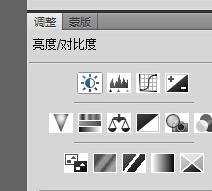
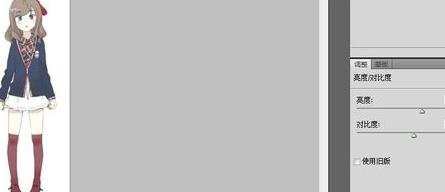
现在看到右边的调整工具栏。点击亮度/对比度。把亮度调高些,显得皮肤白。
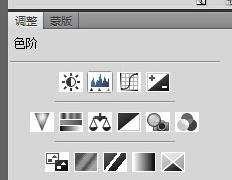
然后是色阶。把指针拉往山峰形状两边。这要照片不会显得灰蒙蒙的样子。

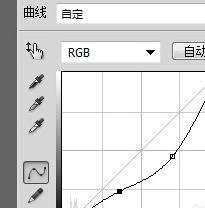
然后调整曲线。随意拖动指针。得到自己想要的效果。
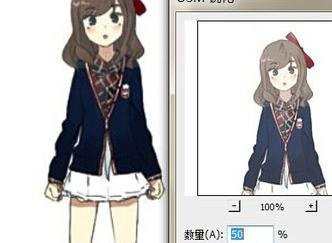
现在点击滤镜栏的锐化、USM锐化。点击确定。
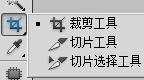
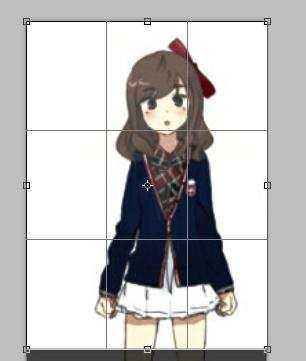
最后是裁剪相片。根据自己想要的构图方案进行裁剪。
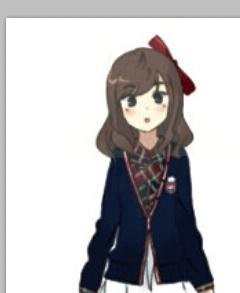
一张人像照片就处理完成了。
PS怎么处理带人像的图片的评论条评论