
Photoshop制作光照渲染效果的广告文字
发布时间:2016-12-26 12:52
相关话题
本教程文字效果制作非常简单,实际的操作可能就只有2步,其它的是背景部分的制作。虽然简单,不过文字部分的排版非常重要。这样才能有一定的视觉效果。下面是小编为大家整理的Photoshop制作光照渲染效果的广告文字,仅供大家参考~
Photoshop制作光照渲染效果的广告文字如下:
最终效果

一、在Adobe Photoshop中创建一个新文件(Ctrl + N)大小为1920px * 1200px,72像素的分辨率。然后选择油漆桶工具(G),用#353430色填充这个新的背景层。

二、然后创建一个新层,使用油漆桶工具(G)#959595色填充这层。

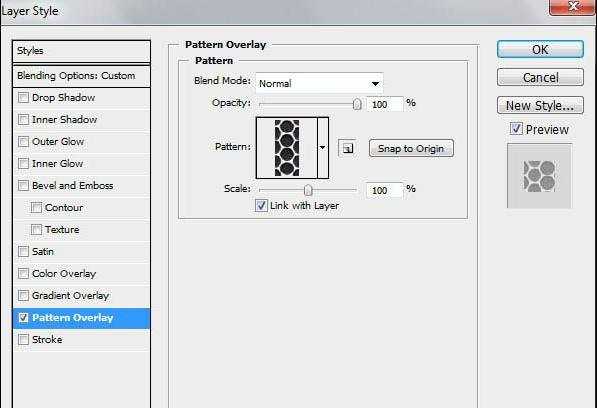
三、打开下图所的图案素材,选择菜单:编辑 > 定义图案。回到原来操作的文件,设置这一层的不透明度为41%,点击图层面板底部的添加图层样式图标,然后选择图案叠加。选择我们之前下载的图案。

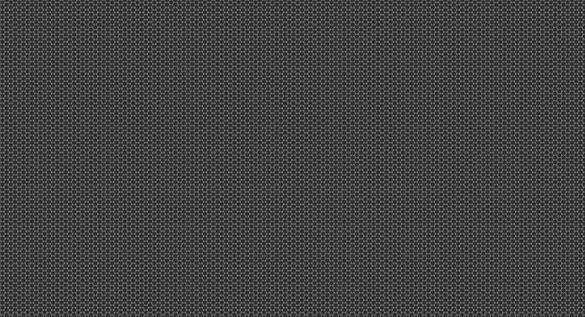
四、我们就得到了下图所示的背景。
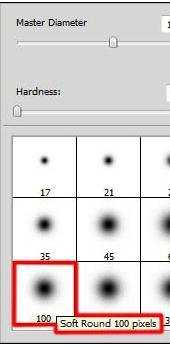
五、在同一图层上点击图标面板底部的添加蒙版图标,然后使用画笔工具(B)选择一个软的圆形黑色笔刷(在选项栏里设置不透明度为15%)
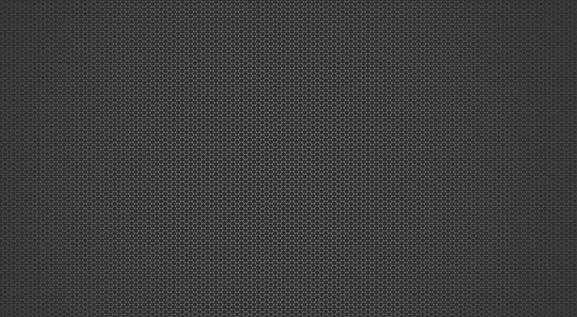
六、使用软的圆形笔刷在图片的边缘涂抹:
七、复制最后取得的图层,设置填充为0%,并单击添加图层样式按钮,选择渐变叠加,参数及效果如下图。

八、点击水平文字工具(T)。在文字面板上选择字体,大小和颜色。
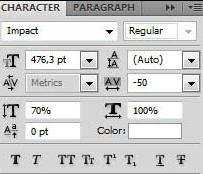
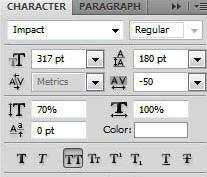
九、在图像中点击,输入HAPPY NEW YEAR 2010 文本。

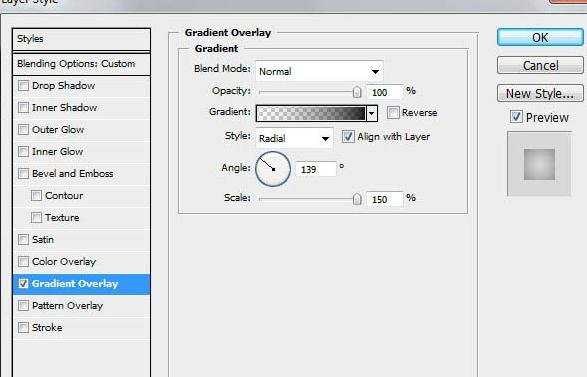
十、点击添加图层样式图标,并选择投影:
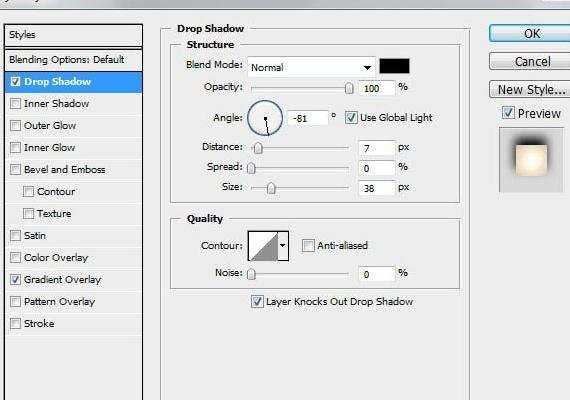
再选择渐变叠加:
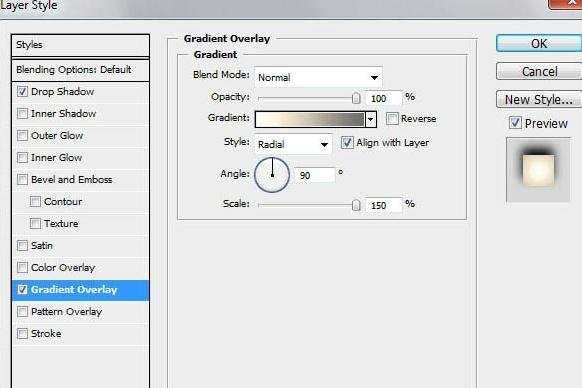
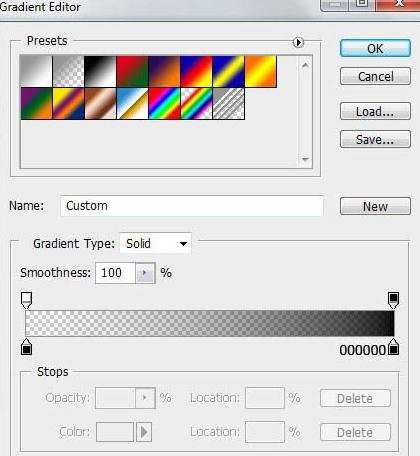
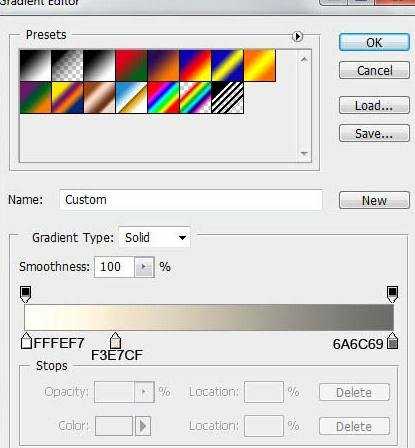
点击颜色栏打开渐变编辑器,并如下图所示设置颜色。单击OK关闭渐变编辑器对话框。
我们就得到了下图所示的文本:

十一、使用自由变换(按Ctrl + T)倾斜文本,如下图完成最终效果。

Photoshop制作光照渲染效果的广告文字的评论条评论