
excel设置公式方法
发布时间:2016-12-27 17:45
相关话题
办公中经常会用到excel中的公式功能,公式功能可以帮助用户进行计算数据,如果不懂得如何使用的朋友不妨一起来探究学习一番吧,下面是由小编分享的excel设置公式方法,以供大家阅读和学习。
excel设置公式方法(一)
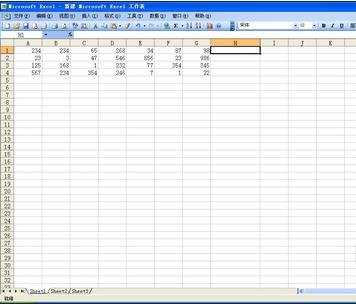
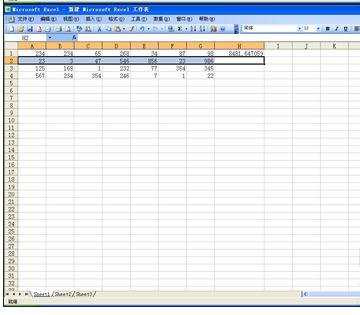
步骤1:选定需要输入公式的单元格
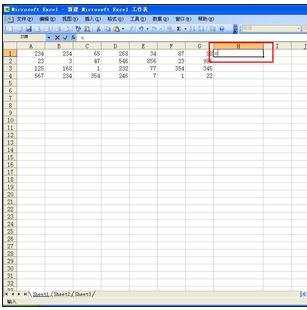
步骤2:在所选的单元格中输入等号"="。
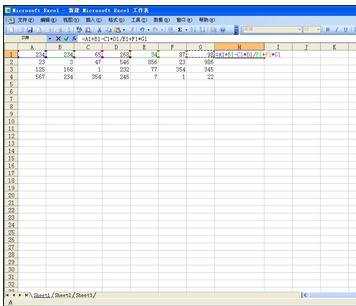
步骤3:输入公式内容。如果计算中用到单元格中的数据,可用鼠标单击所需引用的单元格。
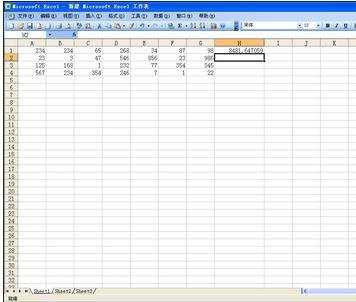
步骤4:公式输入完后,按Enter键,Excel自动计算并将计算结果显示在单元格中,公式内容显示在编辑栏中。鼠标点击该单元格,上面函数栏中就显示该单元格的公示内容。

excel设置公式方法(二)
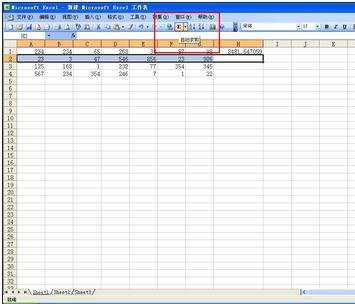
步骤1:如果输入的公式中含有了函数,那么应用公式选项板则能更好的输入公式。下面以自动求和这个最常用的计算公式来为大家举例说明。
步骤2:将光标放在求和结果的单元格上。然后按住鼠标左键不放,向左拖动鼠标,选择自己想要求和的区域。
步骤3:点击工具栏中的求和按钮。
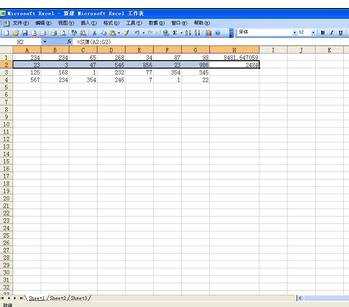
步骤4:求和结果就会在单元格中显示出来了。在计算连续单元格的数据之和时,如果在求和区域内单元格中数字有改变,自动求和结果会自动更新。
看了excel设置公式的方法还看了:
1.excel设置公式的方法
2.excel公式设置的方法
3.excel公式设置绝对引用的方法
4.excel设置只显示公式的方法
5.excel设置保护公式的方法
6.excel保护公式的设置方法
7.excel保护公式设置的方法
excel设置公式方法的评论条评论