
photoshop7.0制作图形实例
发布时间:2017-02-27 08:50
相关话题
PS画图能力也很强大,今天我们拿闪电来举例。下面由小编告诉大家photoshop7.0制作图形实例,快跟我一起来学习吧。
photoshop7.0制作图形实例
首先我们打开ps程序作为准备工作。
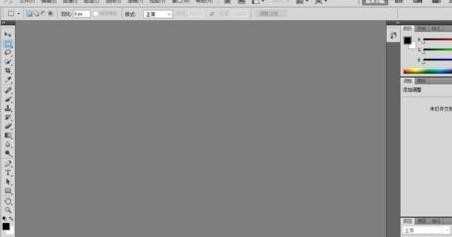
新建一个图片文件,并选择滤镜标签面板中的渲染云彩滤镜。
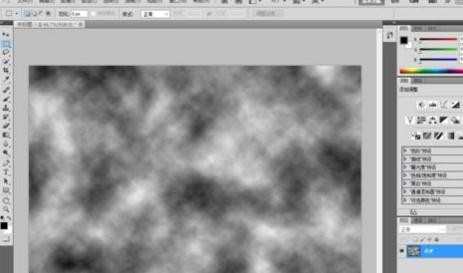
将图像分层,使用滤镜标签面板中的渲染分层云彩,然后对其反相处理。
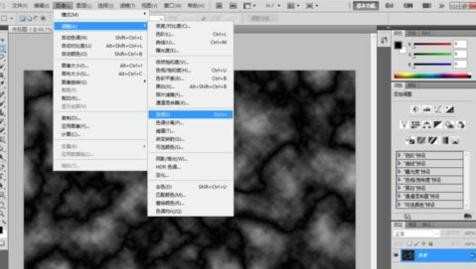
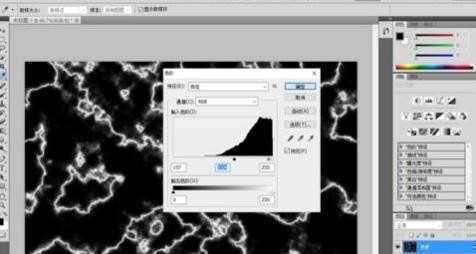
接下来我们使用色阶功能,将去除灰质中间色,来清晰白色闪电形状。
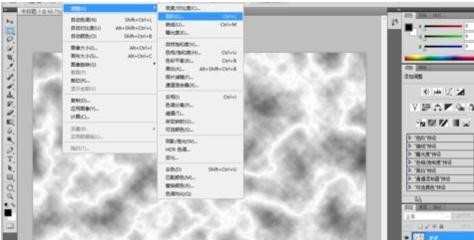
你可以根据自己的特效需求,来调整中间色来显示不同的闪电光晕。
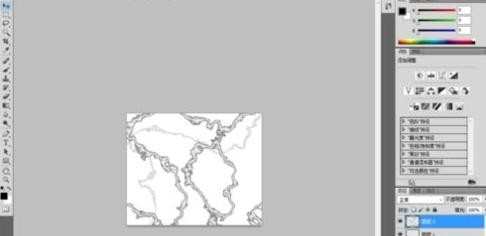
使用魔棒工具,调整容差值,然后选取你中意的闪电形状,复制粘贴到合成图里,或者新建一个图片保存。
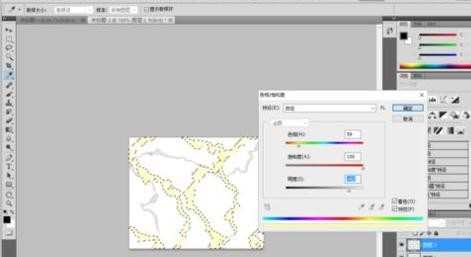
最后,我们对闪电进行着色,选择明黄来定义闪电的颜色。
photoshop7.0制作图形实例的评论条评论