
用ps调色的技巧
发布时间:2016-11-07 17:39
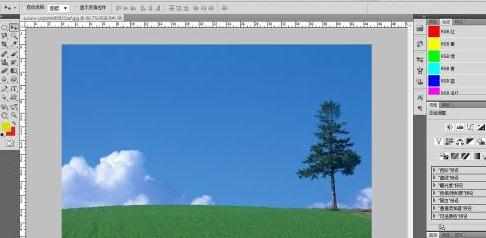
当我们出去旅游时,大家都会照很多照片,其中有一部分照片总是感觉效果不好,这就需要我们修复一下照片,下面是小编为大家整理的用ps调色的技巧,仅供大家参考~
用ps调色的技巧如下:
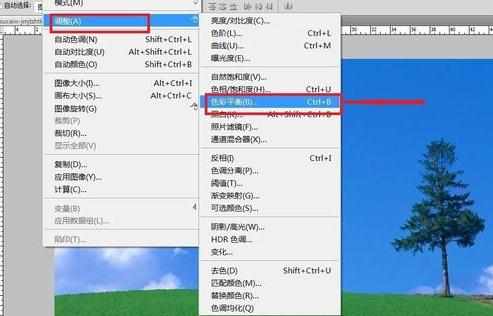
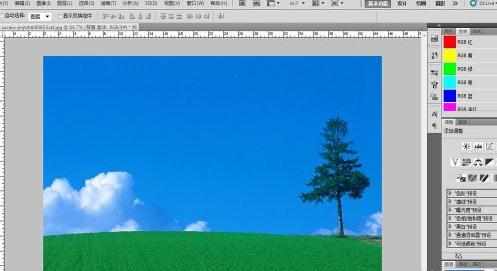
首先用ps打开这张图片,点击图像栏下的调整目录下的色阶,如下图所示,
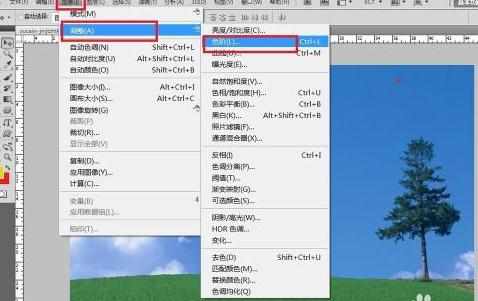
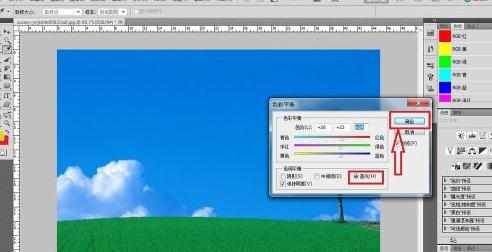
点击后弹出下图,我们选中自动,然后点击确定

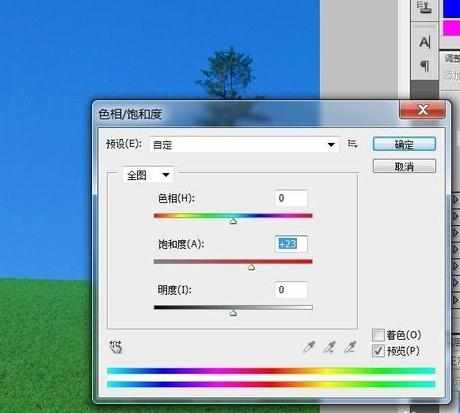
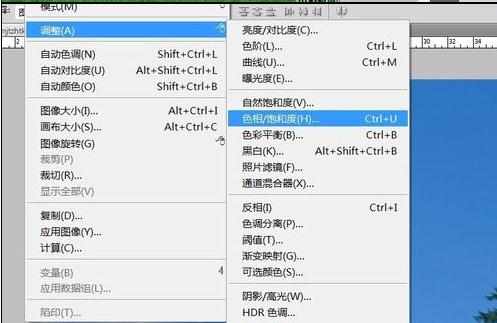
接下来 选中调整目录下的色阶和饱和度,点击出现下图,然后我们把饱和度拉到百分之二三十,然后点击确定
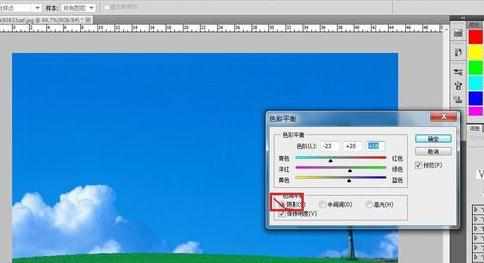
再接下来还是选中调整目录下的色彩平衡,点击出现下图,然后选择阴影,参照下图参数调整,当然你也可根据自己需要输入不同参数,然后再选中高光,再输入一些参数,点击确定
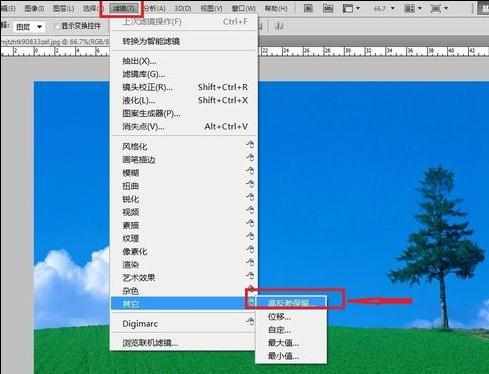
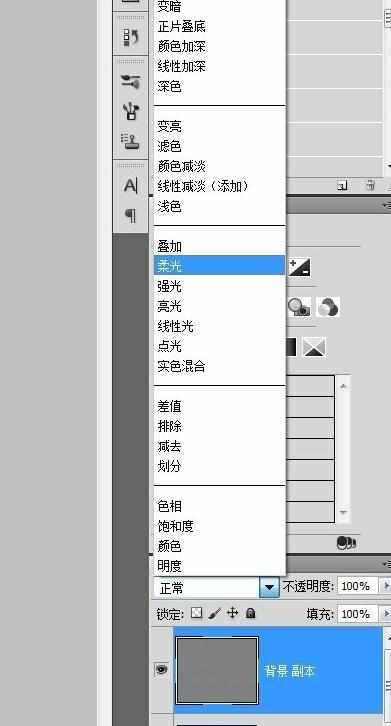
然后再选中滤镜栏下的其它目录中的高反光保留,出现下图,然后点击模式下的柔光,这样图片就调整好了

用ps调色的技巧的评论条评论