
photoshop飘落字体的制作教程
发布时间:2016-12-19 17:34
相关话题
飘落文字会让作品看上去更加唯美更加引人注目,那么如何在PS中制作文字飘落的效果呢?下面是小编为大家整理的photoshop飘落字体的制作教程,仅供大家参考~
photoshop飘落字体的制作教程如下:
新建一个600X600的图像文件

点击直排文字工具,创建一个文字,
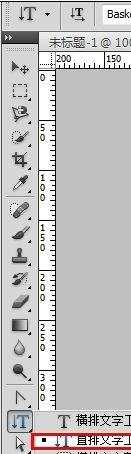
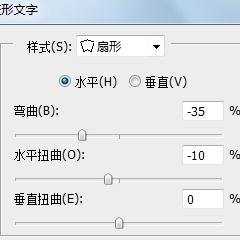
文字内容输入A,字体类型设置为Baskerville Old Face,大小设置为300,颜色任意选择,通过变形工具添加扇形变形修改得到下图效果,

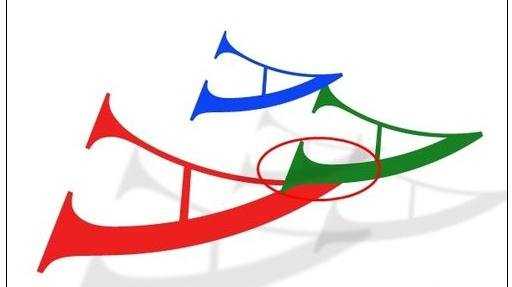
复印一份图层A,复制得到的图层修改文字颜色,字体大小设置为200

在同样方法复制一份图层,颜色任意修改,字体大小设置为150

适当调整3个图层的位置,然后对每个图层添加投影,透明度设置为10%,其中红色图层A的投影距离设置为最短70。中间图层设置为80,最新图层A设置投影距离为100.得到下图

我们发现这里是有问题的,投影落在了中间图层的上方,违反了物理学原则,接下来我们在处理
我们点击最小A图层右击,得到A的投影图层
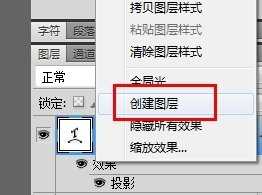
我们选择中间图层按住ctrl键单击中间图层,讲图层载入选区,在选择A的投影图层,按del键,删除投影图层,在取消选区。

photoshop飘落字体的制作教程的评论条评论