
photoshop如何设置照片大小
发布时间:2017-06-05 13:51
相关话题
其实当照片的大小不合适时,大家可以使用photoshop设置的,但是很多同学还不太清楚。那么接下来下面是小编整理的一些关于photoshop如何设置照片大小,供您参阅。
photoshop设置照片大小的方法
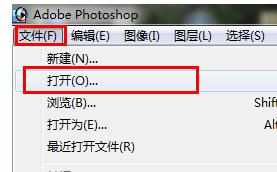
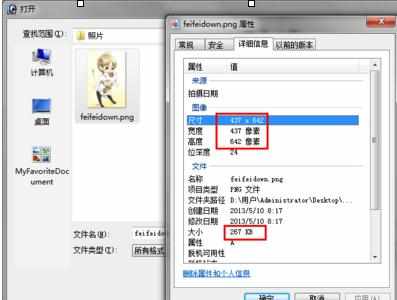
打开PS,点击“文件”→“打开”,找到并打开要处理的照片。
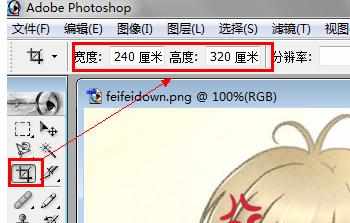
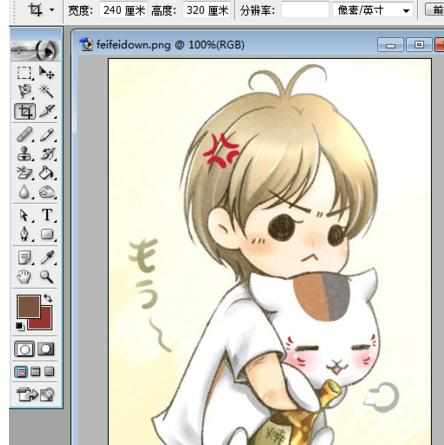
根据实际尺寸的需要来设置合适的裁切区域。在此小编以尺寸“240*320”(宽*高)为例进行讲解。点击“裁切工具”,然后将尺寸设置为“240*320”并按回车进行确认。
然后在图片区域拖动并进行裁切。
在此小编提醒各位朋友一点,就是框选自己需要的部分即可,由于是按比例缩放,所以可以放心的制作需要的区域。
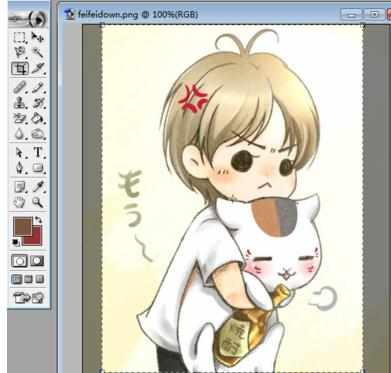
选区制作完成后,双击该区域内部,确认并完成区域的裁切工作。
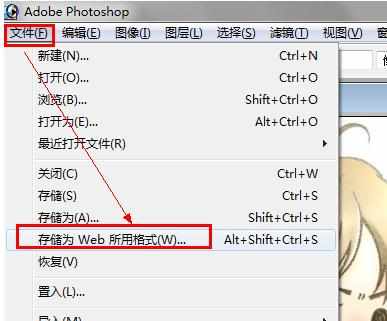
点击“文件”→“存储为Web所有格式”。
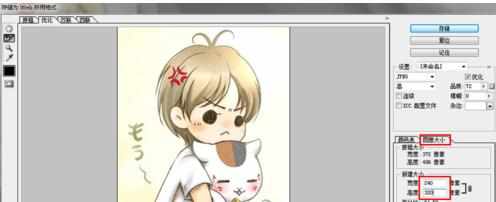
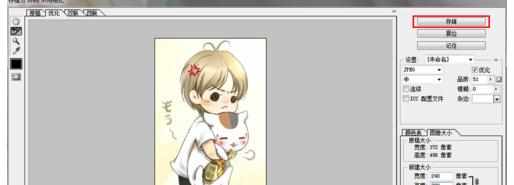
在接下来打开的“存储为Web所有格式”窗口中,切换至“图像大小”选项卡,然后将图片的大小设置为“240*320”,并点击“应用”按钮,以应用当前的设置。
然后点击“品质”下拉箭头,通过不断拖动滑块,同时观察文件的大小,确保文件为规定的大小,比如“小于15KB”。
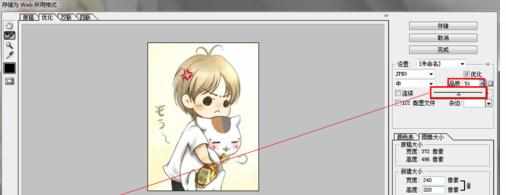
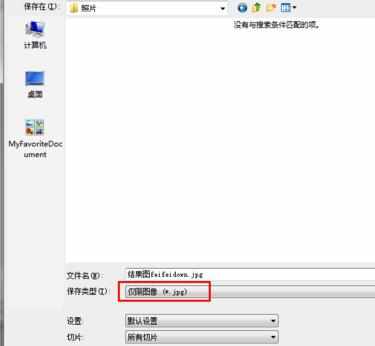
设置完成后,点击“存储”按钮,在打开的“另存为”窗口中,设置“图片存储格式”,比如“JPG”,最后点击“保存”按钮即可。
photoshop如何设置照片大小的评论条评论