
excel表格批量合并单元格的教程
相关话题
Excel中经常需要使用到批量合并单元格的技巧,批量合并单元格具体该如何操作呢?下面是由小编分享的excel表格批量合并单元格的教程,以供大家阅读和学习。
excel表格批量合并单元格的教程:
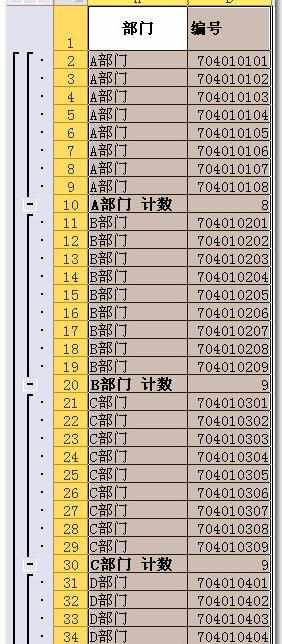
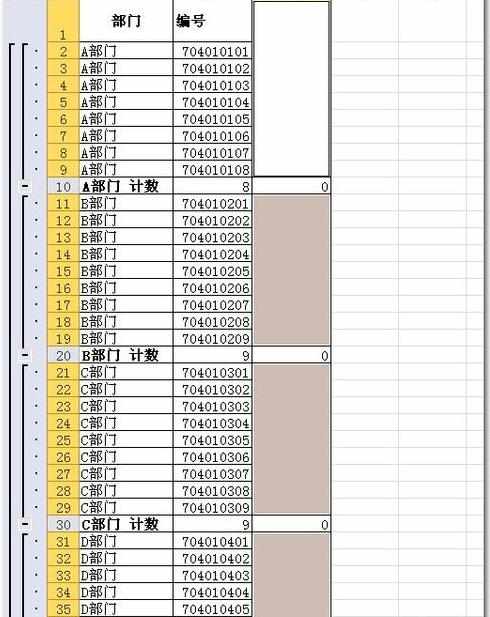
批量合并单元格步骤1:如图所示是我们的演示数据与预期达到的效果。
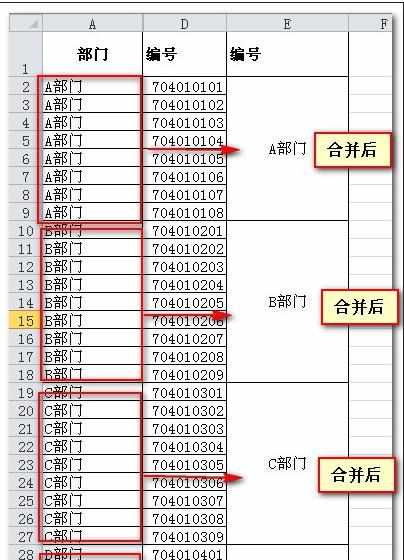
批量合并单元格步骤2:前一讲中,我们讲了如何分段进行填充,填充后的部门数据我们作为今天的演示数据。
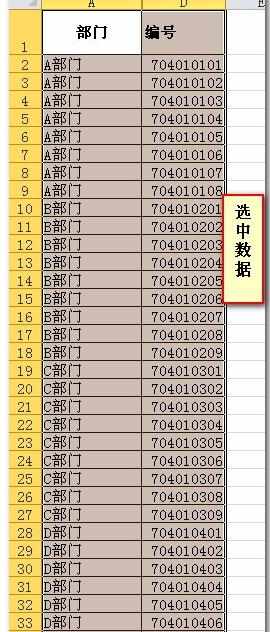
首先,选中数据。
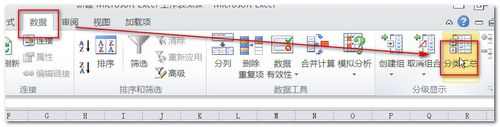
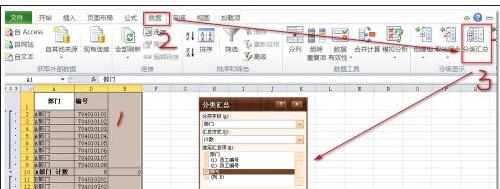
批量合并单元格步骤3:依次点击【数据】-【分类汇总】
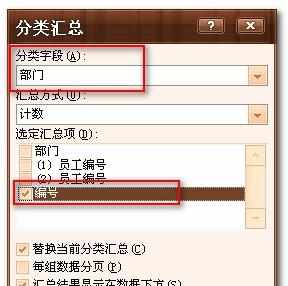
批量合并单元格步骤4:弹出如下对话框,将【分类字段】设置为“部门”,【选定汇总项】设置为“编号”(表格的第二列),其他选项默认即可。
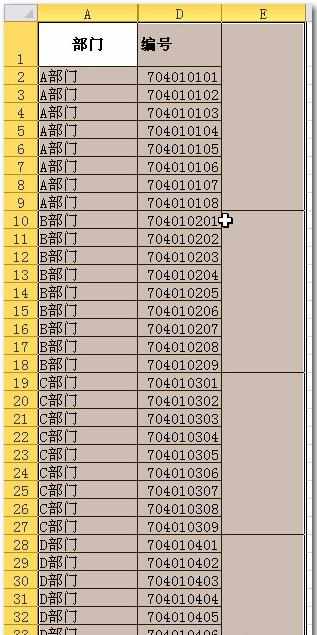
批量合并单元格步骤5:【确定】返回后的效果如图所示:
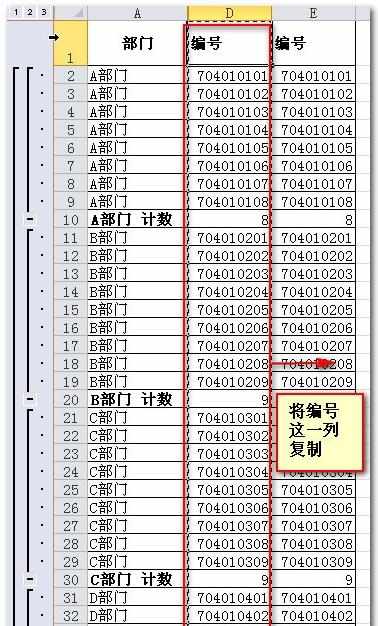
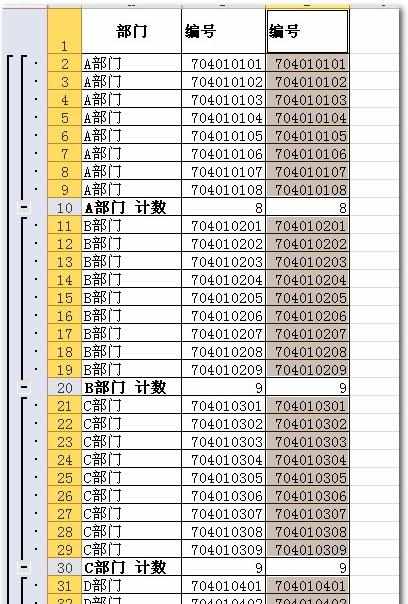
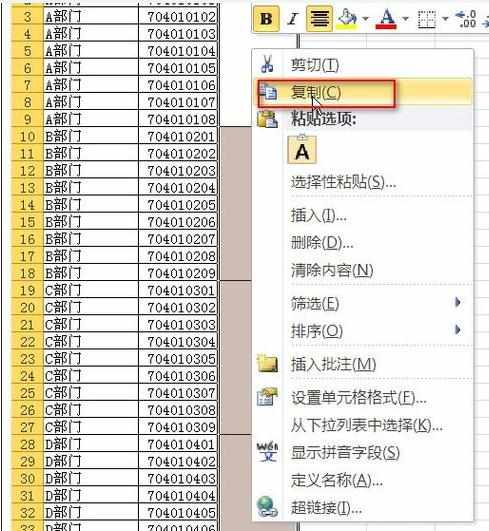
批量合并单元格步骤6:将“编号”列复制,效果如图
批量合并单元格步骤7:将新复制的这列选定。然后依次点击【开始】-【查找】-【常量】,效果如图所示。
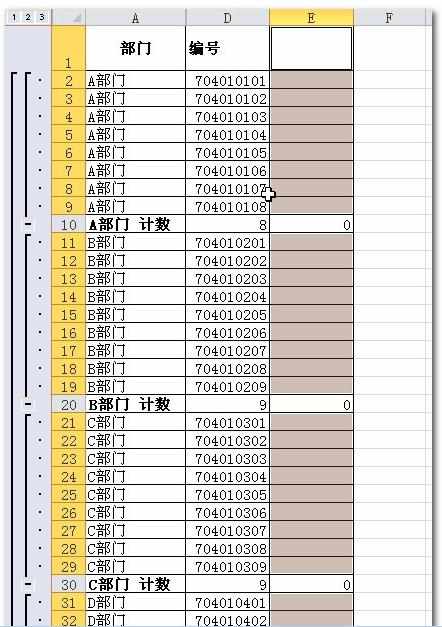
批量合并单元格步骤8:用Delete键清空内容,效果如图
批量合并单元格步骤9:然后依次点击【开始】-合并单元格并居中按钮。

批量合并单元格步骤10:完成后效果如图
批量合并单元格步骤11:然后依次点击【数据】-【分类汇总】,在弹出的对话框中选择【全部删除】
批量合并单元格步骤12:删除后效果如图
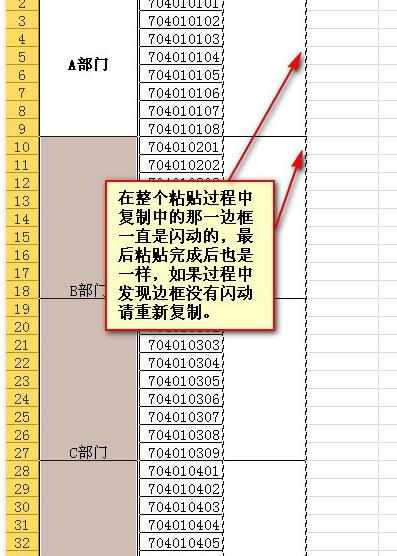
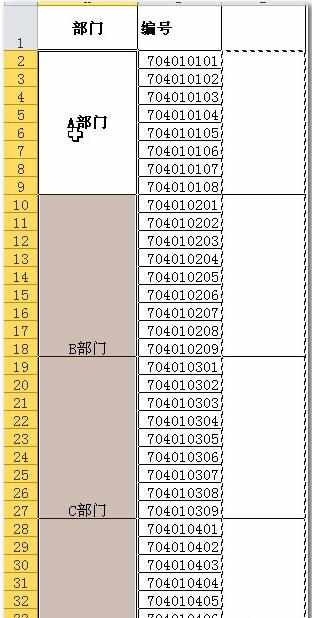
批量合并单元格步骤13:我们已经看到我们想要的结果了,只不过他不在我们想要的位置,接下来我们就将位置放正。将最后一列(合并好的那一列)单元格选中,复制。
批量合并单元格步骤14:在第一列上“选择性粘贴”选择“格式”。
批量合并单元格步骤15:完成的效果如图所示,这然后选中这一列,简单的调整一下格式就OK了,是不是很简单呢,赶快尝试一下吧。
看了excel表格批量合并单元格的教程还看了:
1.excel表格合并单元格教程
2.Excel2010中批量合并单元格不规则区域
3.excel2010分类汇总批量合并相同单元格的方法
4.Excel2003如何合并单元格
5.excel中单元格合并的教程
6.excel把多个表格进行快速合并的教程
7.excel表格内单元格合并的方法
8.怎么设置Excel2013合并单元格快捷键
excel表格批量合并单元格的教程的评论条评论