
photoshop制作边框模板
发布时间:2017-02-16 08:30
相关话题
如果我们要打造照片相框的效果就要添加边框,那么大家知道photoshop制作边框模板吗?下面是小编整理的photoshop制作边框模板的方法,希望能给大家解答。
photoshop制作边框模板的方法:
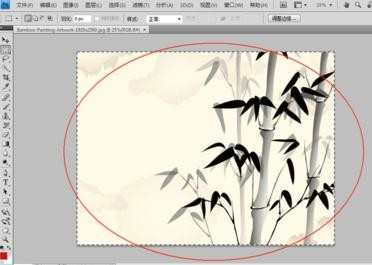
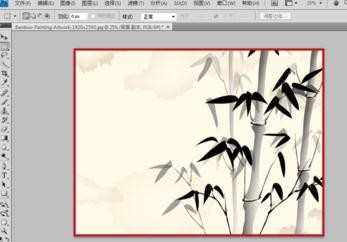
首先是基本操作添加基本边框。首先按ctrl+A全选图像。
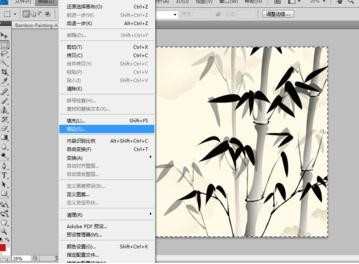
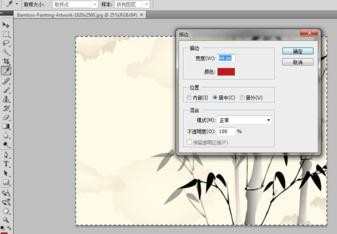
然后在编辑里面找到描边命令。这时弹出一个描边对话框,根据图像选择边框的颜色和宽度。然后点击确定基本边框就完成了。
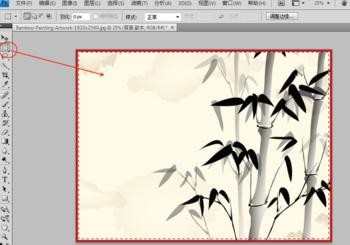
完成基本边框之后,我们复制背景图层,(隐藏背景图层)对背景图层副本进行接下来操作。
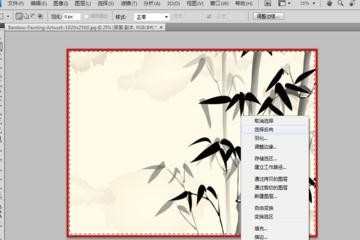
用矩形框绘制工具,绘制一个合适大小的矩形选取(比边框稍大一点即可)。然后右键选择反选选区。
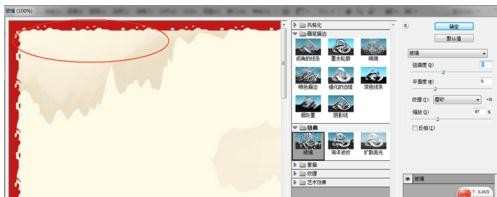
然后点击滤镜命令(可以选择描边滤镜也可以自己选择合适的滤镜,或者多个滤镜配合使用)
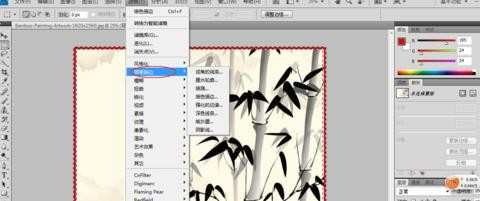
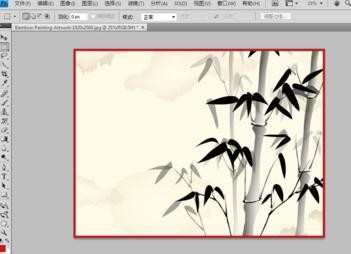
调整滤镜效果,制作出合适的边框效果。完成之后就可以保存图像了。
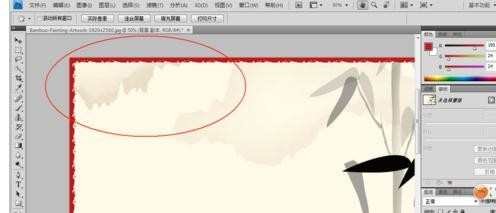
下图是效果图,如果已经有了素材边框。则可以使用蒙版的方法。

photoshop制作边框模板的评论条评论