
PS中的画笔工具怎么描边路径
发布时间:2017-03-09 13:42
大家知道PS中的画笔工具怎么描边路径吗?其实方法不难,下面是小编带来关于PS中的画笔工具怎么描边路径的内容,希望可以让大家有所收获!
PS中的画笔工具描边路径的方法
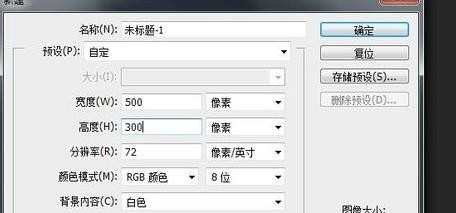
打开软件新建一个宽度500高度300像素、颜色模式为:RGB模式的图层;
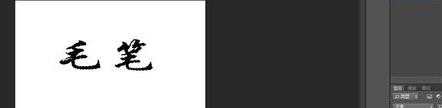
点击文字工具,输入“毛笔”两字,然后在毛笔图层,按住CTRL键再点选毛笔图层,将毛笔图层的像素的选中;

然后选择右侧面板中的路径选项,在其下方选择“将选取作为路径载入”的按钮;


然后再回到图层面板,将毛笔图层的面板删掉;

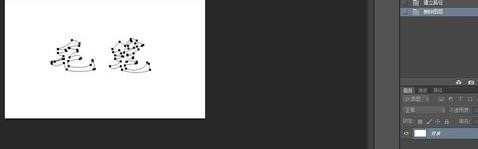
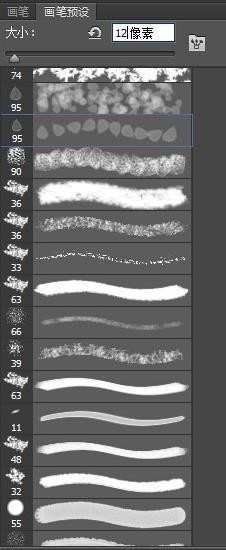
现在将前景色调整为红色,选择一只画笔,设置好其相关参数,然后回到路径面板,点击下方的“用画笔描边路径”,毛笔路径的效果如下;

可以发现用画笔描边路径后,毛笔两字的显示效果不佳,上面有好多小点,目前采取的方法就是选择“路径选择工具”将小点的路径选中删掉即可。

PS中的画笔工具怎么描边路径的评论条评论