
ps鼠绘漫画图文教程
发布时间:2017-03-22 12:13
今天小编分享一个用photoshop鼠绘漫画的教程,教程中漫画的创作流程及技巧非常棒。学习的时候我们不仅要学会作者的鼠绘及上色方法,更重要的是要学会如何从创意开始,直至作品完成的过程中需要注意的细节操作。下面跟小编来了解一下吧!
photoshop鼠绘漫画教程步骤:
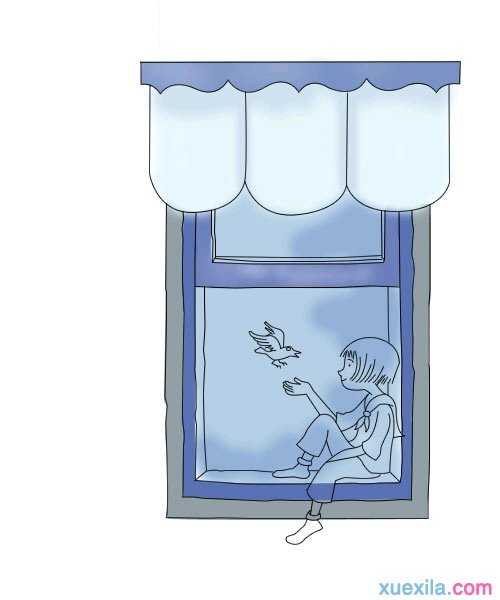
最终效果图
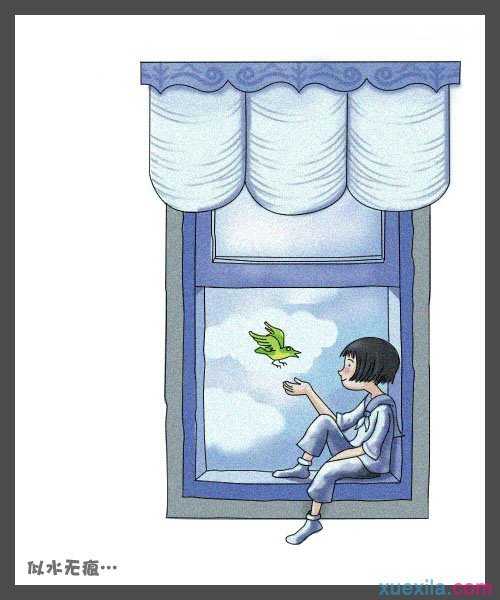
1、今天我们用PS来画一张几米的漫画,是一个小女孩坐在窗户上,先用钢笔勾出窗户与女孩的轮廓。

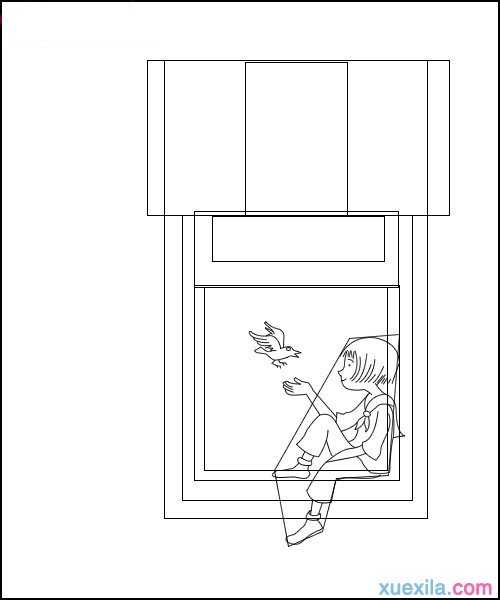
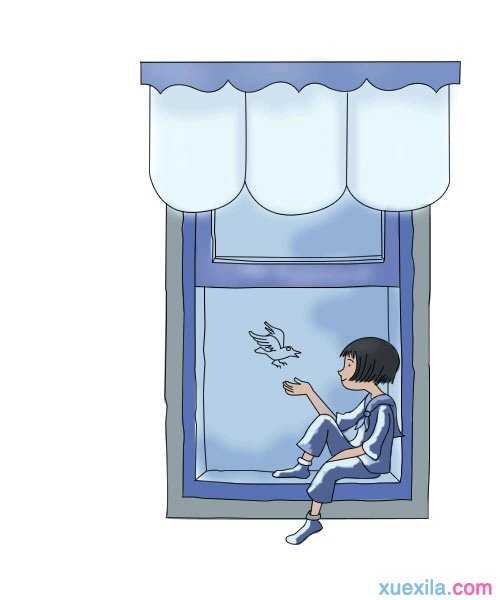
2、接下来新建一层,勾出女孩与小鸟的外形。
3、因为窗户的边缘并不是规则的直线,所以我们要根据刚开始画的直线重 开始上色了,先给窗帘与天空上色。如图:
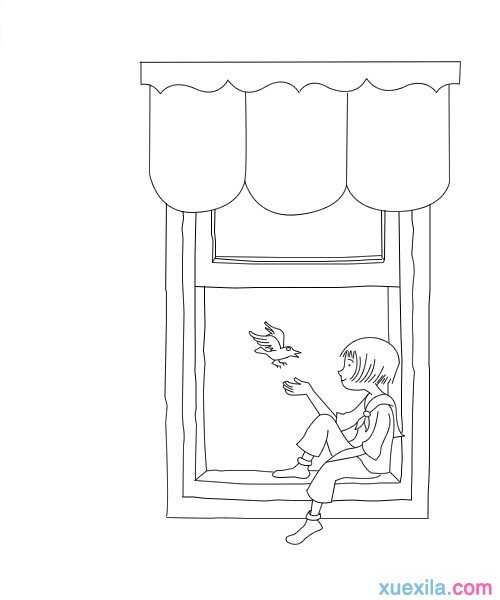
4、开始上色了,先给窗帘与天空上色。如图:
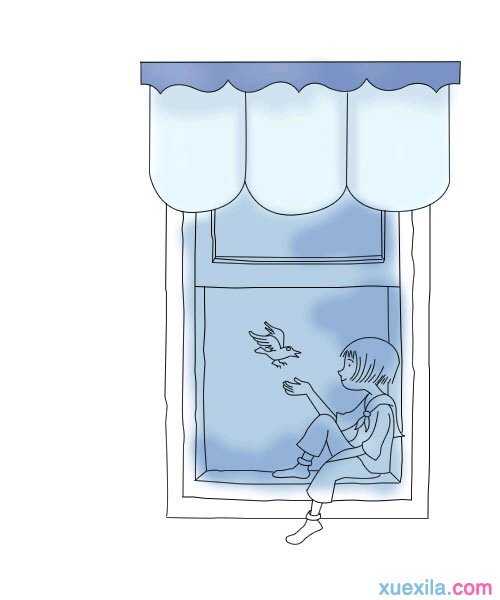
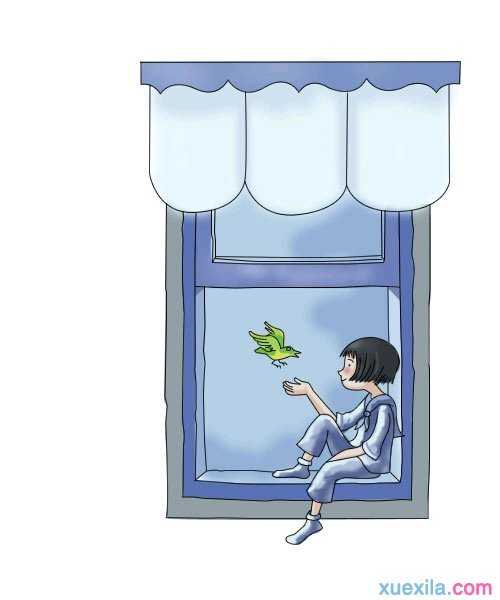
5、接下来给窗框分别上上蓝色和黑色
6、头发上黑色,受光部分用减淡工具提亮,衣服先画出最亮与最暗的色块。
7、小鸟上色,分别是绿色与柠黄,起到画龙点睛的作用。衣服开始上中间色,并用模糊工具稍作涂抹。
9、在窗框下新建一层提出云彩。
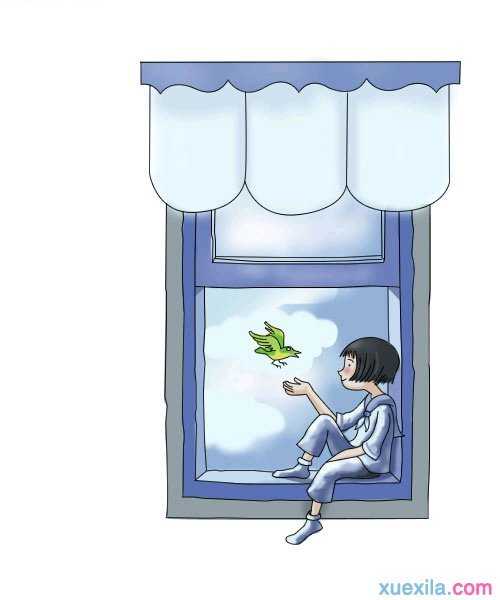
10、窗帘上加上褶皱与装饰图案。
ps鼠绘漫画图文教程的评论条评论