
如何用ps给照片化妆
发布时间:2017-06-02 09:18
人物在现实中不好化妆的话可以在ps中试试。那么大家知道如何用ps给照片化妆吗?下面是小编整理的如何用ps给照片化妆的方法,希望能帮到大家!
用ps给照片化妆的方法
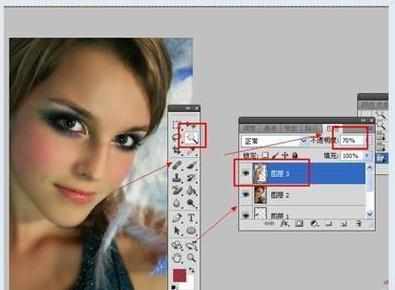
打开原图,复制图层。在工具栏选择历史记录画笔,用历史画笔在美女脸上涂抹,不要涂抹五官位置。比较严重的斑点可以使用修复画笔工具。

第二步:在工具栏选择套索工具,框选如上图部分。

第三步:鼠标右键点击图片,选择羽化,半径设置为12像素。

第四步:新建图层,执行编辑/填充,颜色设置为#9a333f,图层模式设置为滤色,不透明度为20%。

第五步:对图层执行图像/调整/亮度/对比度设置,亮度为10,对比度为25。

第六步:在工具栏选择魔棒工具,选择好皮肤位置。不要选择五官,ctrl+j复制图层,不透明度设置为70%。
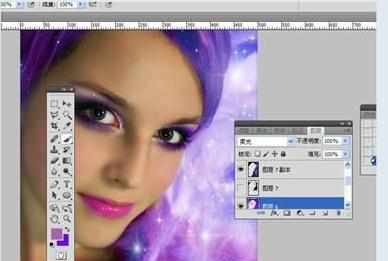
第七步:新建一个渐变图层,先选择套索工具框选嘴巴,按ctrl+J复制图层。选择渐变工具,进入渐变颜色编辑,左#aa2a7e右#9515e8。然后在新建图层上拉渐变,将图层模式选择为柔光,选择橡皮擦,将嘴唇以外的颜色擦除。

第八步:选择套索工具框选头发和眼睛部分,按ctrl+J复制图层,选择渐变工具,进入渐变编辑器:左#ff00f0右#6c00ff。图层模式选择为柔光,然后用橡皮擦擦除嘴巴和头发以外的部分。

第九步:将素材二拖入素材一,将图层模式设置为滤色,复制图层,按ctrl+t调整素材大小。选择橡皮擦,把人物皮肤和五官擦出来。
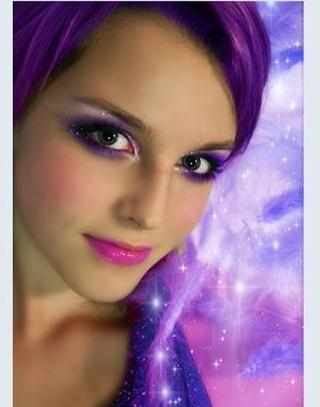
效果出来了哦!
如何用ps给照片化妆的评论条评论