
word怎么制作简历表的两种方法
发布时间:2016-12-22 15:51
相关话题
个人简历在求职时是必备的材料,在word中利用表格可以帮我们更好的制作简历。那么下面就由小编给大家分享下word制作简历表的技巧,希望能帮助到您。
word制作简历表方法一:
步骤一:首先打开Word 2010
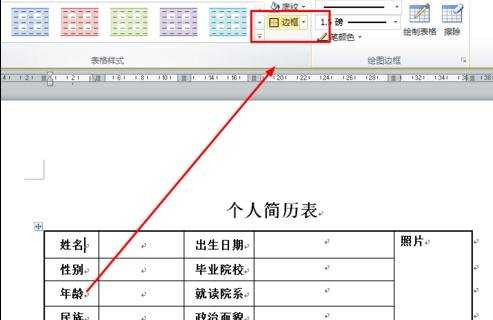
步骤二:选择“插入——表格——绘制表格。

步骤三:绘制表格——单元格对齐方式选择中间对齐。

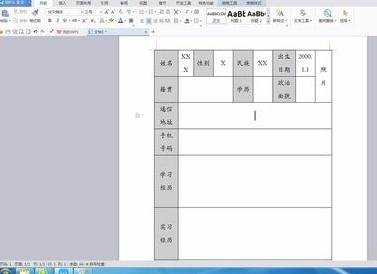
步骤四:绘制完下面表格。
步骤五:单击边框加粗外边框。
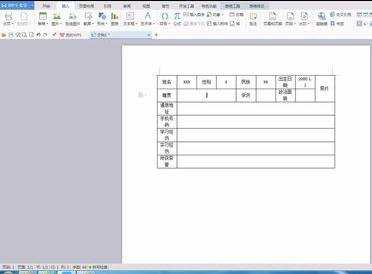
步骤六:个人简历表制作完成。

word制作简历表方法二:
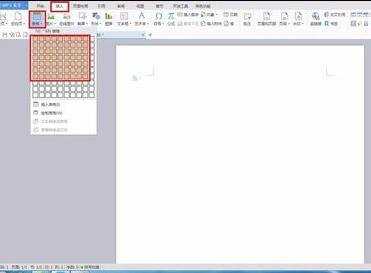
步骤一:打开wps文字,新建一个文档,单击“插入”--“表格”,用鼠标框选处一个7*9的表格。
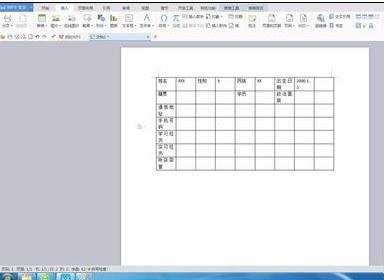
步骤二:在文档中出现一个7*9的表格,在各个单元格中输入需要填写的内容。
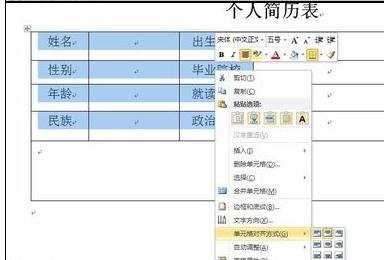
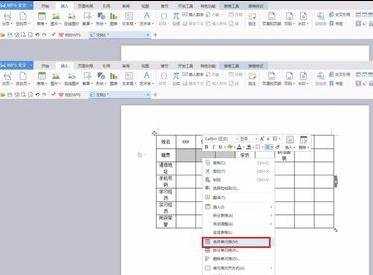
步骤三:使用表格菜单对表格进行修饰,选中所有单元格,单击鼠标右键,选择“单元格对齐方式“--”居中对齐“

步骤四:选中需要合并的单元格,单击鼠标右键,选择“合并单元格”
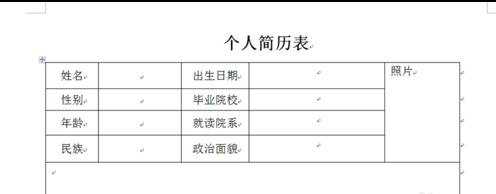
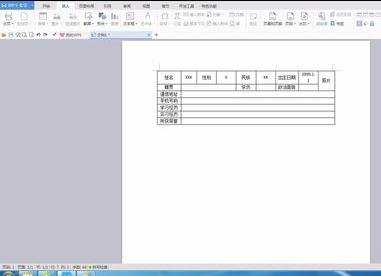
步骤五:重复步骤4,合并其他需要合并的单元格,如图所示
步骤六:将鼠标放置在需要加宽的列右侧边线处,向右拖动鼠标
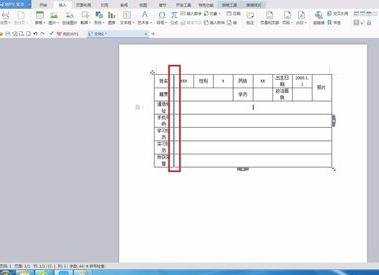
步骤七:重复步骤6,调整其他需要调整宽度的列
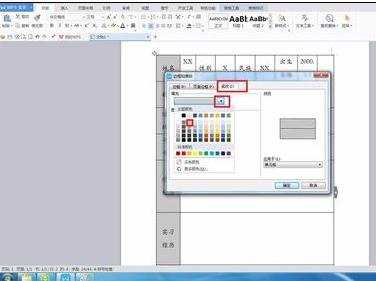
步骤八:设置所有单元格中的字体字号。选中需要设置底纹颜色的单元格,单击鼠标右键,选择“边框和底纹”

步骤九:在“边框和底纹”对话框中,设置底纹的颜色。
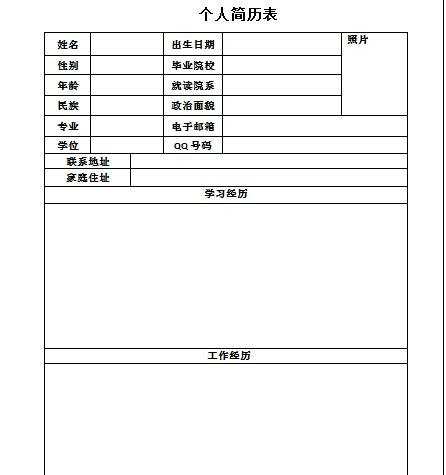
步骤十:一个简单的表格我们就设置完成了,我们可以在表格里面填写上需要填写的内容。
word怎么制作简历表的两种方法的评论条评论