
photoshop里面通道功能怎么使用
发布时间:2017-05-27 17:46
如果大家知道通道功能我们就可以进行操作,所以photoshop中通道需要掌握。但是很多同学还不太清楚。那么接下来下面是小编整理的一些关于photoshop里面通道功能怎么使用,供您参阅。
photoshop里面通道功能使用的方法
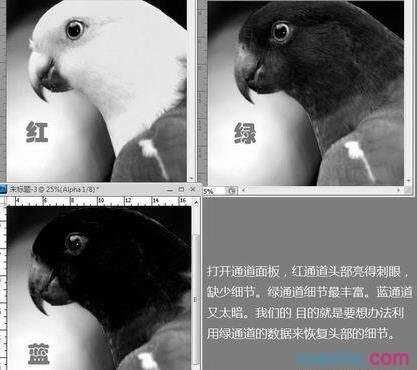
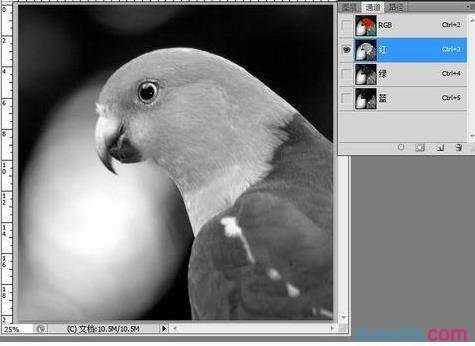
1、打开原图素材,点通道面板,可以明显的看到红通道头部亮得刺眼,缺少细节。绿通道细节最丰富。蓝通道又太暗。我们的目的是要想办法利用绿通道的数据来恢复头部的细节。
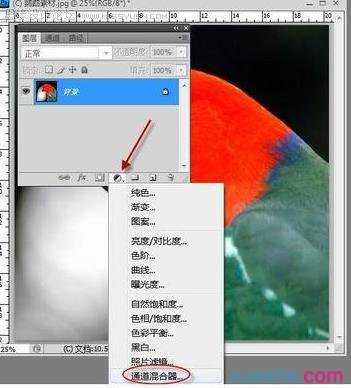
2、回到图层面板,创建通道混合器调整图层。
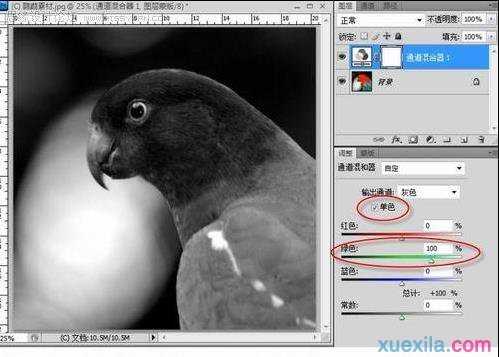
3、在通道混合器调整框中,勾选单色。参数设置:0/100/0。这样我们得到了一个类似于上一步中看到的绿色通道的黑白图层。
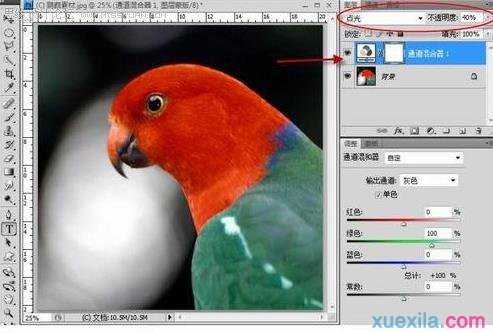
4、将这个图层的混合模式改为“点光”,不透明度改为:40%,这个图层与背景图层混合,我们又得到了一个细节丰富的彩色图像。
5、再次打开通道面板,查看红通道,我们发现原来白色刺眼的红通道已经变为细节丰富的灰色了。说明红通道得以修复。
6、最比下修复前后的情况,虽然后者没有那么鲜艳,但细节丰富了不少。


其它类似图片的修复效果。


photoshop里面通道功能怎么使用的评论条评论