
excel设置分页的教程
发布时间:2016-12-23 10:17
相关话题
Excel中经常需要为数据进行设置分页,分页具体该如何进行设置呢?接下来是小编为大家带来的excel设置分页的教程,供大家参考。
excel设置分页教程:
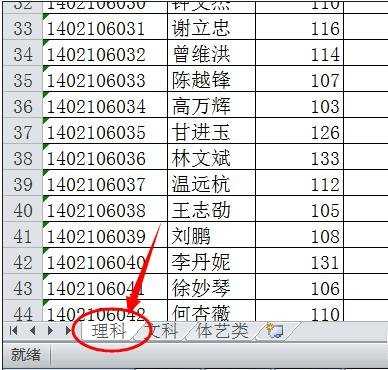
设置分页步骤1:打开excel文档,选中要编辑或打印的工作表。
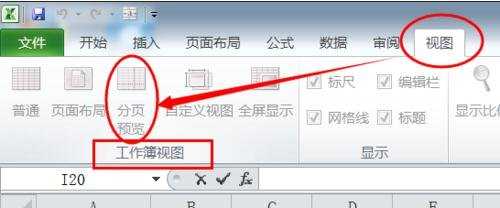
设置分页步骤2:在功能区域“视图”选项卡上的“工作簿视图”组中,单击“分页预览”。
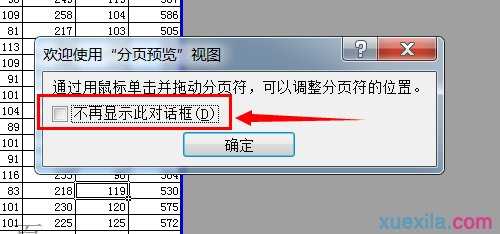
设置分页步骤3:然后会出现“欢迎使用分页预览”对话框,单击“确定”。如果不想在每次转到分页预览视图时都出现这个对话框,勾选“不再显示此对话框”复选框,然后单击“确定”。
设置分页步骤4:要插入水平分页符,点击要在其下方插入分页符的这一行。如果是要插入垂直分页符,点击在其右侧插入分页符的这一列即可。
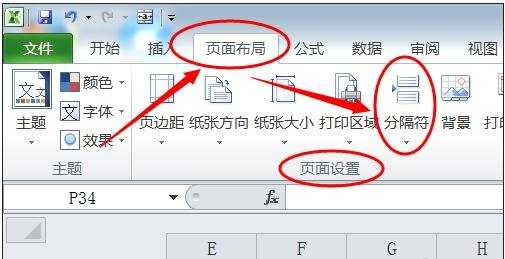
设置分页步骤5:然后在“页面布局”选项卡上的“页面设置”组中,单击“分隔符”。
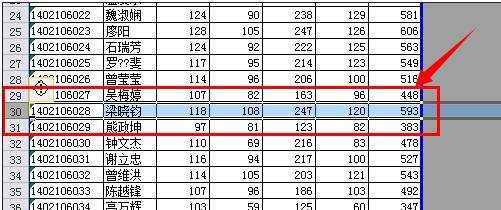
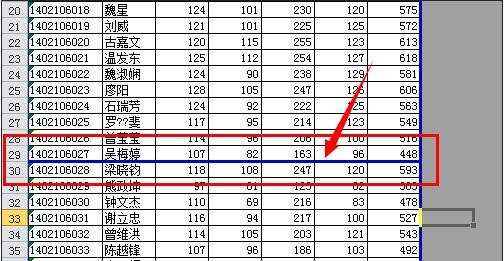
设置分页步骤6:选中第29行,设置水平分页符,就会得到如下图所示的水平分页符。
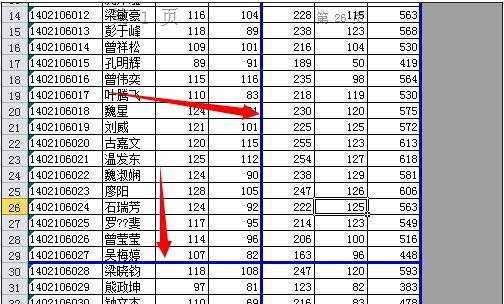
设置分页步骤7:选中第D列,设置垂直分页符,就会得到如下图所示的垂直分页符。
看了excel设置分页的教程还看了:
1.excel设置分页浏览的教程
2.excel设置自动分页的教程
3.excel2007设置分页显示的教程
4.Excel2007怎么设置分页符
5.excel中分页功能教程
6.excel2007分页符设置的教程
7.excel设置表格打印分页的教程
excel设置分页的教程的评论条评论