
photoshop云彩字制作教程
发布时间:2016-12-19 17:49
相关话题
漂亮的云朵字是怎么制作的呢,其实只要用一种笔刷就能实现效果,具体怎么做呢,下面是小编为大家整理的photoshop云彩字制作教程,仅供大家参考~
photoshop云彩字制作教程如下:
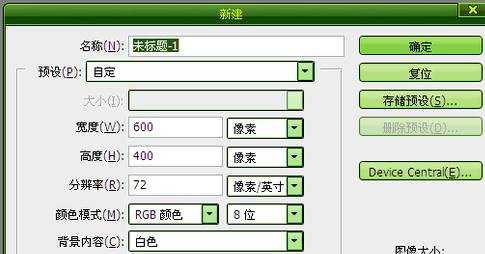
新建一个文档,大小自定。
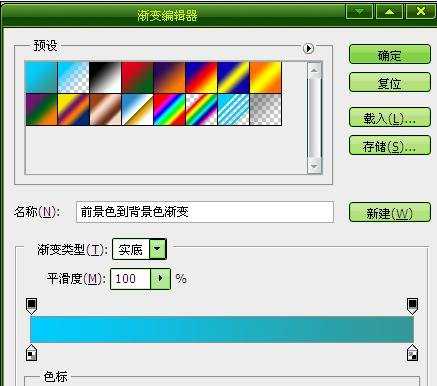
选择渐变工具,调出需要的蓝天颜色,然后拉一个渐变。

输入文字。

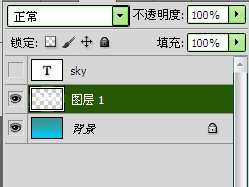
新建一层,用云彩笔刷画出云朵。

按住ctrl键,点击文字,然后来到云朵层。

crtrl+shift+i反选,然后delete删除,ctrl+d取消选择。


隐藏文字层,效果就出来了。

photoshop云彩字制作教程的评论条评论