
Word中进行设置双页视图的操作技巧
发布时间:2017-06-17 18:14
相关话题
我们用word文档有时候需要一张纸编辑或者打印两个word页面,这就要设置双页视图或者页面,如何设置word的双页视图。今天,小编就教大家在Word中进行设置双页视图的操作技巧。
Word中进行设置双页视图的操作步骤:
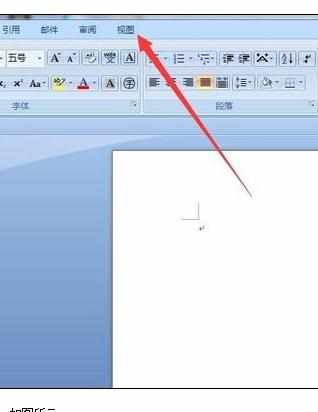
打开你的office word 2007 如图。

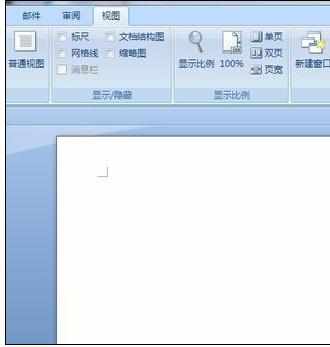
进入到word后,点击最上面的【视图】按钮。
弹出一个下拉菜单,注意到圆圈内的区域。如图所示。
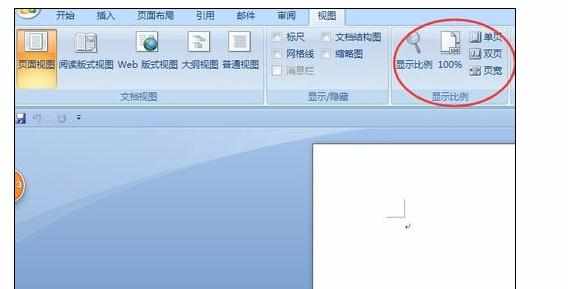
点击【单页】按钮。
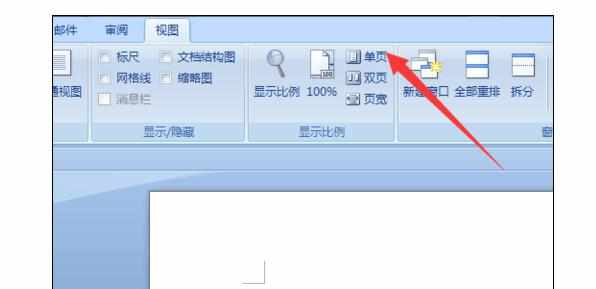
那么word文档就显示的是单页的设置页面。页面会集中的word页面的中部。
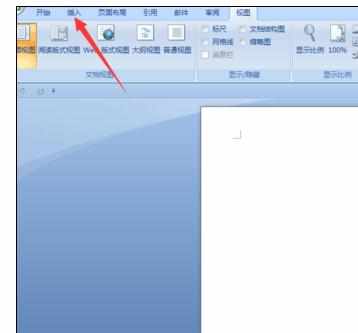
再点击【双页】按钮。

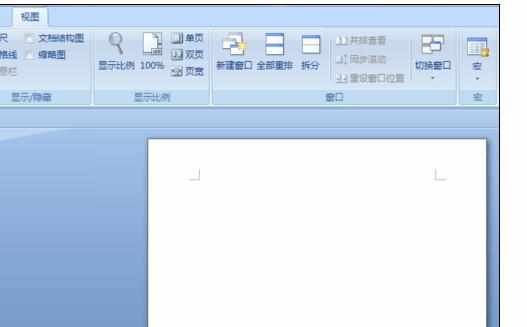
然后空白页会移到左边,这是因为右边还可以添加空白页。
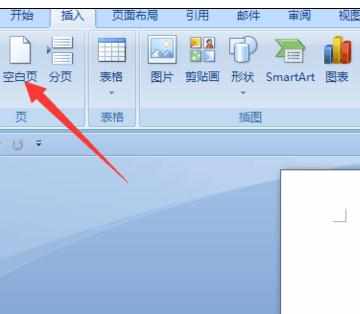
点击上面的【插入】按钮。
然后点击弹出菜单的【空白页】按钮。
。
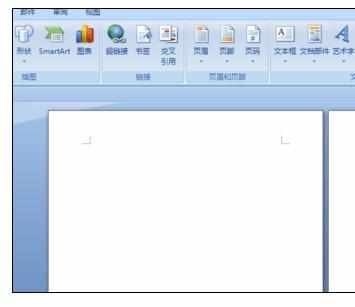
就添加了双页页面的另一个空白页,如图所示。这样你可以在一个word页面中编辑双页视图 或者打印双页页面了。
Word中进行设置双页视图的操作技巧的评论条评论