
如何使用photoshop的色阶
发布时间:2017-04-09 03:28
相关话题
图片因拍摄的环境原因在色彩会显得不够丰富,我们可以使用Photoshop中的色阶功能进行调节。那么大家知道如何使用photoshop的色阶吗?下面是小编整理的如何使用photoshop的色阶的方法,希望能帮到大家!
使用photoshop的色阶的方法
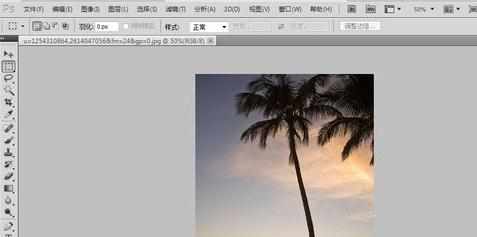
打开Photoshop,导入一张图片。
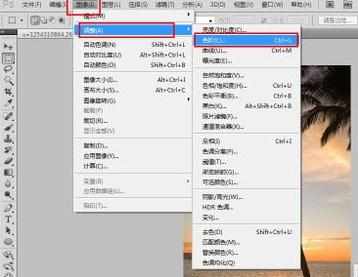
选择图像——调整——色阶打开色阶控制面板。也可以直接按ctrl+L打开。
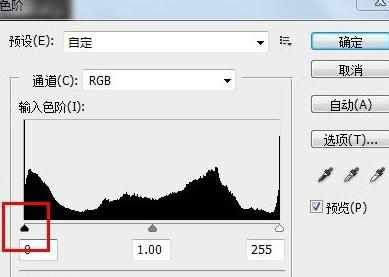
使图像阴影部分突出:调节左侧的按钮进行调节即可。
将左侧的滑块向右滑动就可以是阴影部分变得更暗。
使高光部分变得更亮:向左滑动右侧的滑块就可以使图像的高光部分变得更亮。
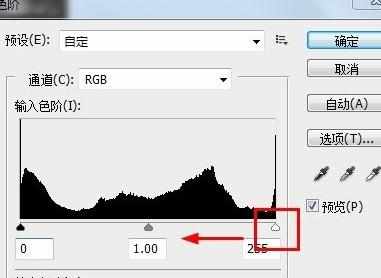
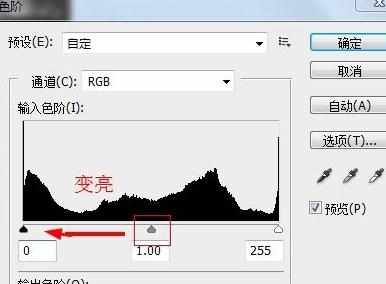
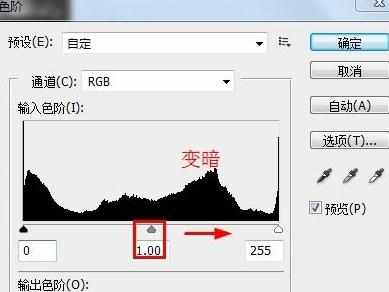
中间色调的调节:中间的滑块就是调节灰场的滑块。
需要注意的是:将中间的滑块想左滑动是将图片的灰色调亮而不是调暗,相反向右调整则是是图片变暗。
如何使用photoshop的色阶的评论条评论