
如何在wps文字中设置直线起点和终点
发布时间:2017-03-03 16:47
在WPS文字中怎样自定义直线的起始点和终止点呢?设置的方法其实很简单,下面就让小编告诉你 如何在wps文字中设置直线起点和终点的方法。
在wps文字中设置直线起点和终点的方法
1、在计算机桌面的Wps文字图标上双击鼠标左键,将其打开运行。如图所示;

2、在wps文字编辑区域,打开“插入”菜单选项卡,并点击“形状”选项按钮。如图所示;

3、在弹出的形状选项框中,选择线条下“直线”选项。如图所示;

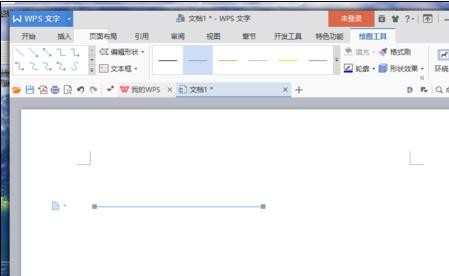
4、选择直线后,在Wps文档编辑区域画出一条直线。如图所示;
5、直线画好以后,将其选中并点击鼠标右键,在弹出的选项框中点击“设置对象格式”选项。如图所示;

6、点击“设置对象格式”选项后,在编辑区域右侧会弹出属性对话框。如图所示;

7、在属性对话框中,将前端箭头设置一个样式。如图所示;

8、前端箭头设置好以后,再将末端箭头设置一个样式。如图所示;

9、箭头设置好以后,在编辑区域可看到更改样式后的效果。如图所示;

如何在wps文字中设置直线起点和终点的评论条评论