
photoshop玻璃字
发布时间:2016-12-02 08:38
用图层样式制作玻璃字是非常快的。过程:先制作较暗的背景,输入想要的文字,其它图形也可以;然后用图层样式做出浮雕及发光效果,可以把文字多复制几层,填充都改为零,分别用不同的样式增加更多细节就更好看。下面跟小编来了解一下吧!
photoshop玻璃字
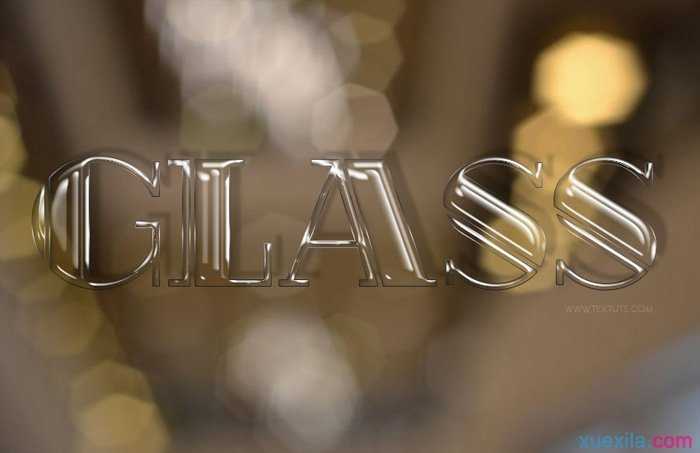
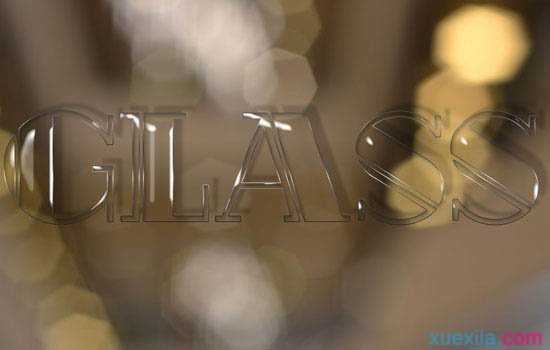
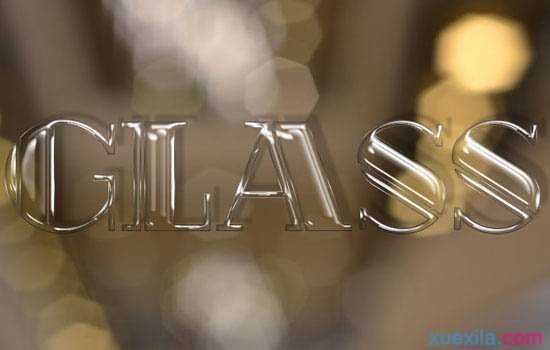
最终效果
<点小图查看大图>
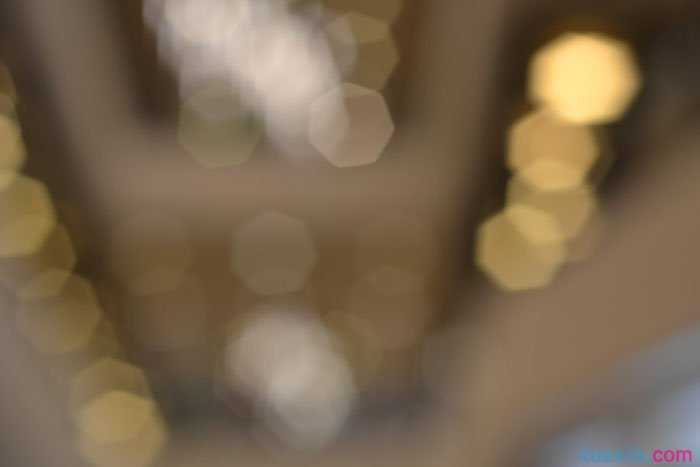
1、新建一个850×550px的新文件,打开下图所示纹理素材,根据需要调整它。
<点小图查看大图>
2、选择文字工具打上文字,此处字体为Rialto,可自行更改字体,当然更大胆,更漂亮的字体肯定有更好的效果。
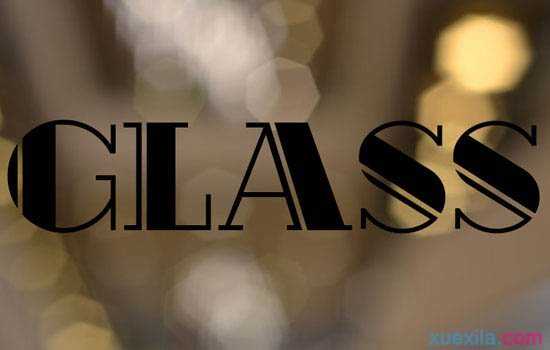
3、将文本图层复制3次,这样一共4个文本图层,并把每个文字图层的填充度设置为0%。

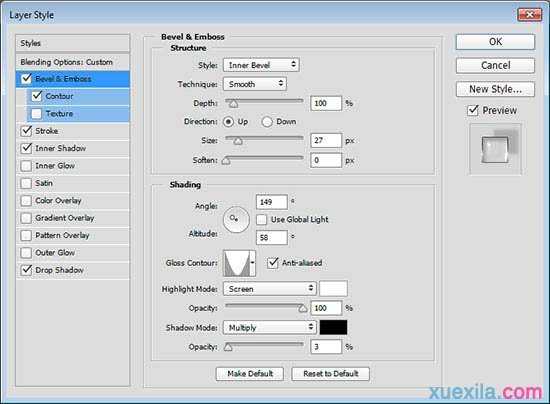
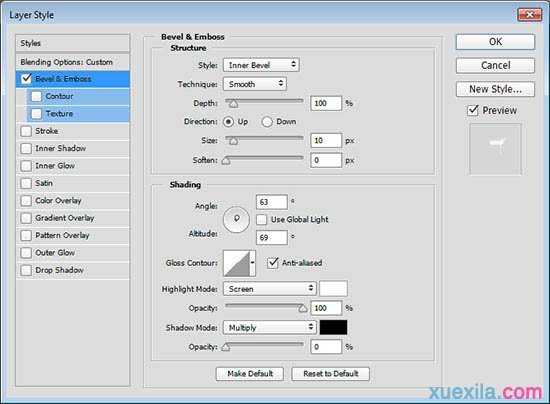
4、双击最glass图层,添加图层样式。
斜面和浮雕:
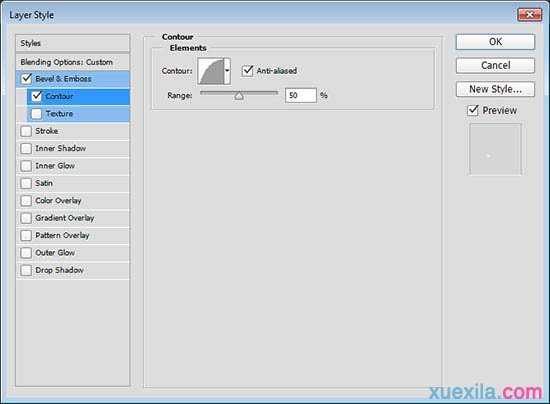
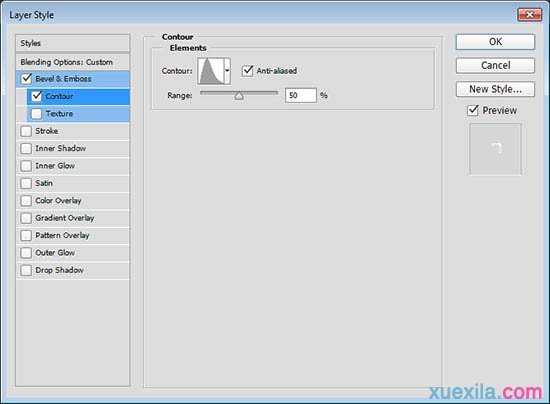
等高线:
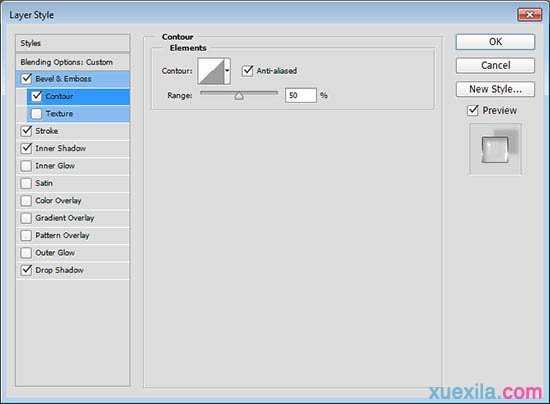
描边:
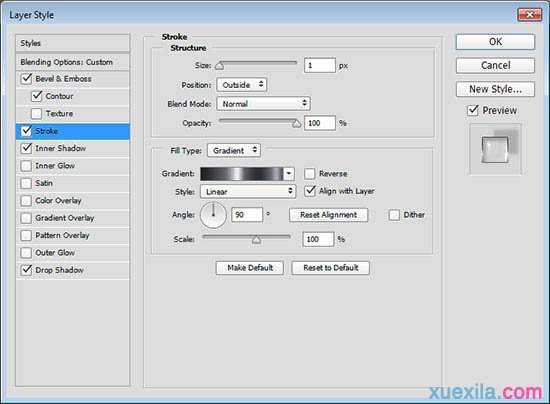
内阴影:
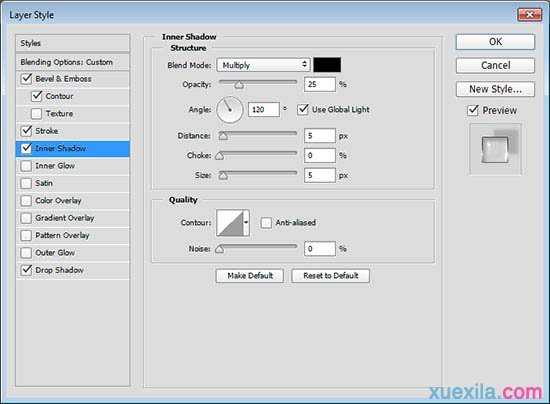
投影:
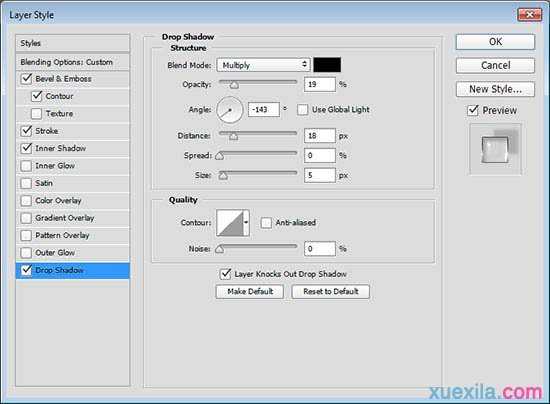
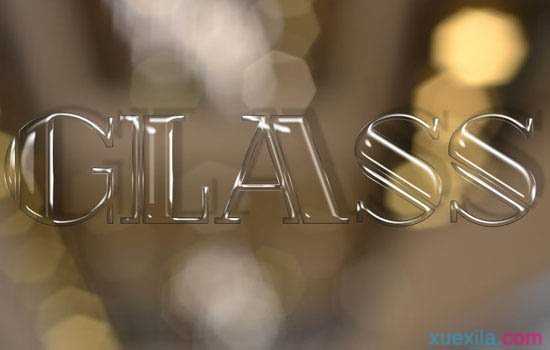
效果如下:
5、双击glass copy图层,添加如下样式:
斜面和浮雕:
这一步增加了更多发光的顶边文本:

6、双击glass copy 2图层,添加如下图层样式:
斜面和浮雕:

等高线:
这一步增加光泽到底部边缘,以及更多的3D感:
7、双击glass copy 3添加如下图层样式:
斜面和浮雕:

等高线:
这一步添加文本的发光中心,设置不同的斜面和浮雕角度和高度值影响很大:
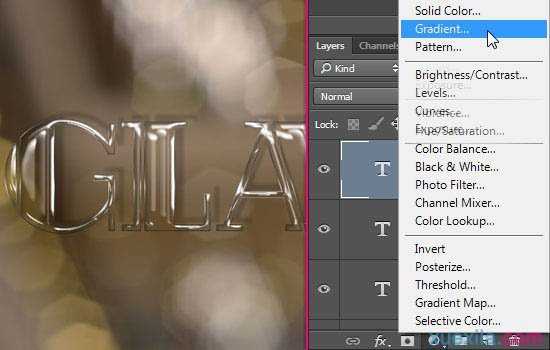
8、单击创建新的填充或调整图层图标选择渐变填充。
设置渐变颜色#7c7c7c,其它参数如图。
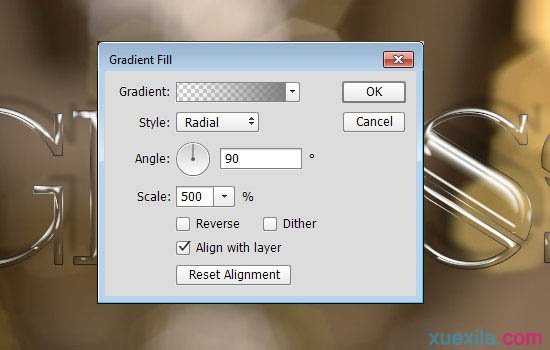
将不透明度改为30%,混合模式改为“线性加深”。

最终效果:
<点小图查看大图>
photoshop玻璃字的评论条评论