
photoshop的路径怎么使用
发布时间:2017-05-26 16:39
其实在photoshop里面路径功能很厉害的,可以做很多事情。那么大家知道photoshop的路径怎么使用吗?下面是小编整理的photoshop的路径怎么使用的方法,希望能帮到大家!
photoshop的路径使用的方法
打开Photoshop,新建一张白纸,尺寸随便。新建图层,选择形状工具。左击鼠标,按住Alt键不动,再按住Shift拖拽,在原地以鼠标点画出一个正圆。


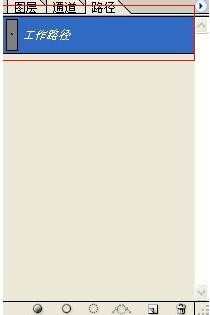
点击路径,见图,形成了一个圆形路径。
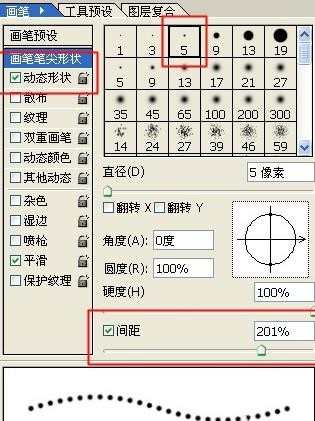
点击画笔工具,画笔笔尖形状,选择5像素大小的笔,间距可以选择200.(这个不一定,看形状图形的大小而定,这里只是举个实例)此时的画笔由实线变成了虚线.
右击圆形路径,选择描边路径,如下图所示点击“好”。(补充一点,图中虚线椭圆的“模拟压力”最好不要点,不然就会出现虚线点大小渐变的后果)

按住Ctrl+回车,载入选区,再按Ctrl+D,最终效果如图.
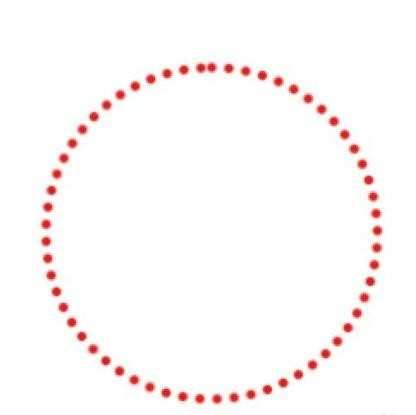
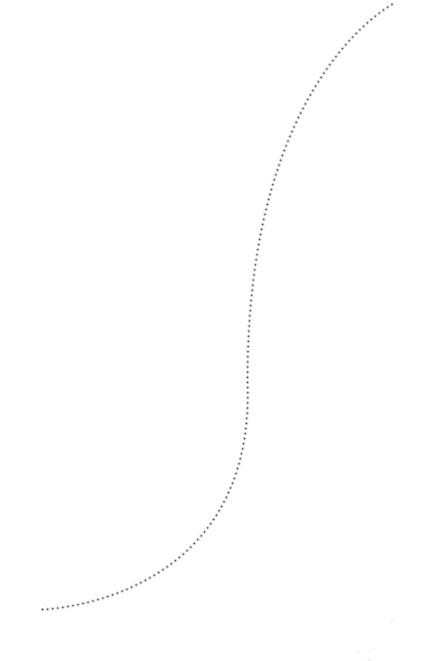
步骤很简单,相信大家一看就会。以虚线圆为例,还可以画出简单的以下几种等:

photoshop的路径怎么使用的评论条评论