
cad齿轮制作教程
发布时间:2017-01-25 08:07
相关话题
CAD能画很多东西,那么大家知道齿轮怎么画吗?下面是小编整理的cad齿轮制作教程,希望能给大家解答。
cad齿轮制作教程:
cad齿轮画法很简单,首先打开cad正交模式,并打开cad的圆心捕捉、最近点捕捉和端点捕捉。

接下来使用cad圆命令画出一个同心圆。

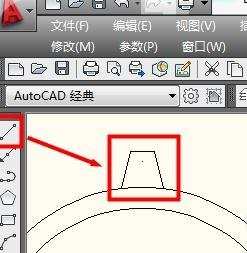
使用cad直线工具在外圆上画出一个齿轮。
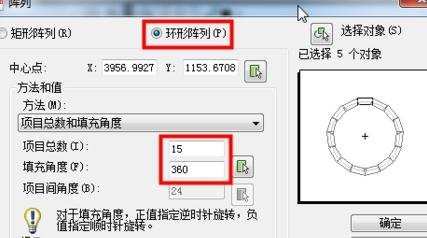
在cad阵列中选择环形阵列,输入阵列的数目和角度为360度。
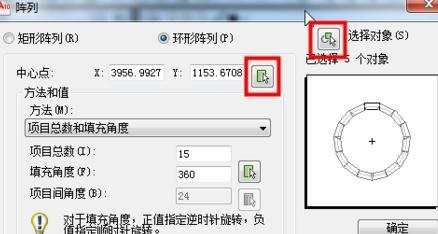
接下来点击阵列中的箭头图标设置阵列的中心点为同心圆的圆点,选择对象为刚才画的齿轮。(记得勾选复制时旋转项目)
设置好cad阵列后可以先点击预览,没问题后按回车返回点击确定就可以了。

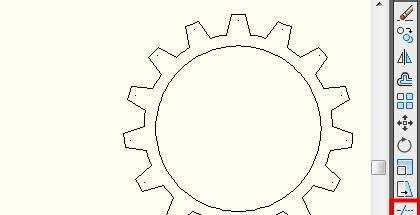
此时一个cad齿轮就基本画好了。
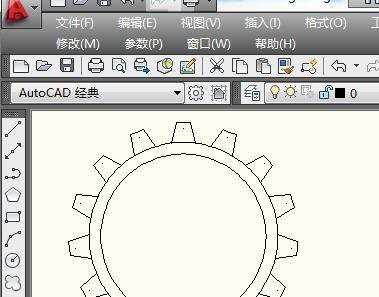
最后我们使用cad修剪工具删除外圆上多余的线,cad齿轮画法就完成了。
cad齿轮制作教程的评论条评论