
怎样使用PS的抠图技巧
发布时间:2017-03-29 10:02
相关话题
抠图是我们大家经常要做的操作,但是很多同学都不是很了解抠图的具体一些技巧,接下来就是小编精心整理的一些关于怎样使用PS的抠图技巧的相关资料,供你参考。
使用PS的抠图技巧的方法
1、打开PS CS6软件
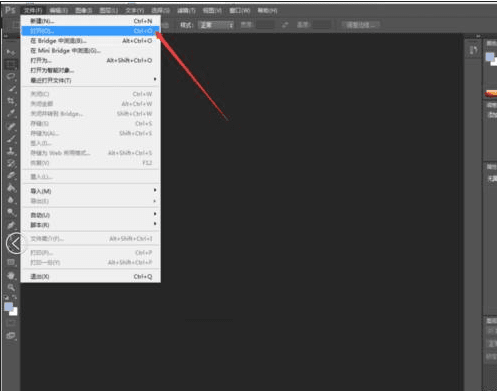
2、用PS"文件>打开"命令打开带有人物的图片。也可以使用快捷键ctrl+o打开
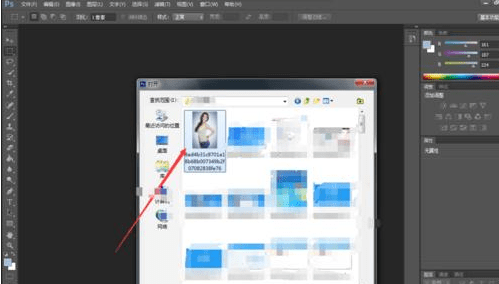
3、选择图片,点击打开。
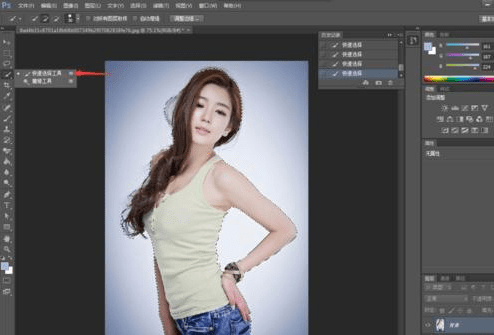
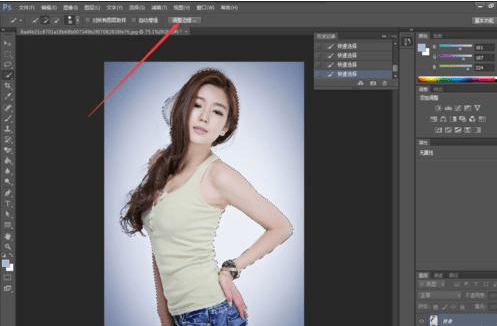
4、点击“快速选择工具”将人物选中,如图
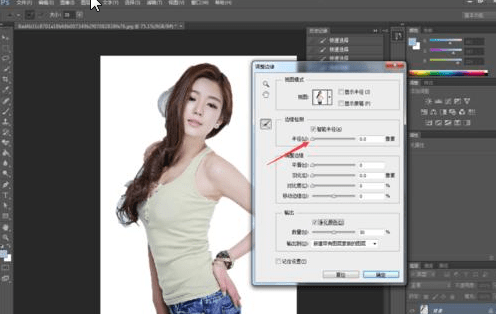
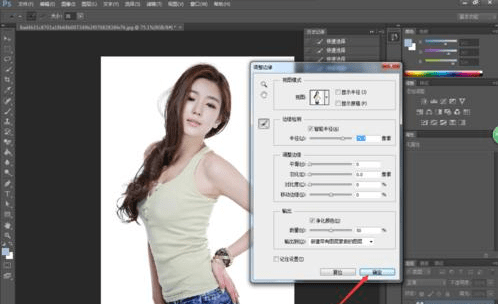
5、单击“调整边缘”按钮
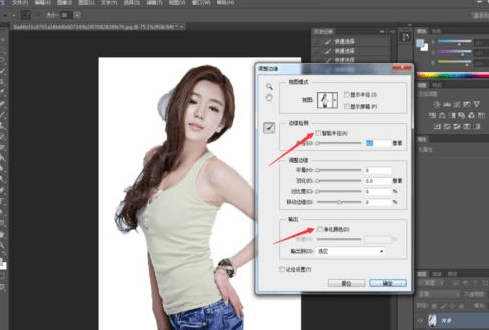
6、勾选“智能半径”和“净化颜色”按钮
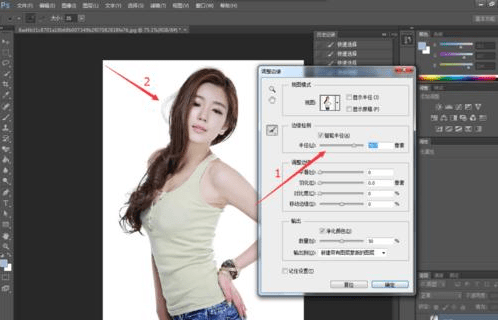
7、调整“半径”如图
8、调整到当前数值,观察图片背景是否完全消失,如果不行再将半径调大。
9、单击“确定”按钮。
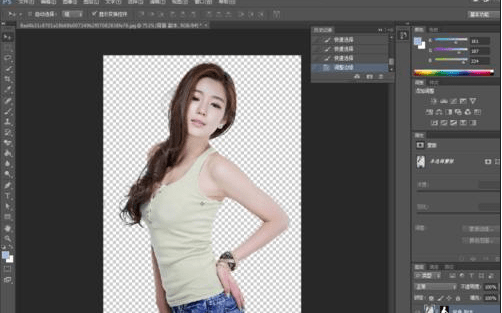
10、这样我们的人物就抠图完毕了
11、打开背景图片
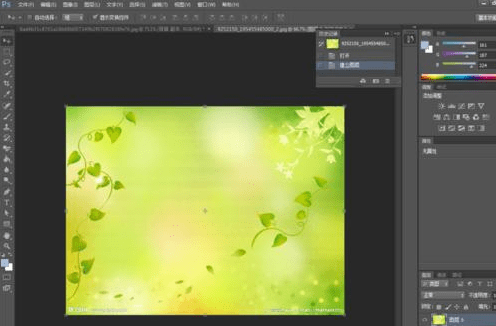
12、将人物图片拖动到背景图片中,调整大小按回车确认。

13、这样抠图换背景就完成了

怎样使用PS的抠图技巧的评论条评论