
photoshop抠完图怎样处理边缘
发布时间:2017-06-05 14:02
相关话题
如果我们在photoshop里面抠图,首先要注意的是抠出来的图片边缘。接下来就是小编精心整理的一些关于photoshop抠完图怎样处理边缘的相关资料,供你参考。
photoshop抠完图处理边缘的方法
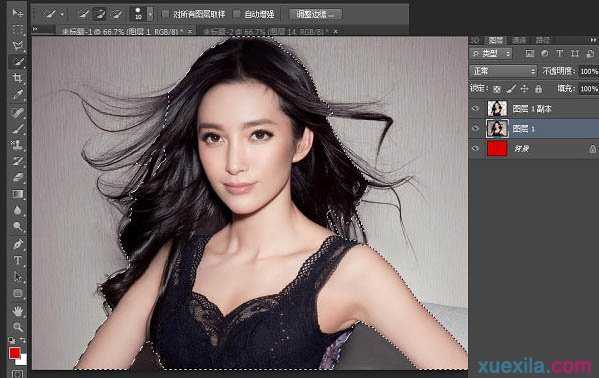
1、在photoshop cs6中打开素材图复制两层,把下面一层隐藏。

2、用快速选择工具选出要扣出的部分,包括细节部分!然后点击调整边缘按扭。

3、参数设置如下图。

4、确定后效果,删除多余部分。

5、效果图!这里我们发现头发等主体部分有缺失,那就把再刚才的步骤重复一遍吧。

6、打开隐藏的素材图层,用快速选择工具选出要扣出的主体部分!这次不用保留细节部分。
7、设置参数如下图。

8、最后把两个图层合层。

最终效果。

photoshop抠完图怎样处理边缘的评论条评论