
Photoshop木头文字制作教程
相关话题
Photoshop的文字效果很强大,如何在Photoshop中制作木头文字效果呢?下面是小编为大家整理的Photoshop木头文字制作教程,仅供大家参考~
Photoshop木头文字制作教程如下:
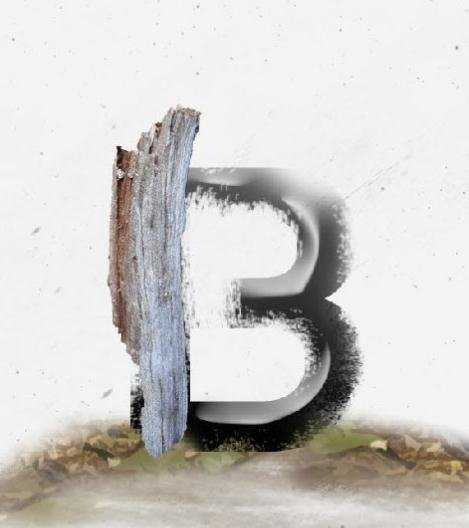
先看完成效果:

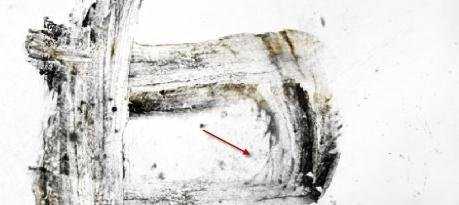
1.新建一大小为700*1000像素背景为白色的文件。下载一点笔刷见下图给照片制造污点效果
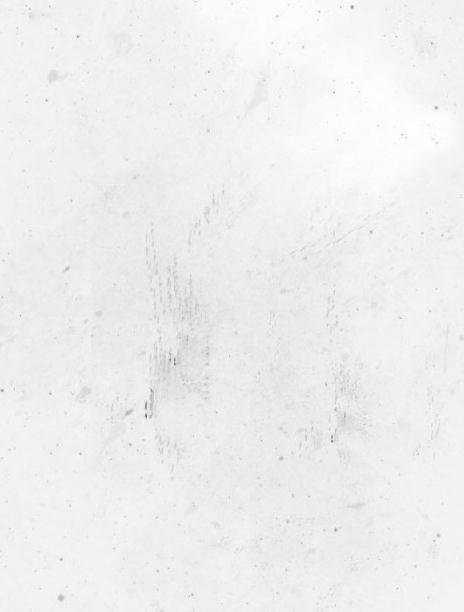
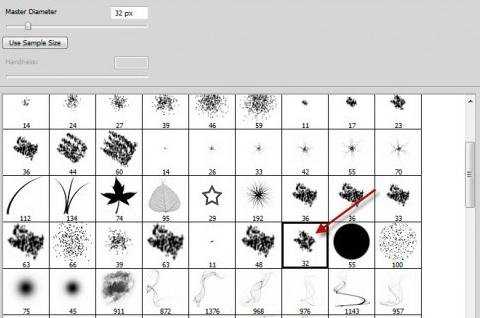
选取“画笔工具”在预设了选取“半湿描油彩笔”见下图绘制
photoshop教程
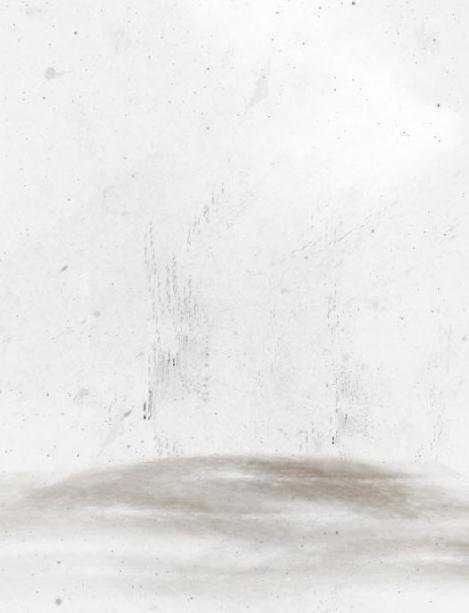
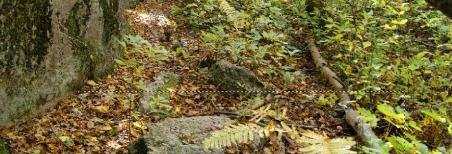
2.打开“素材文件”,这些素材可去网上下载,用矩形选项框工具选取一部分
拷贝并粘贴到我们的文件上,之后运用“自由变换”工具单击右键选取“扭曲”做如下调节
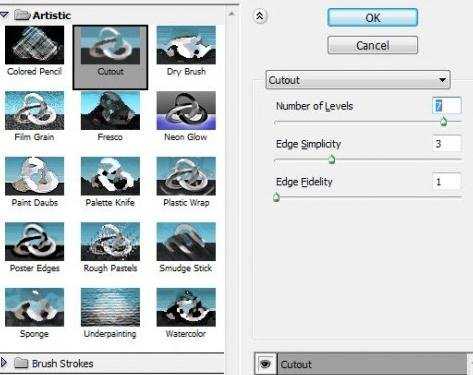
打开“滤镜>艺术效果>木刻”并运用一下设定
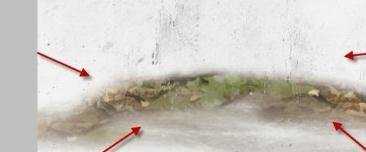
用软角“橡皮擦”把地面的硬边涂掉
3.键入文字,运用一粗体文字,假如没有可下载一

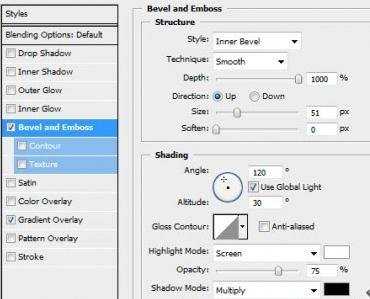
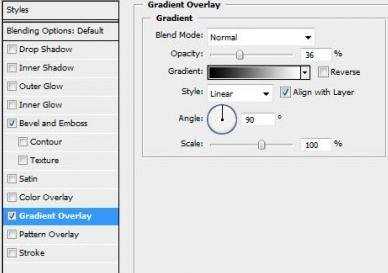
单击图层面版下面“加上图层样式”调节如下选项
斜面和浮雕
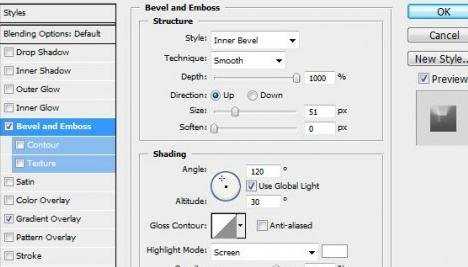
渐变叠加
见下图选取画笔预设
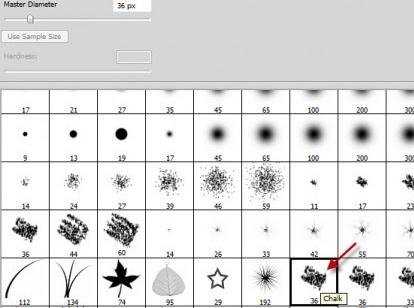
运用“橡皮擦”与画笔工具按下图消除粗糙的边上
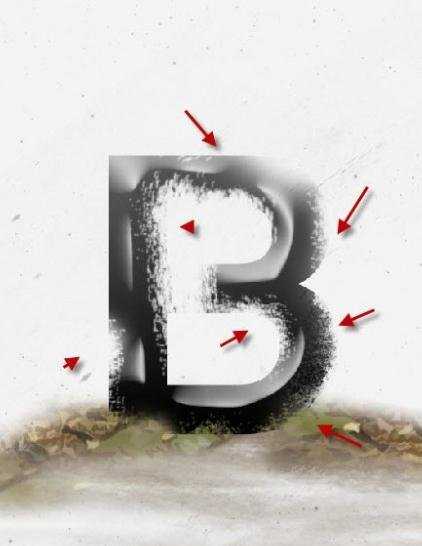
获得如下效果

4.打开木纹照片,运用“快速选取工具”选择一区域
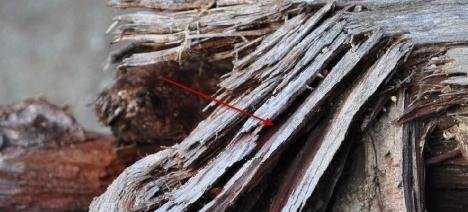
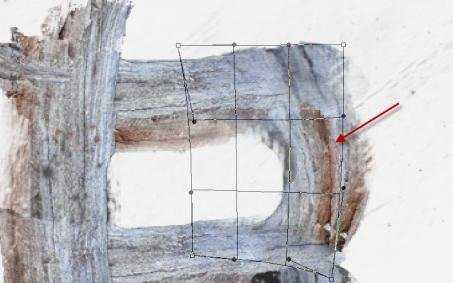
拷贝并粘贴到画布上,同时运用“自由变换”工具单击右键选取“变形”把木纹按下图调节大小及外形
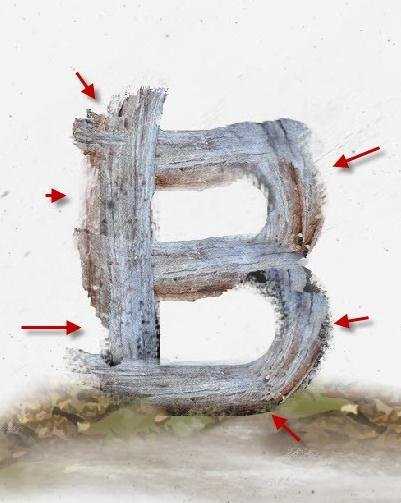
返回木纹照片,重复上一遍的操作,一直做到下图显示的画面为止
用柔笔刷消除木纹的硬边上
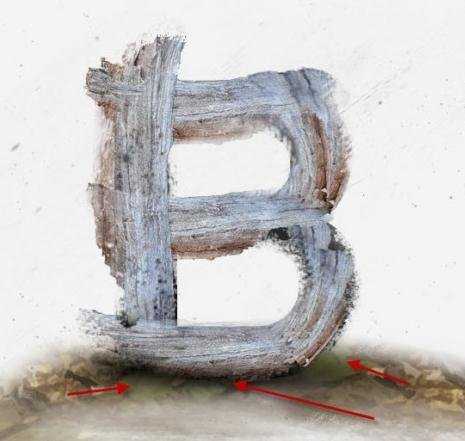
运用黑色笔刷给文字做阴影,恰当调节不透明度同时在想要的时候调节绘制的阴影大小
5.下方来调节色彩,单击图层下面的“新建新的图层或者调节图层”来加上几个调节层
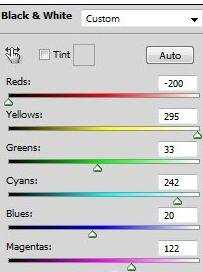
黑白
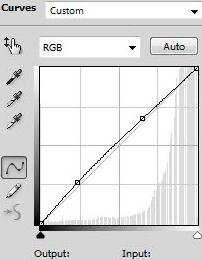
曲线
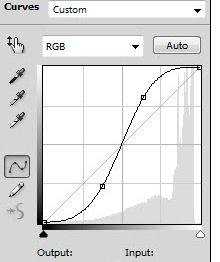
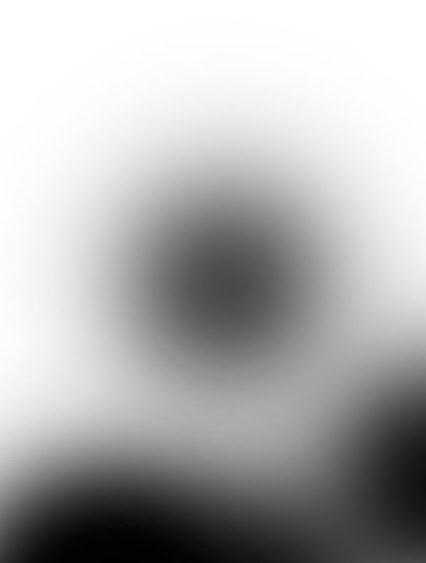
在曲线图层的“图层蒙板”中做如下涂画

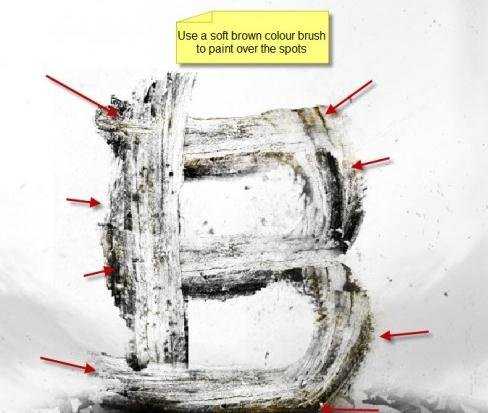
下载污垢笔刷,在文字边上做飞溅的污点
创建一层,在这儿可运用深绿色或黄色,调节流量与不透明度为20%左右,在文字上涂画,来提高一层粗糙生锈的feel
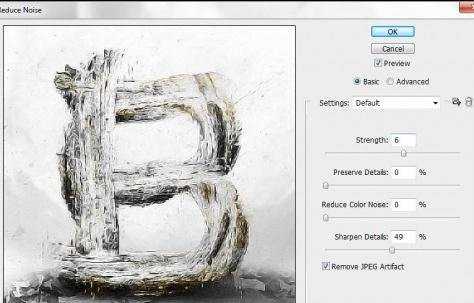
6.下方我们来加上木质感。把你所有的木纹图层备份,之后拼合,选取“滤镜>杂色>减少杂色”见下图设定
把此层的不透明度设定为80%,并运用如下的调节层
色阶
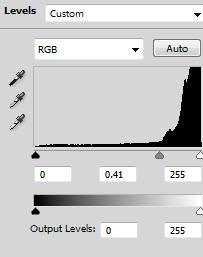
在色阶调节层的蒙板中做如下涂画
曲线
色彩平衡
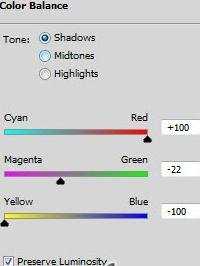
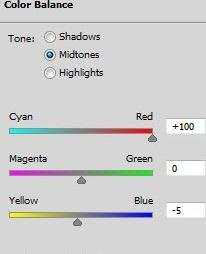
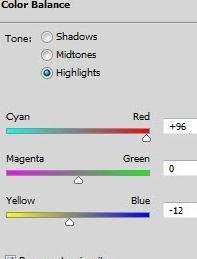
在色彩平衡的图层蒙板涂画

只为使文字表现的更有深度,运用“减淡工具”与“加深工具”设定暴光度为20%在图中的文字边上涂画

最终的效果

Photoshop木头文字制作教程的评论条评论