
ps制作毛发滤镜的教程
灵活运用滤镜来制作各种实物效果,制作的时候先要分析下实物的具体特性然后再用PS慢慢的制作出来,有的效果用滤镜比鼠绘更快!下面是小编为大家整理的ps制作毛发滤镜的教程,仅供大家参考~
ps制作毛发滤镜的教程如下:
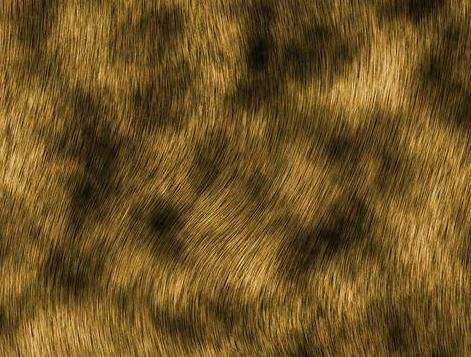
最终效果
1、新建一个宽度为12,高度为12,分辨率为300像素,模式为RGB的白色文件。
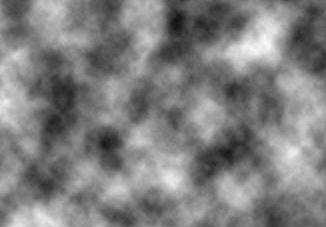
2、设置前景色和背景色分别为黑色和白色。执行菜单栏中的“滤镜”→“渲染”→“云彩”命令,效果如图1所示。
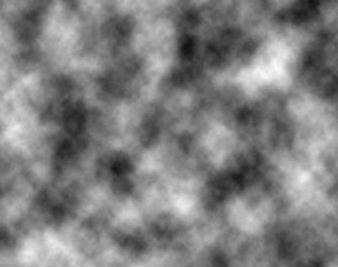
<图1>
3、切换至通道面板,在控制面板下方单击“创建新通道”按钮,生成新的通道Alpha 1。执行菜单栏中的“滤镜”→“杂色”→“添加杂色”命令,在弹出的添加杂色对话框中,将数量选项设置为300,勾选高斯分布和单色选项,如图2所示,图像效果如图3所示。
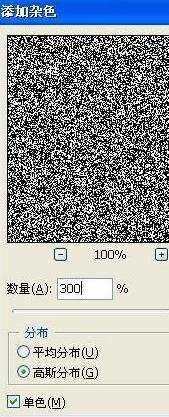
<图2>
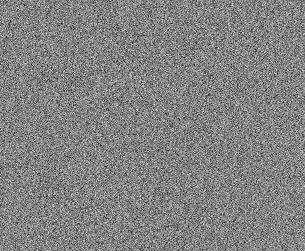
<图3>
4、执行菜单栏中的“滤镜”→“模糊”→“动感模糊”命令,在弹出的动感模糊对话框中,设置角度为90,距离为36,如图4所示,图像效果如图5所示。
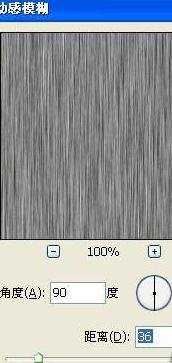
<图4>
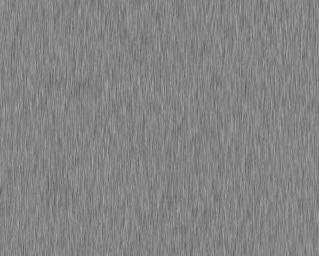
<图5>
5、选择菜单栏中的“图像”→“调整”→“色阶”命令,在弹出的对话框中设置参数如图6所示,图像效果如图7所示。
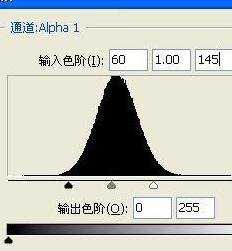
<图6>
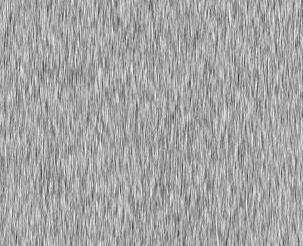
<图7>
6、执行菜单栏中的“滤镜”→“扭曲”→“旋转扭曲”命令,在弹出的旋转扭曲对话框中设置角度为50,如图8所示,图像效果如图9所示。
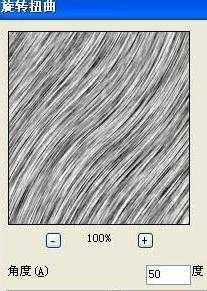
<图8>

<图9>
7、执行菜单栏中的“滤镜”→“扭曲”→“波浪”命令,在弹出的波浪对话框中设置参数如图10所示,图像效果如图11所示。
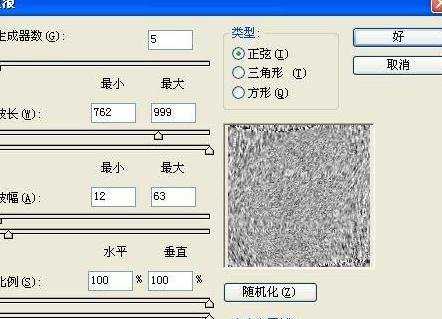
<图10>
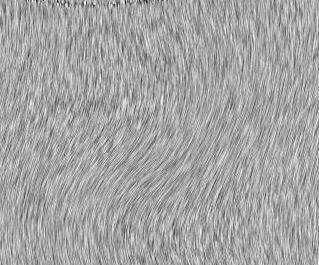
<图11>
8、将文件适当裁切,将多余的部分裁切掉。选择图层面板,复制背景图层为背景副本图层,切换至通道面板,按住Ctrl键单击通道Alpha 1,载入选区,回到图层面板,选中背景副本图层,按Delete键,将选中的图像删除,图像效果如图12所示。
<图12>
9、在图层面板上方,设置背景副本的图层混合模式为差值,图像效果如图13所示。按Ctrl+E键,将背景层和背景副本层合并。
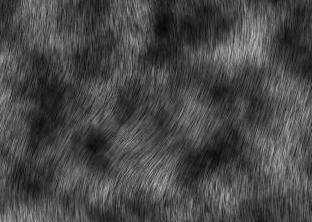
<图13>
10、选择菜单栏中的“图像”→“调整”→“色相/饱和度”命令,在弹出的对话框中勾选着色选项,设置参数如图14所示,图像最终效果如图15所示。
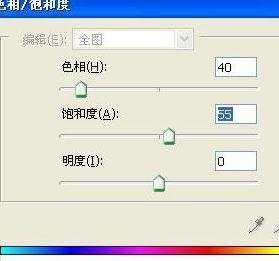
<图14>
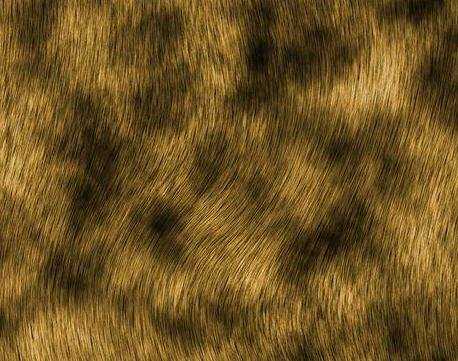
<图15>
ps制作毛发滤镜的教程的评论条评论