
photoshop校徽如何制作
发布时间:2017-02-14 16:07
PS制作图形的功能还是很强大的,那么大家知道photoshop校徽如何制作吗?下面是小编整理的photoshop校徽如何制作的方法,希望能给大家解答。
photoshop校徽制作的方法:
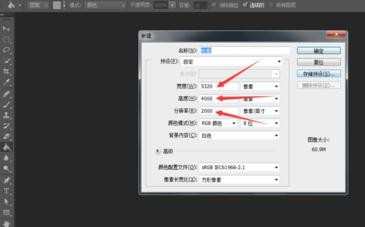
首先,打开photoshop cs6,新建文件
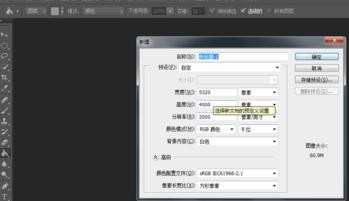
名称改为“校徽”
后面的宽度、高度、分辨率之类的,我是随便改的因为这样用起来比较方便,然后点击确定。
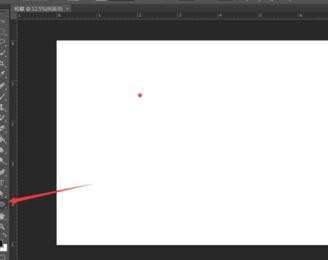
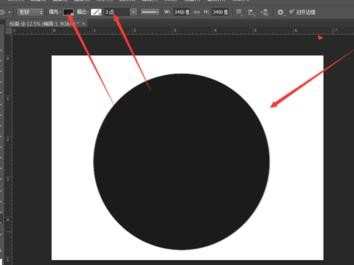
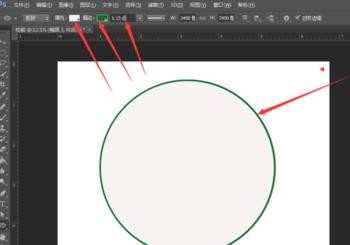
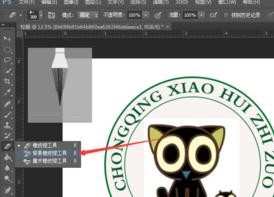
选椭圆工具,按住shift,画出一个标准的圆形。
我画出来的圆是黑色的,要改一下圆通的颜色改为白色,描边,描边的颜色,我改为绿色。其他的做相应的调整。大可以试着点一下上面的图标。看看有什么变化。
改后的结果是这样
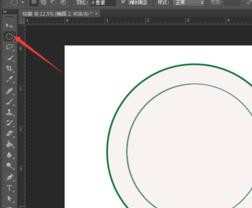
同样的方法再画一个同心圆,点数稍微比外圆小一点

打开椭圆选框工具按住shift画出和内圆一样大小的圆
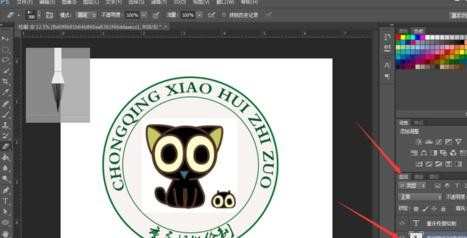
点击路径。然后再点击从选区生成路径。
点击文字工具。将鼠标移动到,刚才画的那个,内圆上。当鼠标变成一个a和一条,曲线的时候。点击,然后编辑文字。
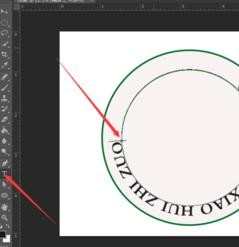
选中文字,按住按住CTRL,可以看到这样的矩形选框
然后,将文字,旋转到,合适的地方。
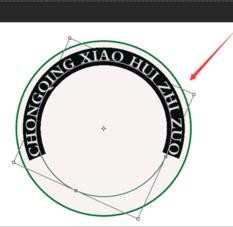
按住椭圆选框工具,按住s h i t f。再画一个同心圆,大小大概如图中的样子。
点击路径。点击,从选区生成工作路径。
点击文字工具,输入文字。
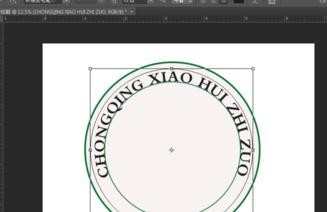
选中文字按住按住CTRL键,把鼠标移到文字上
当鼠标变成了一个实心三角形符号+I的形状,往同心圆里侧拖动鼠标
你就可以看到,倒立的字体被翻转过来。

选下一个工具的时候系统会询问你是否删格化,点击“是”
把设计好的校徽图案图片直接拖到PS界面上
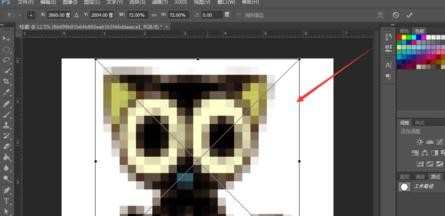
调整文件,使之置入同心圆里面
如图注意图片的大小,不要让图片的死角覆盖掉内圆
你也可以用 橡皮擦工具—背景橡皮擦擦掉个四个角
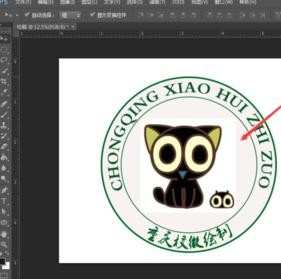
Ok,校徽的绘制就到这里了~谢谢大家~
另:
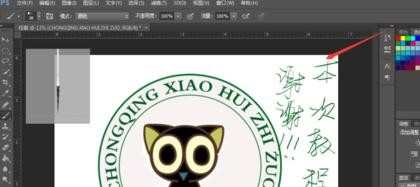
擦去四角
先选中图层,在选取如上的橡皮擦
photoshop校徽如何制作的评论条评论