
photoshop给图形填充颜色的教程
发布时间:2017-04-06 08:54
相关话题
当大家需要给图形填充颜色的时候,我们在photoshop里面可以用到很多功能命令,很多刚学习的新手小伙伴可能还不知道,下面是小编带来关于photoshop给图形填充颜色的教程的内容,希望可以让大家有所收获!
photoshop给图形填充颜色的教程
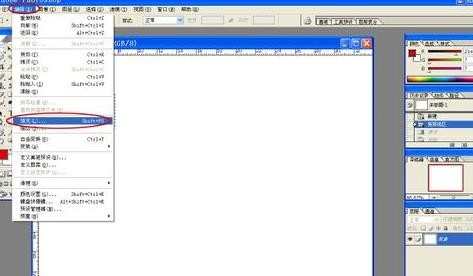
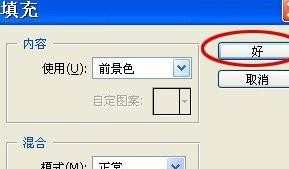
菜单中的填充。
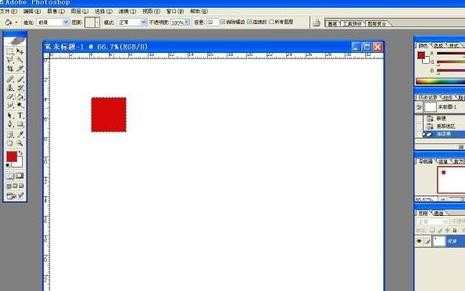
点菜单栏上的“编辑”下拉菜单的“填充...”,出现“填充”窗口。点“好”,会出现和用“油漆筒”同样的效果。
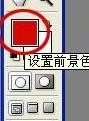
前景色填充快捷方式。
用快捷方式填充颜色又快又方便,按alt+del键,用前景色填充选区。
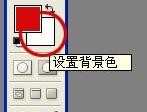
后景色填充快捷方式。
按ctrl+del键,用后景色填充选区。有这两个快捷键,两种颜色就可以同时使用,不用每次都重新选取颜色了。
photoshop给图形填充颜色的教程的评论条评论