
word中怎么设置页眉横线
发布时间:2016-12-11 13:49
相关话题
WORD页眉页脚去掉了横线后并不美观,所以很多时候我们还是会给页眉别上横线的。那么下面就由小编给大家分享下word设置页眉横线的技巧,希望能帮助到您。
word设置页眉横线的步骤如下:
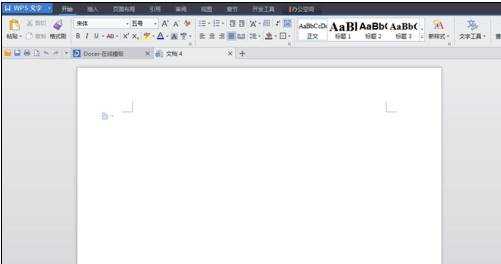
步骤一:新建文档
步骤二:在插入——页眉页脚
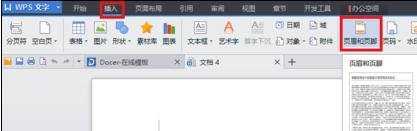
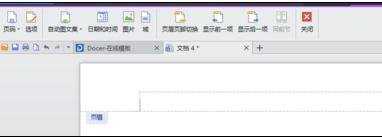
步骤三:就可看到页眉页脚的工具选项卡
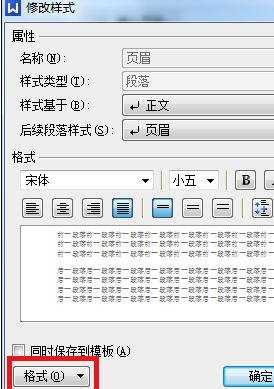
步骤四:在右边的界面里,页眉——修改
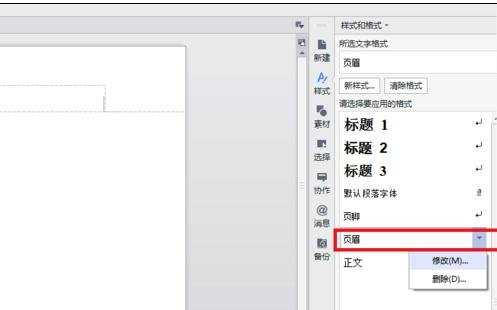
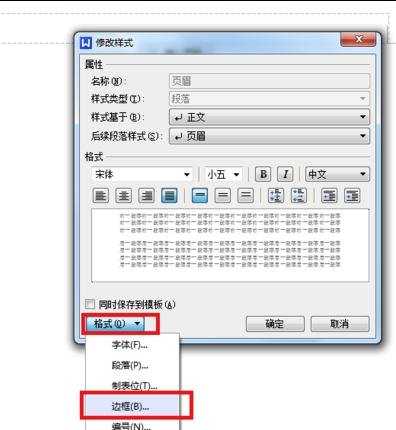
步骤五:修改样式——格式——边框
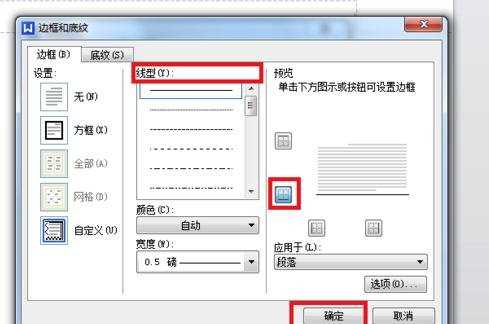
步骤六:在线型里选择需要的线,按下图设置,在预览里可以看到效果
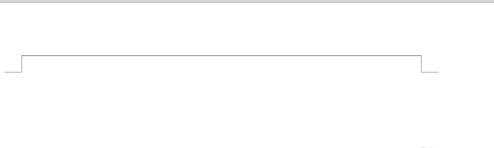
步骤七:设置好后,关闭页眉页脚工具选项卡,就可以看到效果了
word中怎么设置页眉横线的评论条评论