
photoshop7.0版本怎么抠图的
发布时间:2017-06-01 13:24
抠图在photoshop中任何版本都差不多,今天说说7.0的版本。其实这个也不算太难,下面就让小编告诉你photoshop7.0版本怎么抠图的方法,一起学习吧。
photoshop7.0版本抠图的方法
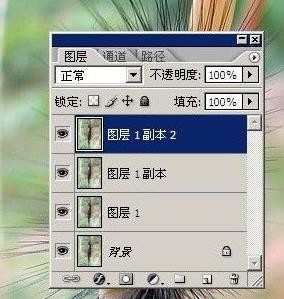
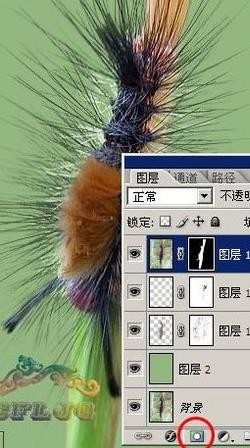
1、打开图片,ctrl+j 3次,分别得到图层1、图层1副本和图层1副本2。
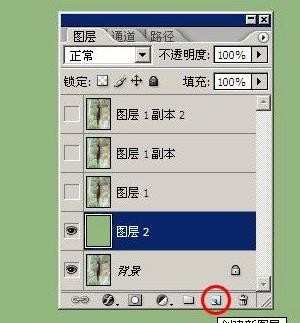
2、新建图层2,放于图层1和背景层之间,填充你喜欢的颜色。
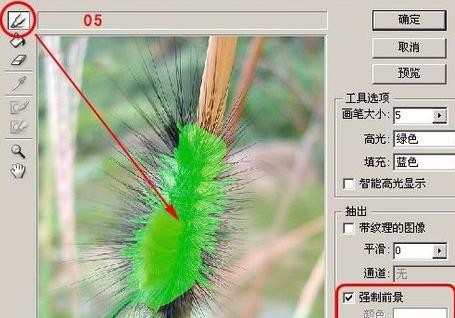
3、在图层1执行滤镜--抽出,在强制前景处打勾,颜色设置为黑色, 目的是要抽取虫虫的黑毛,再用边缘高光器工具按图示涂抹绿色。
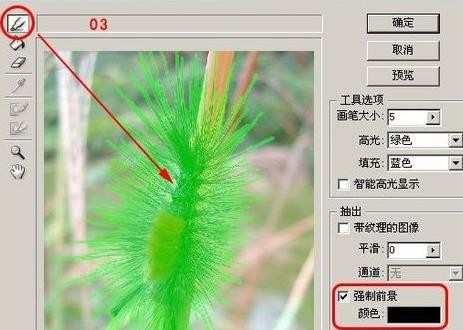
4、在图层1副本层执行滤镜--抽出,强制前景处打勾,颜色设置为白色, 目的是要抽取毛毛的高光部分,用边缘高光器工具按图示涂抹绿色。
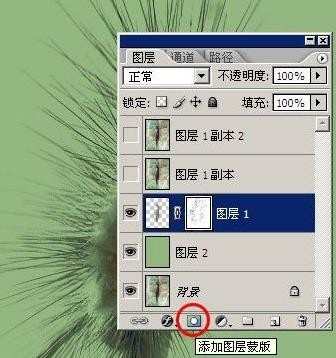
5、同样添加图层蒙版用黑画笔清除掉边缘的杂色。
6、给图层1副本2层添加蒙版,用黑画笔涂抹出新的背景。
photoshop7.0版本怎么抠图的的评论条评论