
excel冻结单元格的教程
发布时间:2016-12-23 10:26
相关话题
Excel中经常需要使用到冻结单元格的技巧,单元格具体该如何进行冻结操作呢?下面是小编带来的关于excel冻结单元格的教程,希望阅读过后对你有所启发!
excel冻结单元格教程:
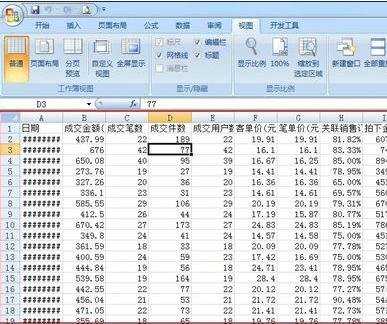
冻结单元格步骤1:打开一个需要冻结单元格的excel表格,
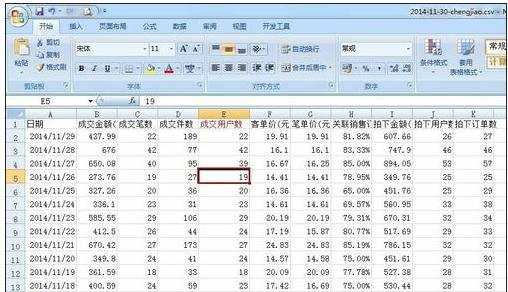
冻结单元格步骤2:鼠标点击您需要冻结的单元格
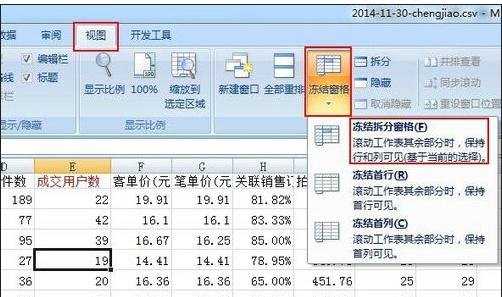
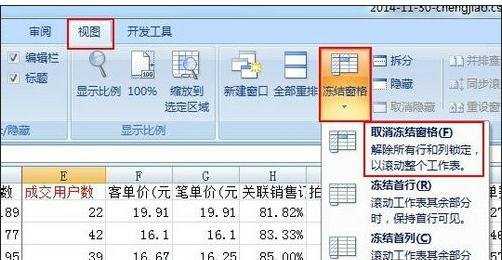
冻结单元格步骤3:再点击菜单栏中的“视图“-”冻结窗格“-”冻结-拆分窗格“
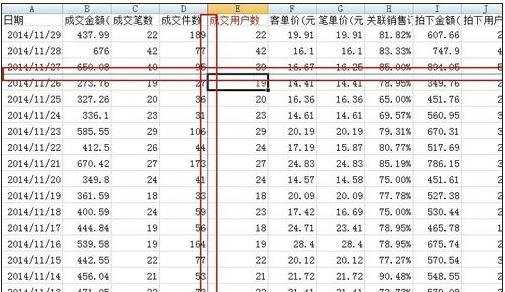
冻结单元格步骤4:此时冻结就成功了,你会看到在冻结的单元格上方和左方有各一条黑色;
冻结单元格步骤5:如果要取消刚才冻结的单元格,方法和刚才冻结时一样。点击菜单栏中的“视图“-”冻结窗格“-”取消冻结-拆分窗格“
看了excel冻结单元格的教程还看了:
1.excel2007单元格冻结的教程
2.excel冻结表格的教程
3.excel2007表格冻结的教程
4.怎么在excel2013中冻结任意行
5.excel表格取消冻结的教程
6.excel2013怎么冻结窗口
7.Excel冻结窗格的使用技巧
excel冻结单元格的教程的评论条评论