
Photoshop制作火焰动感的3D立体字教程
发布时间:2016-12-26 12:48
相关话题
本教程主要使用Photoshop制作火焰动感的3D立体字教程,效果图中的文字部分并不复杂,为简单的立体字,用图层样式及手工复制就可以做好。火焰部分稍微有点复杂,用动感及火焰素材叠加,然后再加上火花及炫光等渲染出动感效果即可。下面是小编为大家整理的Photoshop制作火焰动感的3D立体字教程,仅供大家参考~
Photoshop制作火焰动感的3D立体字教程如下:
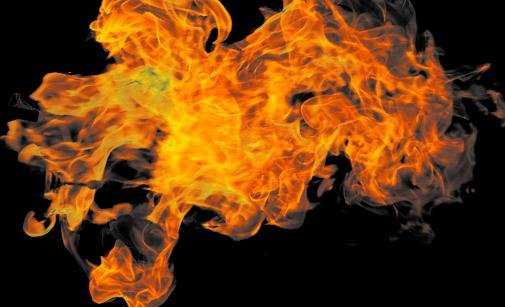
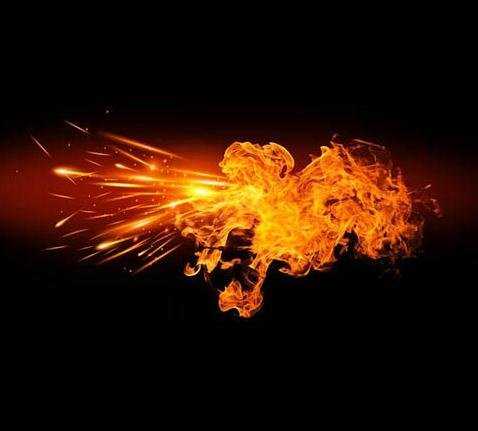
最终效果

1、新建一个1680x1050pixels 的文档,分辨率为72Dpi ,颜色为RGB并使用黑色背景。

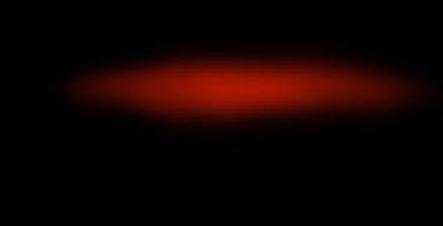
2、新建图层( Ctrl+Shift+N ),使用画笔工具 (B) ,在画布中心用#a41602颜色画出下面的形状。
3、打开下面的素材并如下调整。
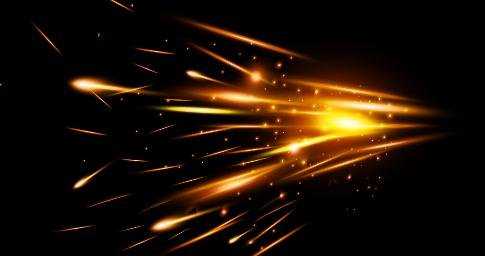
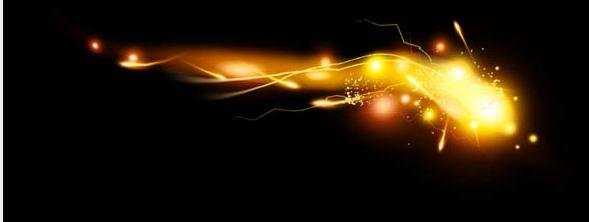
4、然后用同样的方法做火。
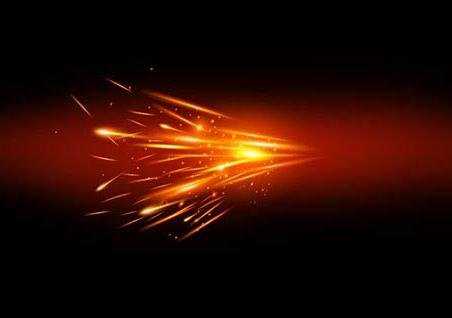
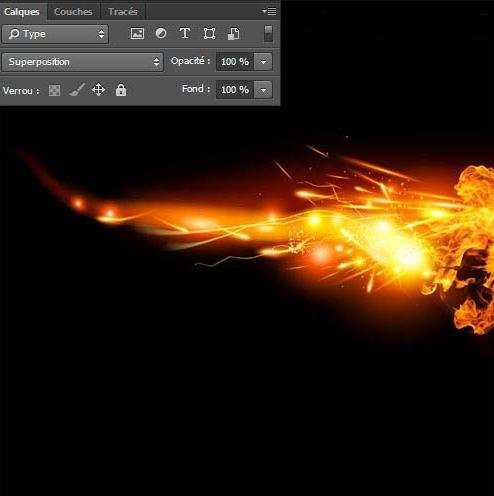
5、导入第三张图片,并把混合模式改为滤色。
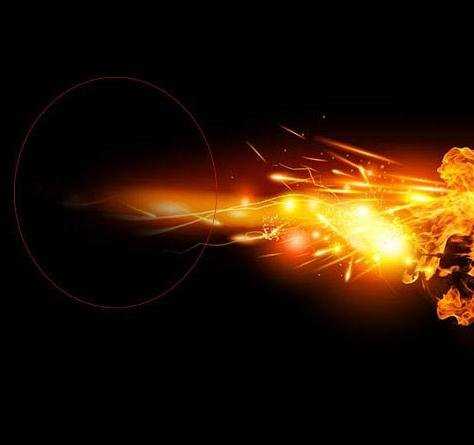
6、然后使用橡皮擦工具(E)擦掉材质左侧。
Photoshop制作火焰动感的3D立体字教程的评论条评论