
Photoshop魔法棒工具抠图教程
发布时间:2016-12-27 20:32
相关话题
Photoshop中魔术棒法是一种最直观的方法抠图方法,他通过删除背景色来获取图像,一般用在图像和背景色色差明显,背景色单一,图像边界清晰的情况;但对散乱的毛发作用不大。下面是小编为大家整理的Photoshop魔法棒工具抠图教程,仅供大家参考~
Photoshop魔法棒工具抠图教程如下:
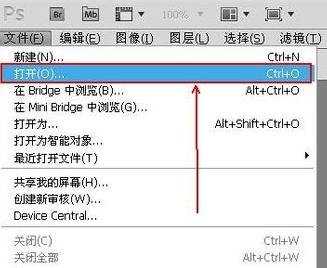
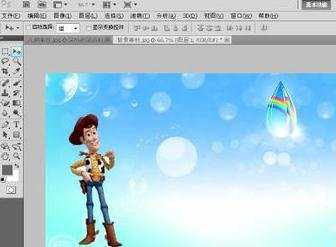
启动photoshop软件,选择文件>打开 菜单,将人物素材图片载入到photoshop的操作界面
打开人物素材后,点击软件左侧工具栏的魔棒工具。
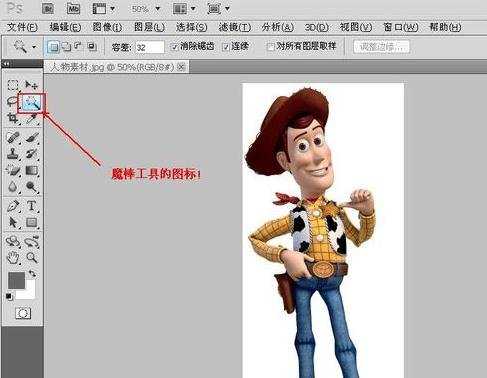
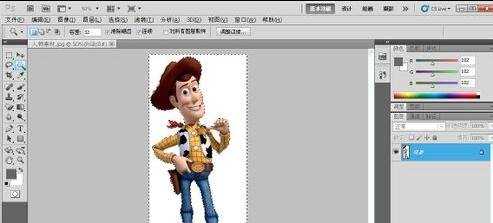
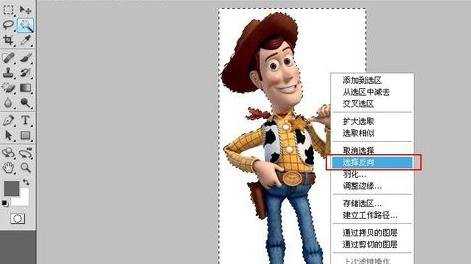
点击人物素材的白色背景,魔棒工具可以自动选区所有的白色区域。
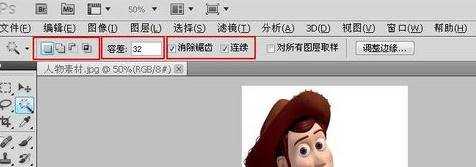
如果对魔棒选区的区域不满意的话,可以调节魔棒工具的菜单栏调整选区。容差的取值范围是0-255,数值越大,魔棒所选的区域允许的色彩差异越大。
由于我们需要的是人物素材中人物,现在选中的是背景,我们需要把鼠标移至选区,鼠标右击选择弹出菜单的选择反向功能。
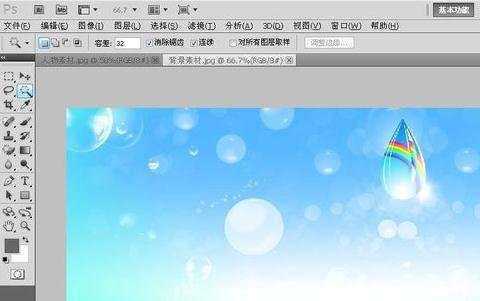
用步骤1的方法打开背景素材。
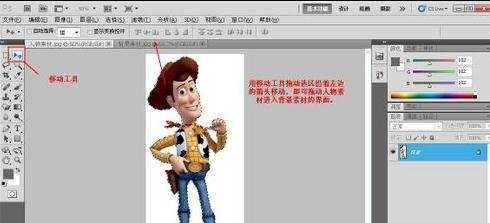
回到人物素材界面,选中photoshop的移动工具,将人物选区拖动到背景素材中。
选择编辑>自由变换功能,改变人物素材的大小以适应背景图案。按住Shift键可以等比例控制人物素材的缩放,不会产生图像变形。
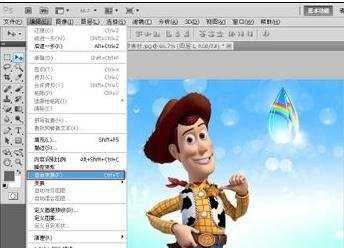
拖动人物素材到合适的位置,就大功告成了!
Photoshop魔法棒工具抠图教程的评论条评论