
word设怎么置页面背景水印
发布时间:2016-12-11 14:17
相关话题
有时我们需要添加word文档的页面背景,比如说使用颜色、图像等作为页面背景。那么下面就由小编给大家分享下word设置页面背景水印的技巧,希望能帮助到您。
word设置页面背景水印的步骤如下:
步骤一:打开需要设置页面背景的word文档,如图:

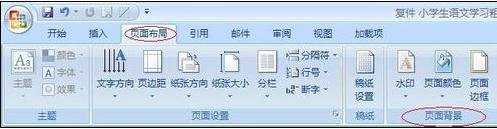
步骤二:打开【页面布局】选项卡,找到【页面背景】组,如图:
步骤三:找到【页面颜色】按钮,单击【页面颜色】按钮,弹出【主题颜色】列表。如图:

步骤四:从【主题颜色】中选择需要的文档背景颜色,如图:

步骤五:在【主题颜色】下的【填充效果】,弹出【填充效果】对话框,如图:

步骤六:通过【填充效果】里的【渐变】、【纹理】、【图案】、【图片】等设置需要填充的效果。这里以图案为例,单击【图案】列表的图案,完成填充,如图:

步骤七:找到并单击【水印】按钮,弹出【水印】类别列表。如图:

步骤八:选择需要的水印效果,如图:

word设怎么置页面背景水印的评论条评论