
Photoshop合成城市废墟中的战争片场景教程
PS合成城市废墟中的战争片场景。合成大片需要一定的综合技能。首先要能构思画面,把想要的效果大致构思出来;然后搜集相关的素材进行合成;合成的难点是颜色统一处理及光影处理。下面是小编为大家整理的Photoshop合成城市废墟中的战争片场景教程,仅供大家参考~
Photoshop合成城市废墟中的战争片场景教程如下:
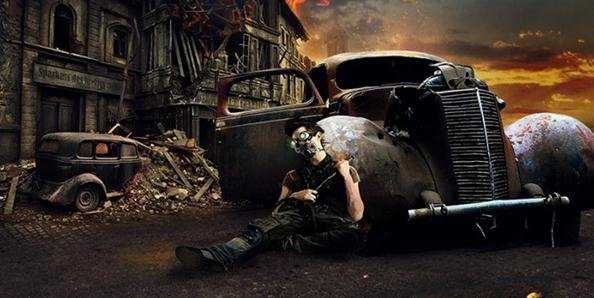
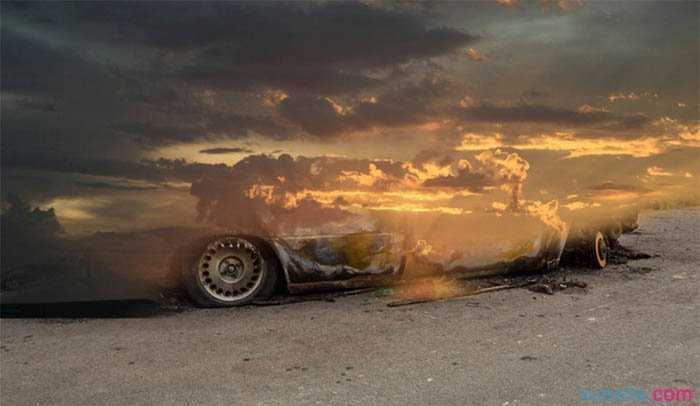
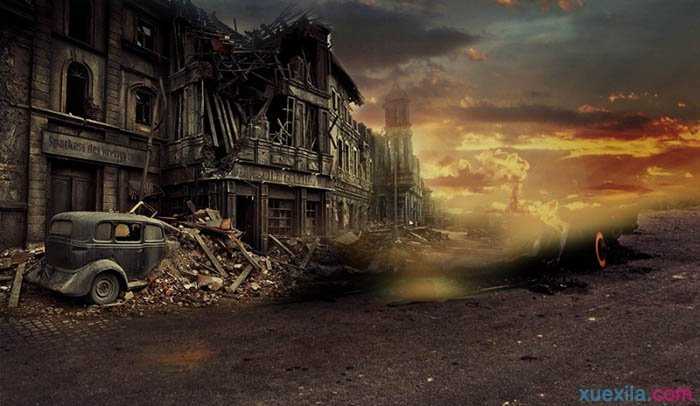
最终效果
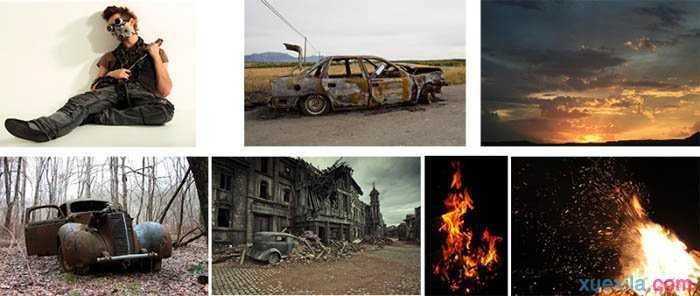
合成所用素材。
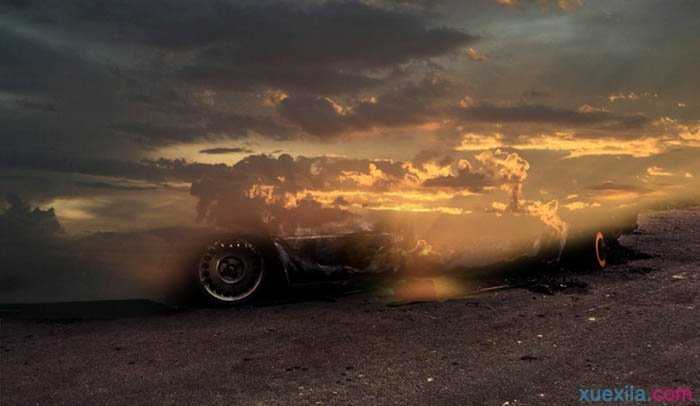
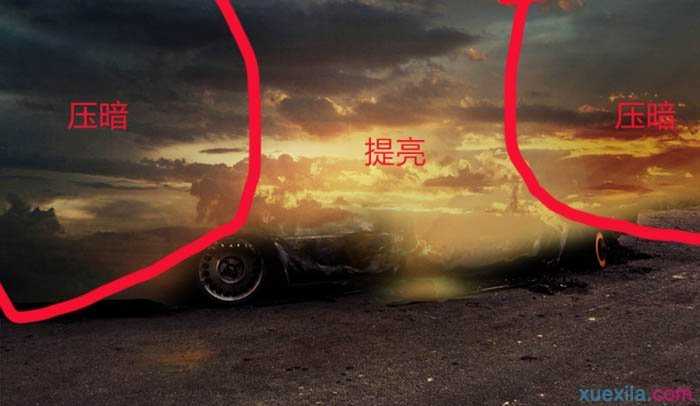
1、新建一个1500*870大小的画布,置入车辆1素材和乌云素材,红线区域内是我们需要的内容。
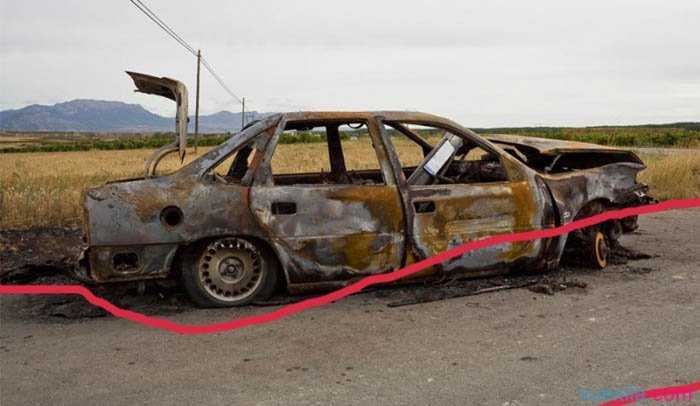
使用蒙板擦除乌云素材,使得边缘柔和点。
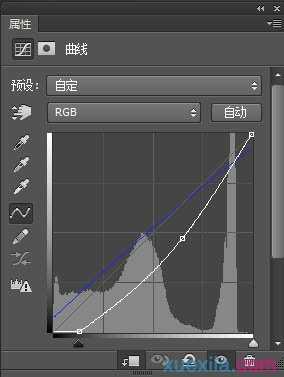
2、调整地面素材,目前素材效果太过新,太过明亮,所以我们要把地面素材调的陈旧黑暗些,这样才符合战后画面。
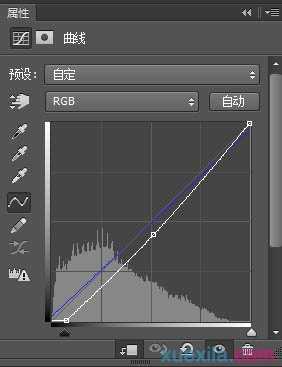
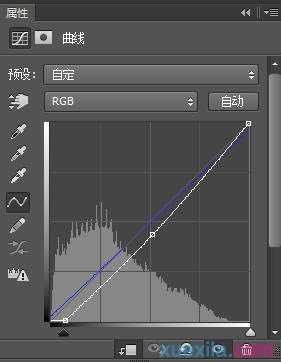
为地面素材创建曲线调整图层,(注意:对地面调色的图层都对地面素材创建剪贴蒙版,保证调色效果只针对于该素材)RGB曲线下拉,压暗整体,蓝色曲线,暗部加蓝,亮部减蓝,数值如图。
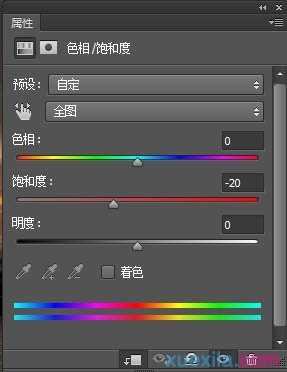
整体饱和度降低,如果页面想表现孤寂感,那么整体饱和度都会偏低。数值如图。
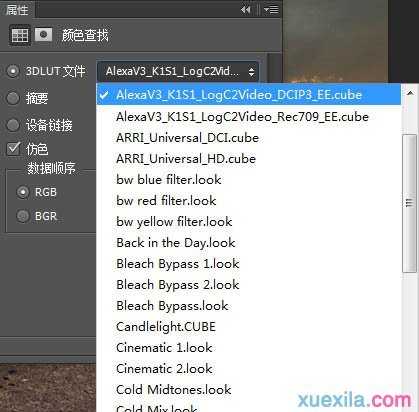
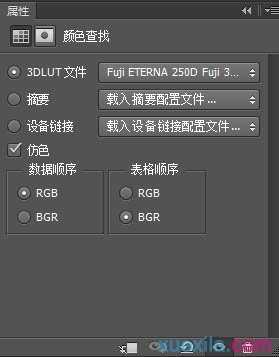
调色神器 颜色查找,直接新建一个颜色查找图层,在3DLUT文件中尝试各种效果,然后选择到合适的颜色效果。
如果进行完以上调色步骤之后,效果还达不到预期,那么我们可以新建一个叠加图层,直接用画笔轻轻刷出我们需要的颜色效果,调整完之后的地面效果。
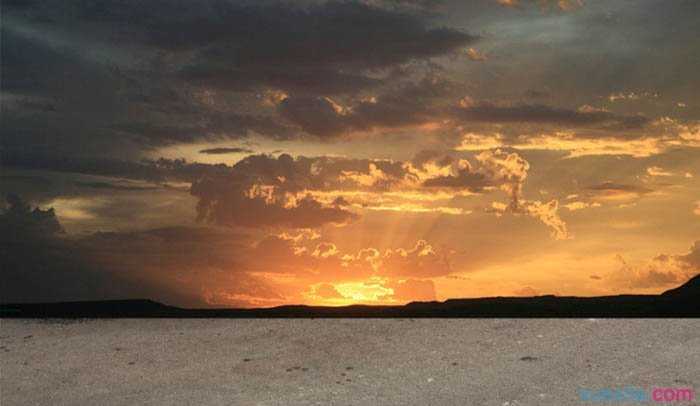
3、调整乌云素材,乌云素材效果还是蛮好的,火烧云的感觉,很符合我们的场景需求,所以我们只需简单加强下明暗对比即可。
4、调整建筑素材,置入城市建筑素材,建立图层蒙板,使用画笔擦除边缘,使得城市与背景重合。
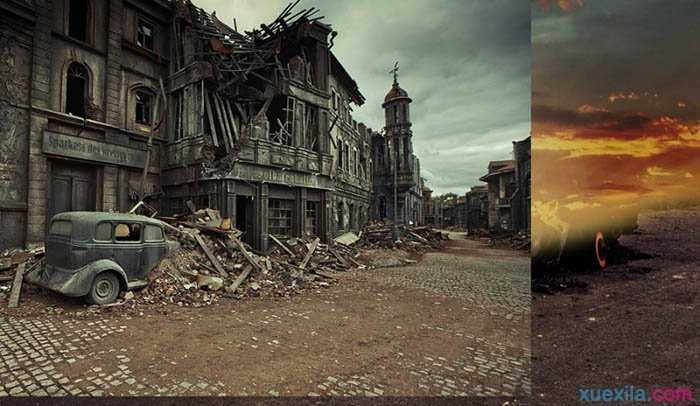
把图融入之后我们发现建筑颜色跟我们场景颜色不是很融洽,我们整体环境是偏红,而建筑颜色整体偏蓝,所以我们要把建筑调成偏红。
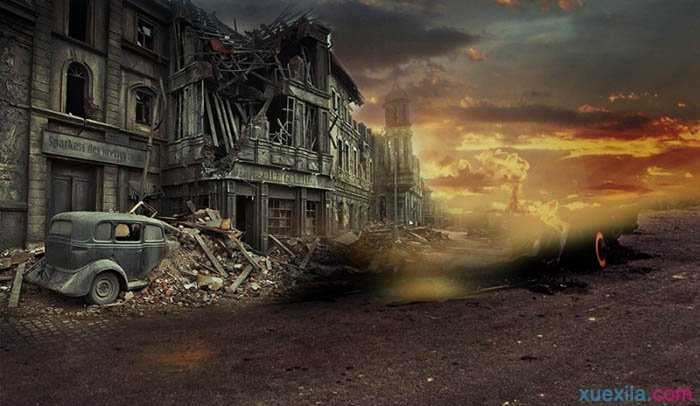
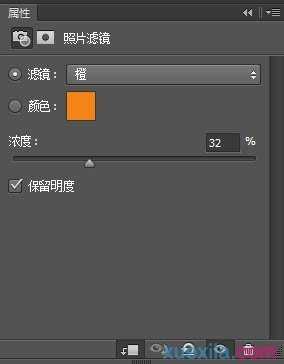
新建一个照片滤镜图层,对建筑图层进行创建剪贴蒙版,选择橙色滤镜,浓度调为32%。

整体颜色加红之后,发现建筑颜色还是不是很融洽,然后得知建筑整体还是偏亮,所以我们用曲线把整体压暗
点,方法跟调节地面一样。
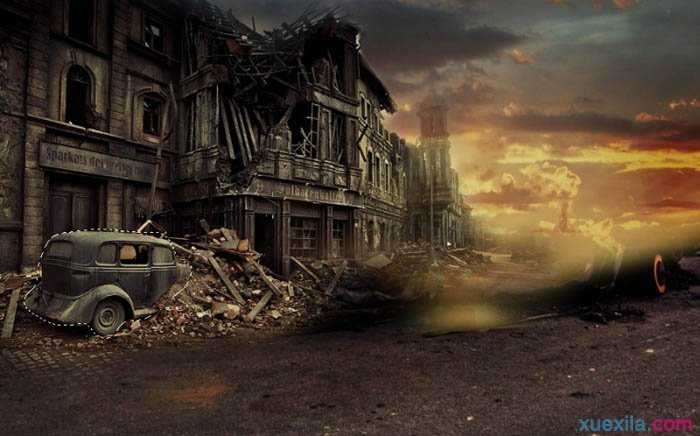
套索工具选取车子,然后羽化边沿,单独对车子颜色进行调整(曲线工具、颜色查找、色相饱和度)。
Photoshop合成城市废墟中的战争片场景教程的评论条评论