
ps按照路径写字的教程
发布时间:2016-12-20 14:45
有时候需要美观,需要 Photoshop写的字根据图片的形状或自己定义的形状来走。下面是小编为大家整理的ps按照路径写字的教程,仅供大家参考~
ps按照路径写字的教程如下:
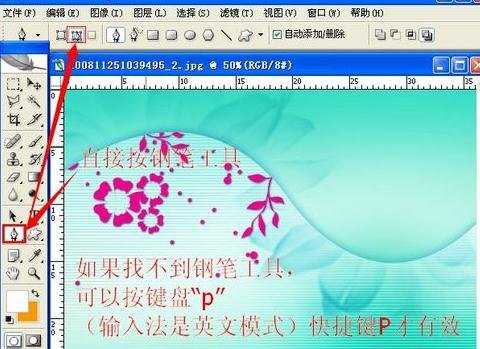
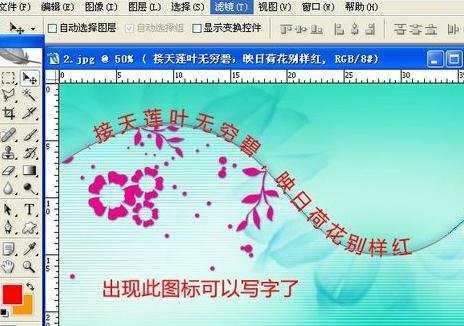
在PS里打开图片,点击“钢笔工具”-选择上面的“路径”形式。
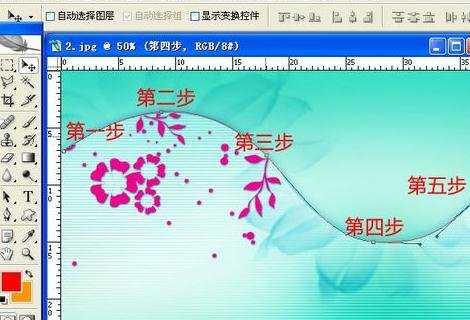
使用“钢笔工具”分别按照,第一步,第二步,第三步...点至图片上面的形状。
如不会使用钢笔工具请查看我的系列经验“ps ( Photoshop )如何使用钢笔工具”。
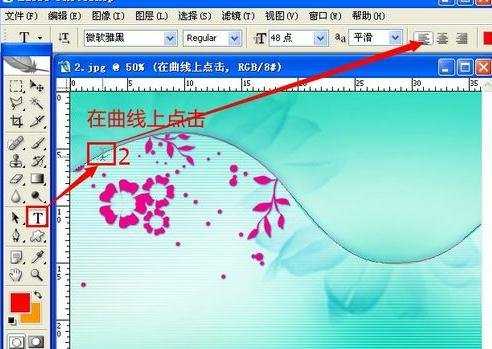
点击图片上的“T”字,沿着钢笔工具曲线(路径)并选择“左对齐文本”点击(仔细看2左边的图标---接触到曲线图标会有所改变),写上自己想要写的字。
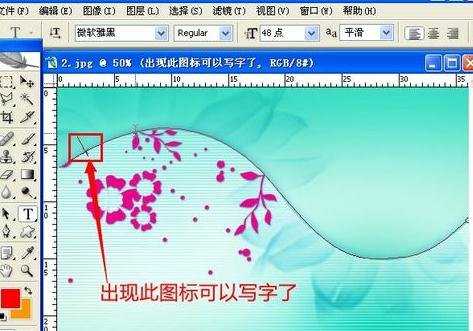
上面基本就完成了。
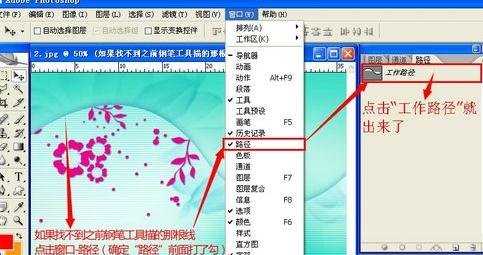
有时一些误操作让钢笔曲线(路径)看不到。
看图点击“窗口”-“路径”,然后点击右边的“工作路径”,曲线就出来了。
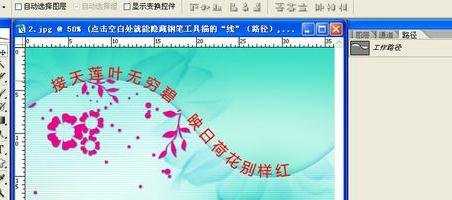
如果需要看不见钢笔路径,请看下图。

6好了,上面就是整个步骤。
ps按照路径写字的教程的评论条评论