
photoshop黄金字制作教程
发布时间:2016-12-11 14:57
相关话题
黄金字的应用非常广泛,制作方法也非常多。但是有些方法对于新入门的朋友来说确实是比较复杂。下面是小编为大家整理的photoshop黄金字制作教程,仅供大家参考~
photoshop黄金字制作教程如下:
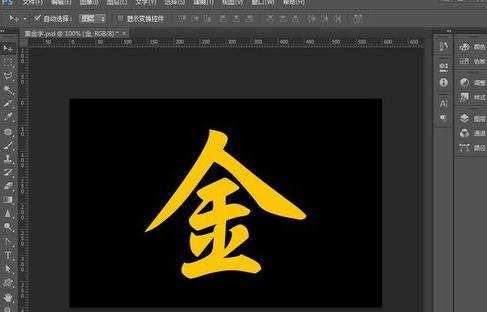
首先我们新建(Ctrl+N)一个600*400的画布,填充前景色为黑色。用文本工具在画布上写一个“金”字,设置字体颜色为#fcc506。这里用的是长城行楷体,您也可以根据自己的喜好进行选择。
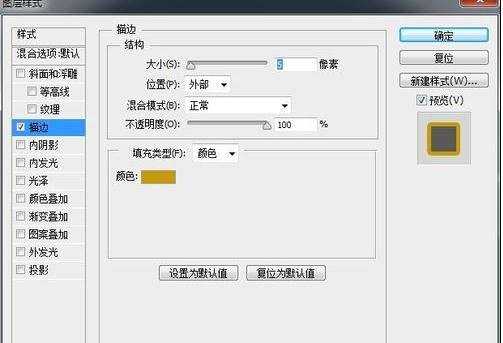
栅格化文本图层,双击打开图层样式,选择描边,设置大小为5像素,颜色为#c69b05
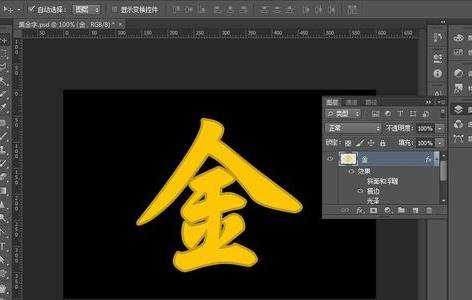
下来是整个过程中最重要的一环,选择斜面和浮雕,设置样式为描边浮雕,设置光泽等高线为环形-双,给字体增加金色包边,这个过程的设置直接影响着字体的立体质感。

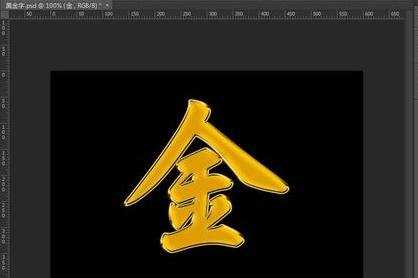
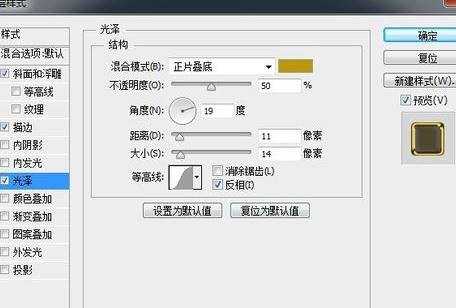
选择光泽,设置混合模式颜色为#bf9606,距离11,大小14,其它设置如下图所示。这个过程也相对重要,可以让字体更饱满,立体感更强。
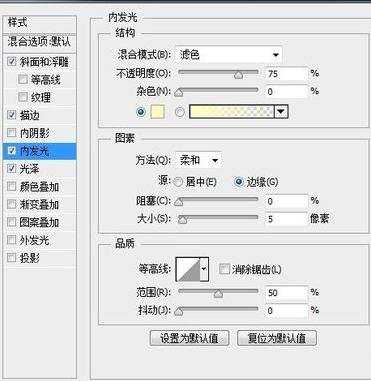
选择内发光,给文字提点亮度,属性默认设置就好。
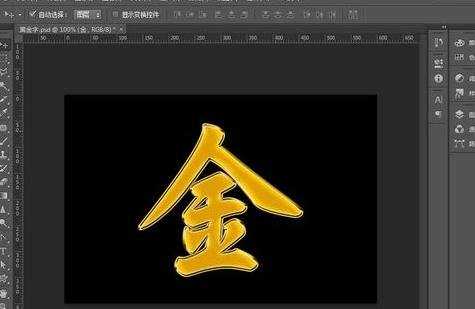
到这里我们的制作就完成了,是不是很简单呢,也就是描边、浮雕、内发光而已。
photoshop黄金字制作教程的评论条评论