
photoshop怎样制作磨砂效果
发布时间:2017-06-02 12:22
磨砂效果其实挺好看的,所以许多图片都会用photoshop制作一下。其实这个也不算太难,下面就让小编告诉你photoshop怎样制作磨砂效果的方法,一起学习吧。
photoshop制作磨砂效果的方法
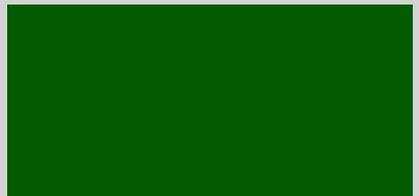
1、新建一个文档,大小自定,填充草绿色。
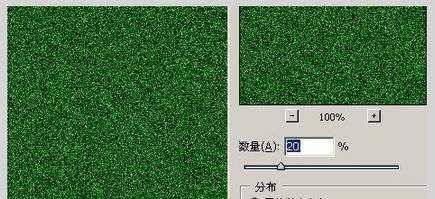
2、执行滤镜—杂色—添加杂色,数量20%,高斯分布,单色。如下:
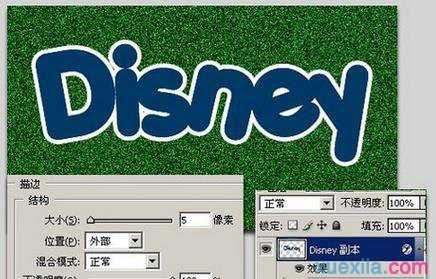
3、选择文字工具,输入文字,颜色自选,调整好文字的间距和大小,删格化文字层,复制一层。

4、给在上面的文字设置图层样式:描边,颜色用白色。
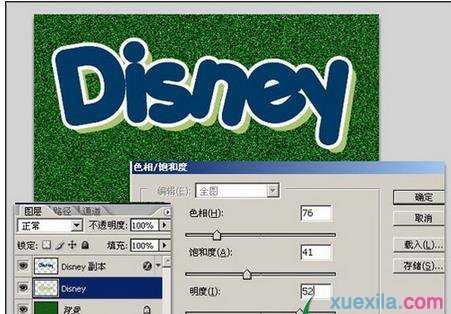
5、选择在下面的文字层,Ctrl+下、右箭头各8次,将下面的文字移动出少许来,并Ctrl+U调整这层的色相/饱和度,勾选‘着色’。
6、合并文字到一层,执行编辑—描边,设置如下:

最后对文字层也添加杂色,同前面一样,完成最终效果!

photoshop怎样制作磨砂效果的评论条评论