
如何用photoshop处理眼部
发布时间:2017-05-27 15:40
俗话说眼睛是人类心灵的窗户,我们可以用photoshop处理眼部。那么大家知道如何用photoshop处理眼部吗?下面是小编整理的如何用photoshop处理眼部的方法,希望能帮到大家!
用photoshop处理眼部的方法
眼睛变大是人物图片美化中经常用到的。方法有很多,下面介绍一种最基础的方法。
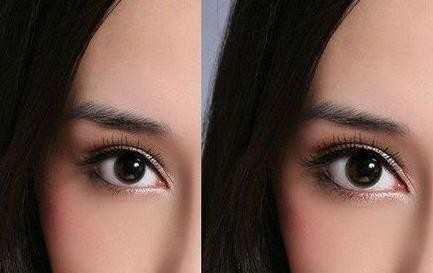
最终效果图如下:
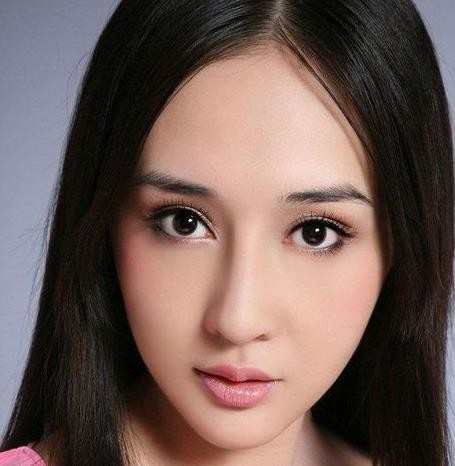
1、我们打开图片,选中椭圆选框工具,选中脸部分。执行选择-修改-羽化-5px(Shift+F6)。
2、Ctrl+J复制出眼睛部分。
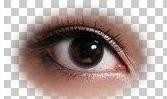
3、得到眼睛图层,因为是羽化的所以边缘融合效果好点。
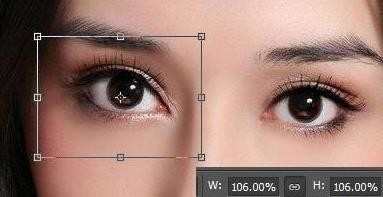
4、我们按着 ctrl+T 编辑- 自由变换。勾选锁链按钮,放大合适的大小(这里106%},其实已经变大很多了。因为从中心向外变大 我们一般不需要调整位置,直接按Enter确定。
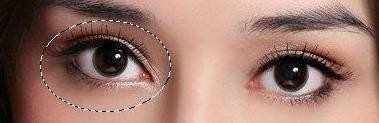
5、因为我们加上了羽化效果,所以基本没有什么破绽的地方,只是眼睛变大后,稍微覆盖到了眉毛,这里我们按着 ctrl+点击调出选区查看。
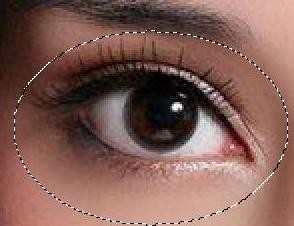
6、不难发现,我们要是在放大点眼睛,就会覆盖一半的眉毛,也会覆盖鼻子左侧这边的阴影。我们加一个蒙版,刷出边缘,即可解决此类问题了。
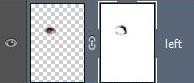
取消选区(ctrl+D)后,我们添加一个蒙版,用黑色画笔,不透明度30%左右来刷【复制眼睛图层】眼睛周围 。
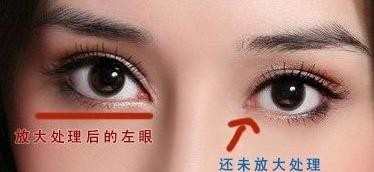
7、右眼处理好后的效果如下图:用同样的方法处理右边的左眼。
如何用photoshop处理眼部的评论条评论