
photoshop制作环保海报的过程
发布时间:2016-12-30 15:18
相关话题
效果图合成的非常不错,作者用虚实结合的方法来表现主题。创作的时候先构思好想要的画面,然后搜集相关素材(没有的素材可以想办法自己拍摄),然后按自己思路溶图,润色即可。。下面是小编为大家整理的photoshop制作环保海报的过程,仅供大家参考~
photoshop制作环保海报的过程如下:
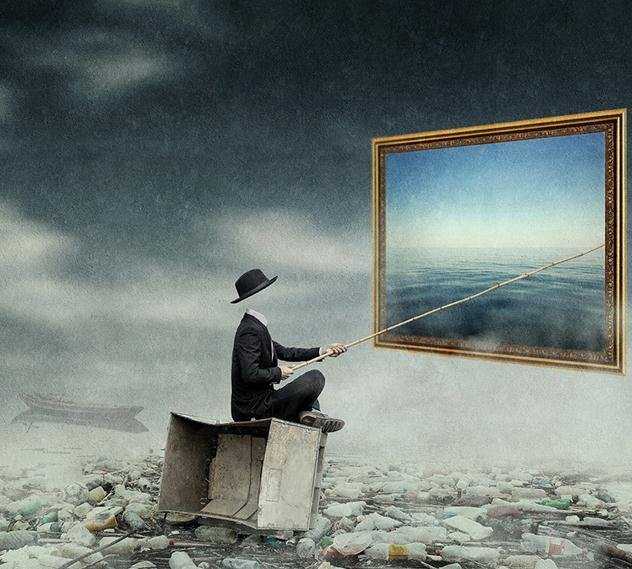
最终效果
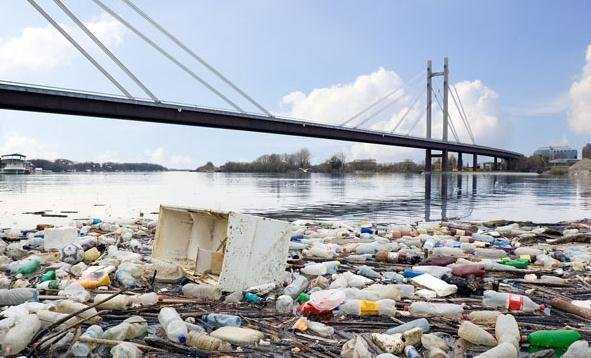
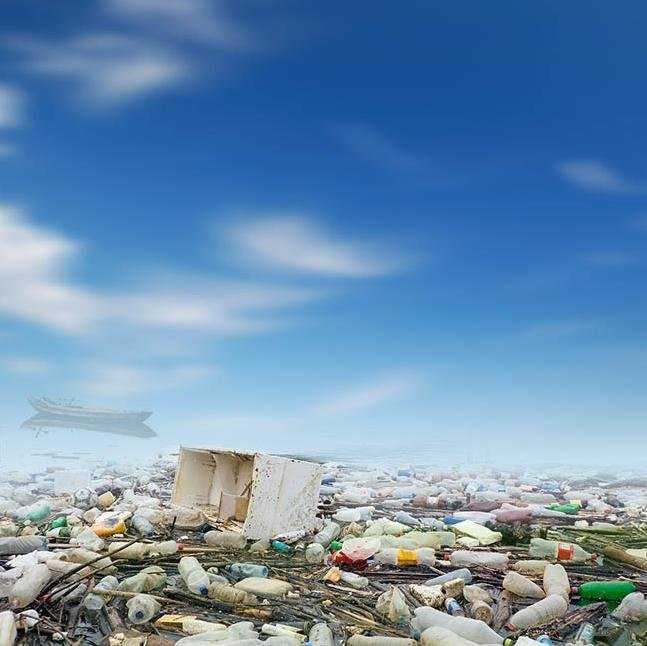
1、拖入原素材,素材大家可以在网络上寻找,调整画布大小,个人偏爱方形构图。

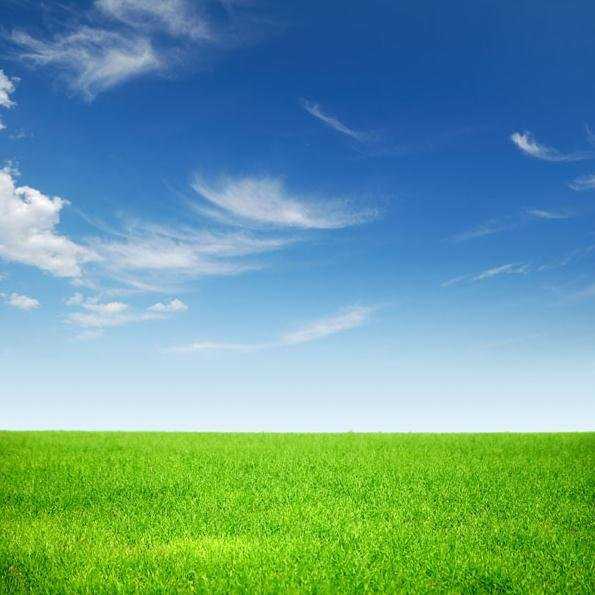
2、拖入天空素材,添加图层蒙版,拉渐变,将天空高斯模糊,简单调色融合,模糊让画面虚实有度。这里没有提供参数,个人觉得,提供数值意义不大,每个人对颜色的理解把握都不一样。我提供的是后期思路。
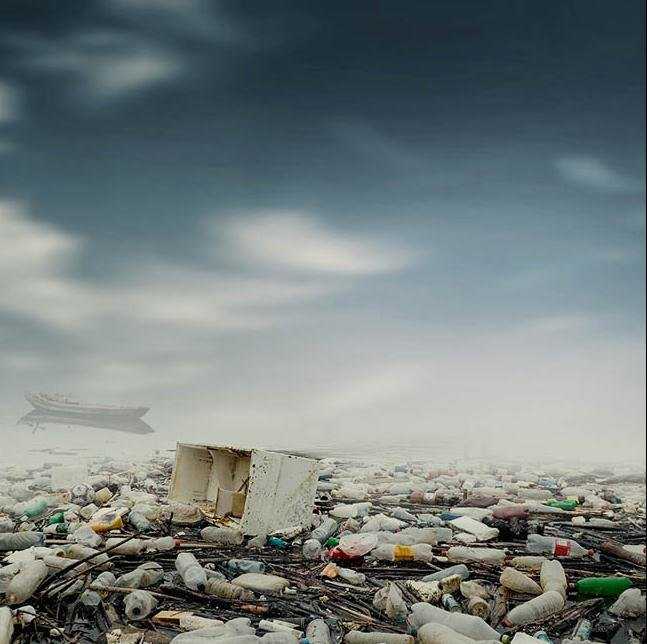
3、添加船只,降低船的不透明度;添加船的目的是交代场景,同时也推进画面的纵深感。

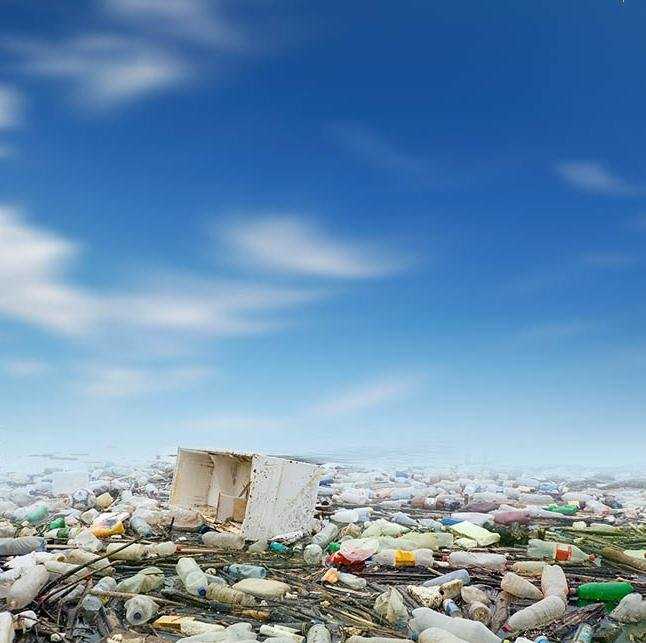
4、色调调整,因人而异,为了呼应主题,降低了饱和度,加强了对比度,这也只是大的基调,随着每一个素材的进入,都需要去调整,让素材更好的融合进去。
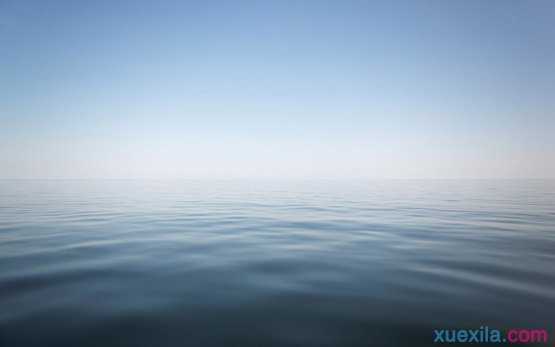
5、添加相框,之前已经将水面素材融合在相框里,这里主要调整相框的透视方向、大小,基调。


6、添加人物,人物素材是自己摆拍的,这里没有提供人物的原素材,原素材已删,利用钢笔工具将人物抠出来,调整大小,色调。同时去除人脸,增加画面神秘感。
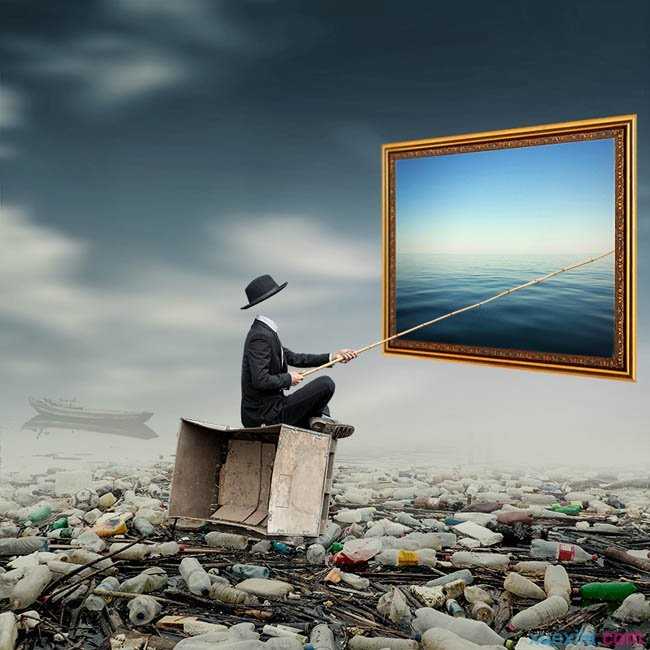
7、添加烟雾,调整烟雾不透明度,降低瓶子对比度,重点是突出人物,丰富画面层次;烟雾笔刷网上很多,大家可以根据自己的需要下载使用。

8、添加背景肌理,整体润色调整,锐化。

最终效果:
photoshop制作环保海报的过程的评论条评论