
word2013如何制作传真表头
发布时间:2017-03-11 14:25
相关话题
在使用word2013中,如果单位经常需要向其他地方发送传真的话,建议制作好一份传真表头,这样每次用起来都比较方便。下面就跟小编一起看看吧。
word2013制作传真表头的步骤
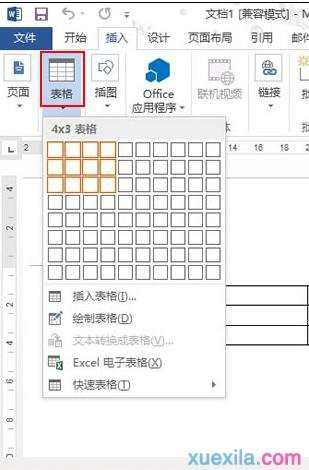
步骤一:启动Word2013,首先点击插入--表格,绘制一个4×3的表格。
步骤二:插入表格之后,在表格当中输入文字,调整边框距离。

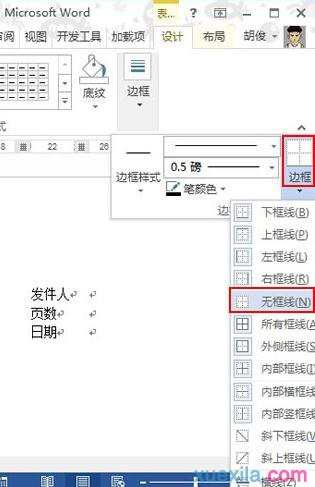
步骤三:选中表格,在设计选项卡下边框选项中,单击无框线。
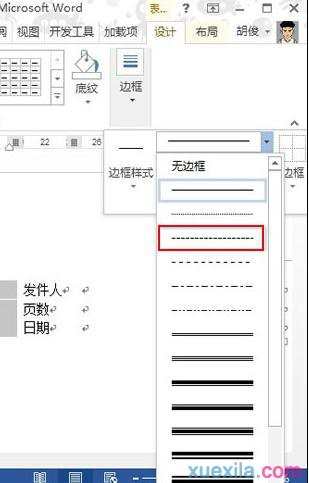
步骤四:选中左侧的第2列,添加虚线,如图所示。
步骤五:然后继续在边框中,单击内部边框,左侧虚线完成。
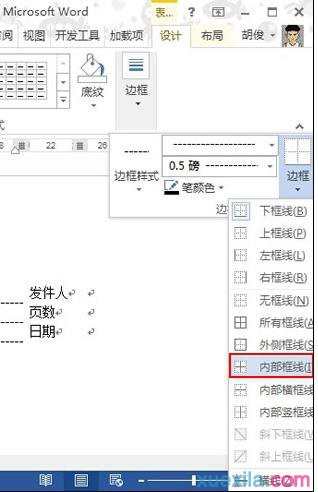
步骤六:同样的方法,给左侧的也添加内部横线。这样,两边的虚线都添加完毕。

步骤七:最后的效果图,大家看看,在虚线上输入相关信息,就可以使用了。

word2013传真表头的相关文章:
1.在word2013中如何制作传真表头
2.怎么在word中制作传真表头
3.WPS文字怎么制作传真表头
4.WPS文字也能制作传真表头
word2013如何制作传真表头的评论条评论