
photoshop合成梦想励志图片的过程
发布时间:2016-12-30 15:35
相关话题
这是篇挺有视觉效果的创意教程,效果是将字体放入草丛中形成立体效果,效果挺不错制作方法也非常简单的。下面是小编为大家整理的photoshop合成梦想励志图片的过程,仅供大家参考~
photoshop合成梦想励志图片的过程如下:
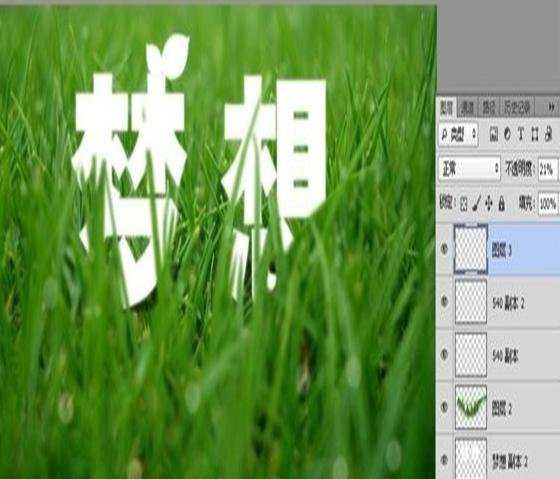
字效:

素材:
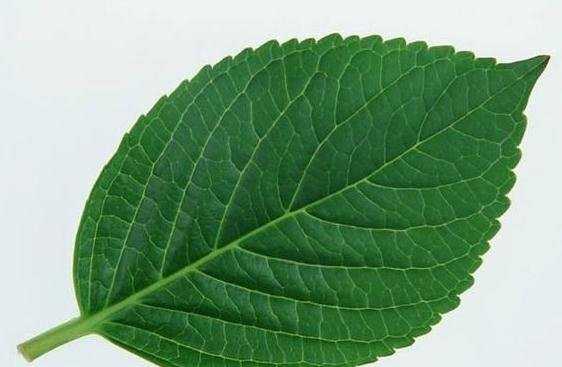
树叶素材
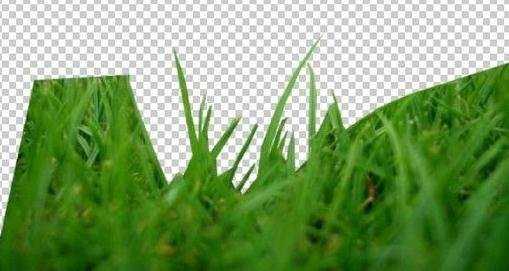
草丛素材

教程开始:
1、按Ctrl+O打开草丛素材,素材图中是有水印的,一定要注意不管在处理什么图片时都要把图中的水印去掉。

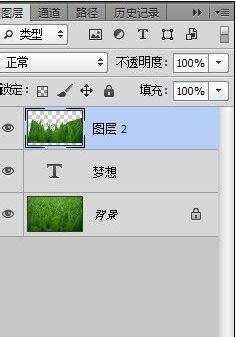
2、抠出草丛下半模糊部分和几颗小草,转换成选区后,按Ctrl+J复制成新图层,如下效果。
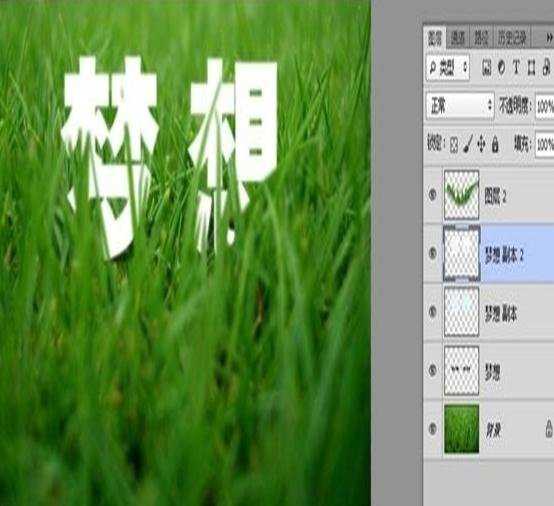
3、用文字工具打上想要的字体,字体选择粗一些的,大小自己定,把这个字体图层放在抠出的草丛图层下面。
4、鼠标右键文字图层-栅格化图层,再按Ctrl+J两次。

5、将两个副本图层隐藏起来,把原文字图层填充黑色,按CtrL+T变形工具压扁字体,再模糊2像素,图层不透明度改为:30%。
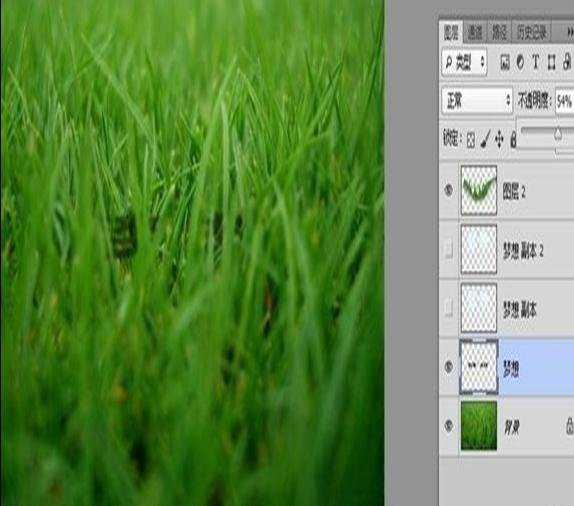
显示‘副本’层,模糊2像素,这样是想做出朦胧感觉。
再显示‘副本1’层,效果如下。
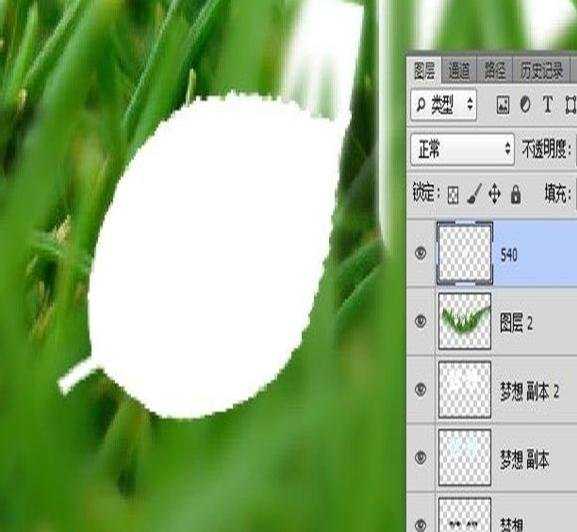
6、打开‘树叶素材’抠出树叶。

7、把区出来的树叶填充白色
8、把白色树叶移到文字适合的位置,调整好大小和位置。
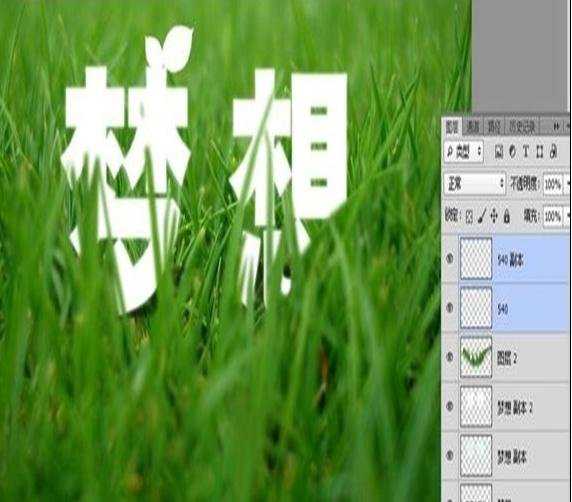
9、复制一层树叶,把下面那层树叶模糊2像素。
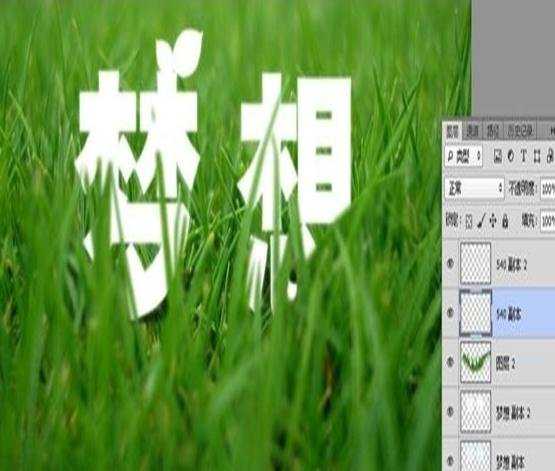
10、用白色硬度圆形画笔,在图片上随意点几笔,然后高斯模糊一下,也取2像素,图层不透明度改为:20%左右。这样是添加了光斑效果。
11、再加上一些其它的文字元素,这样显的不单调。

当然还可以调下色。

结束语:制作的方法比较简单,重点在于很有创意,我们在设计时要开阔思维,用简单的技巧也能做出很棒的作品。
photoshop合成梦想励志图片的过程的评论条评论