
photoshop怎样处理模糊照片
发布时间:2017-04-17 10:42
相关话题
有的时候可能是器材的原因也可能是拍摄的原因,我们发现很多图片或者说照片都有点模糊,那么大家知道photoshop怎样处理模糊照片吗?下面是小编整理的photoshop怎样处理模糊照片的方法,希望能帮到大家!
photoshop处理模糊照片的方法
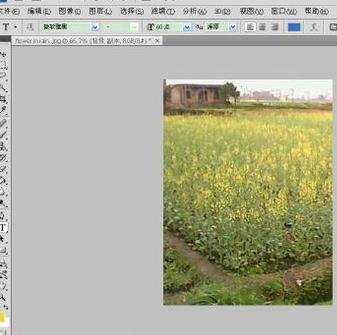
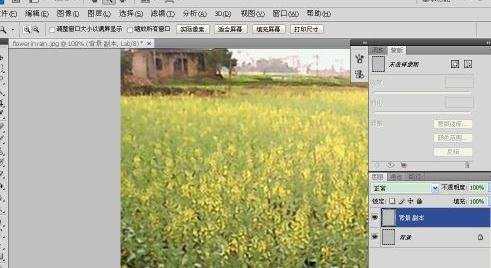
1.首先讲述的是大家常常使用的2次锐化法,这种方法是让图像变清晰的。第一步打开图像,把背景图层再复制一层。(一般不直接在背景层上操作,这是习惯问题)
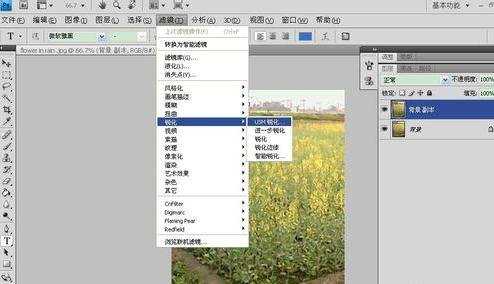
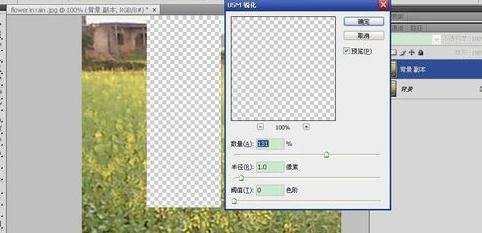
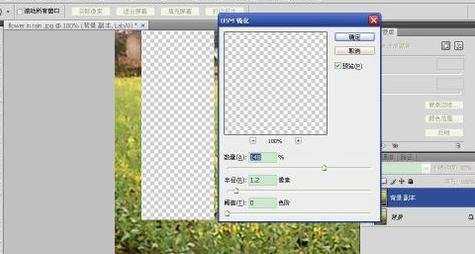
2.然后点击背景层副本执行滤镜里面的锐化滤镜操作。网上对USM锐化有一些推荐参数:第一次锐化的数量设为140%左右,半径为1个像素,阈值为0色阶。但是这个还是得看图片的具体情况和个人尝试之后的经验。
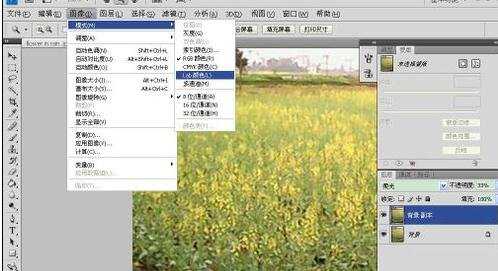
3.然后选择图像。在模式里面把RGB颜色模式转到Lab颜色模式,这时会弹出一个是否拼合对话框,确定即可。
4.然后再将背景在次复制一次,并且对背景图层副本在进行一次锐化操作网上对USM锐化第二次锐化的数量设为150%左右,半径为1.2个像素,阈值为0色阶。自己可以浮动数值看效果。
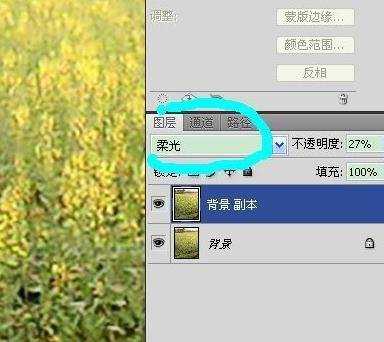
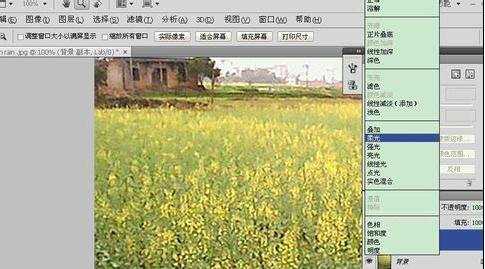
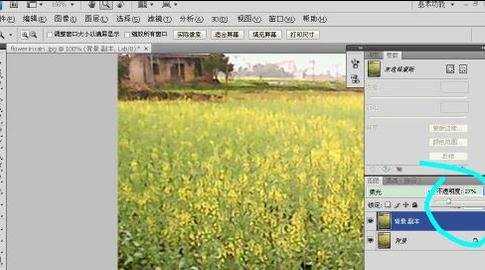
5.然后点击背景图层副本。然后选择一下两图层的叠加方式:为柔光。并设置该图层的不透明度,大概在三分之一位置左右。选择合适的效果确定。保存图像即可。但是对于像素过低的图像效果不是十分理想
photoshop怎样处理模糊照片的评论条评论