
photoshop怎么恶搞换脸图片
发布时间:2017-06-01 14:27
如果在photoshop中想要做一些恶搞的换脸必须要选取再处理,很多刚学习的新手小伙伴可能还不知道,下面是小编带来关于photoshop怎么恶搞换脸图片的内容,希望可以让大家有所收获!
photoshop恶搞换脸图片的方法
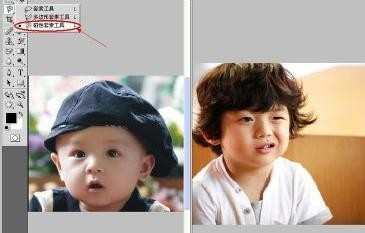
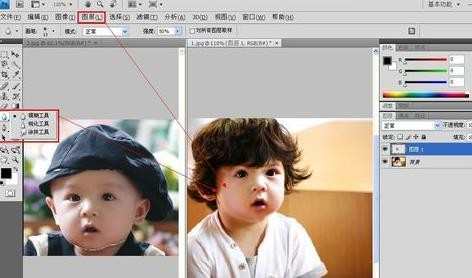
先打开要换脸的两张图,再点击【磁性套索工具】
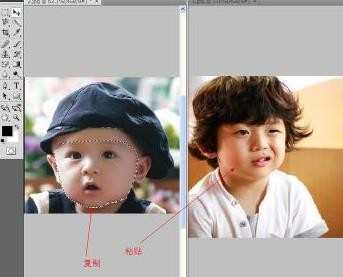
选中完脸后,复制到另一张。
【水平翻转】再Ctrl+T再改变脸部大小。
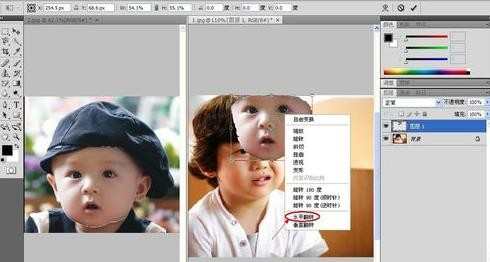
随便点击左边工具,选择【应用变换】
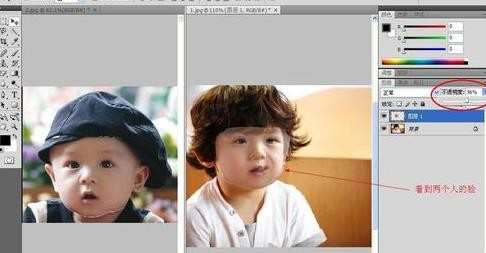
然后选择图中右边的不透明度,直到可以看到两张脸即可,对准。
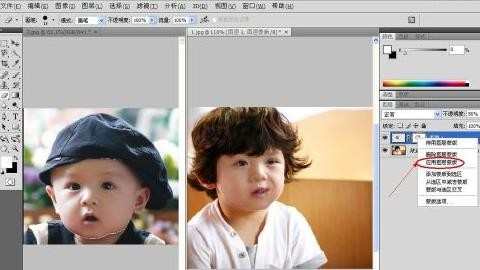
选择【蒙版】位置如图。
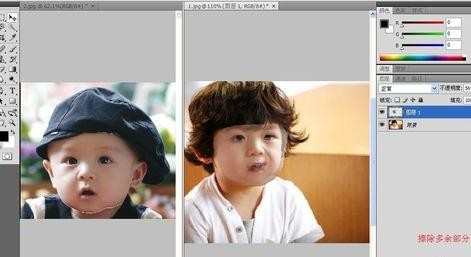
擦除多余部分,再点击【应用图层蒙版】
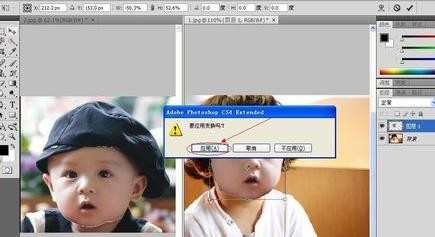
然后将不透明度恢复到100%
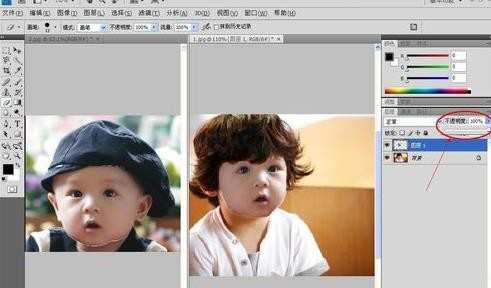
然后用【模糊工具】以及图层里的设置,使其变得更像。
然后图片就完成了,换脸成功!!!

photoshop怎么恶搞换脸图片的评论条评论