
ps冰霜文字特效制作教程
相关话题
冰冻字最快的制作方法就是直接使用冰雪纹理素材,直接贴到文字里面,用画笔刻画好边缘,再在上面增加一点冰雪及冰凌等装饰即可。下面是小编为大家整理的ps冰霜文字特效制作教程,仅供大家参考~
ps冰霜文字特效制作教程如下:
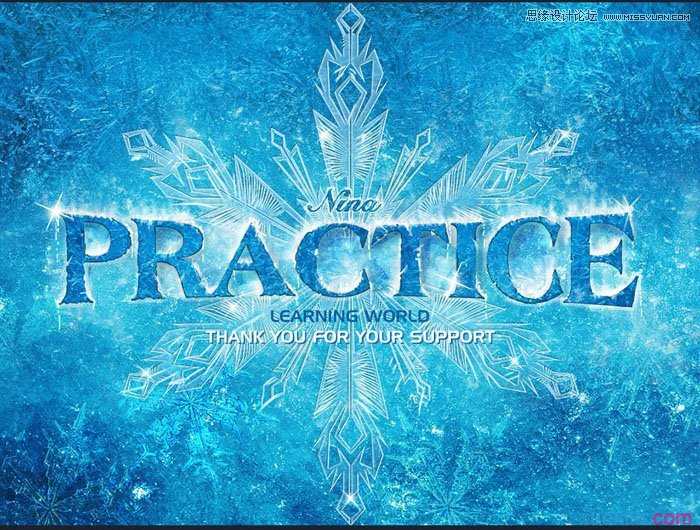
最终效果
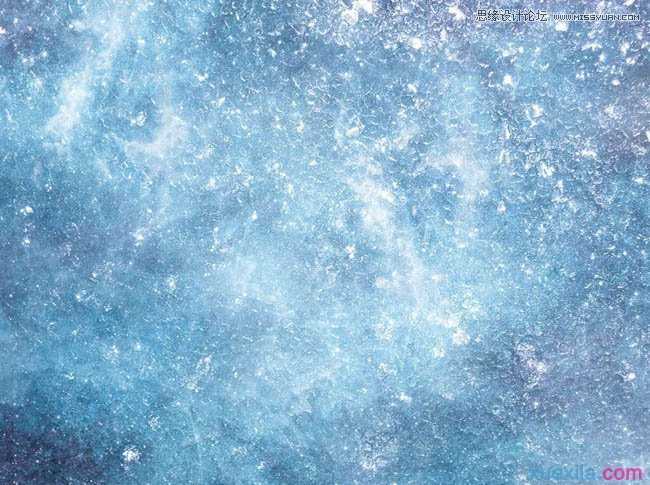
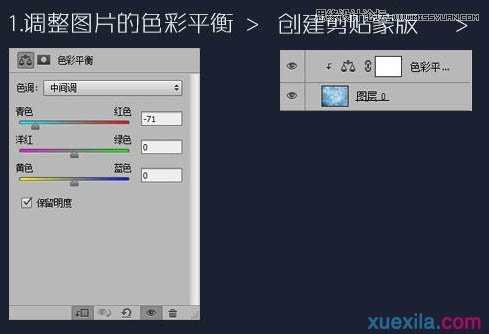
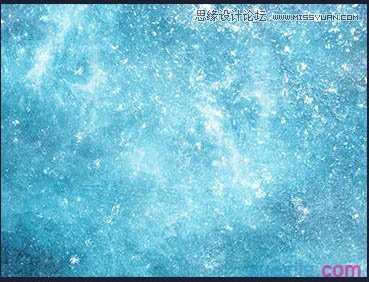
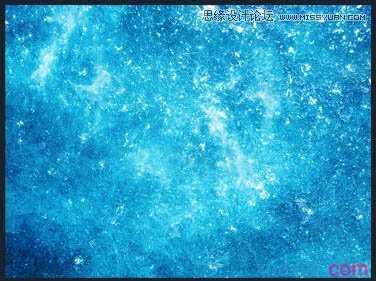
1、打开背景素材,创建色彩平衡调整图层,对中间调进行调整,如下图。
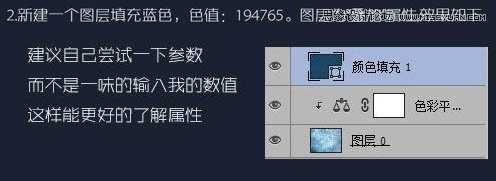
2、新建一个图层填充蓝色:#194765,图层混合模式改为“叠加”,效果如下。
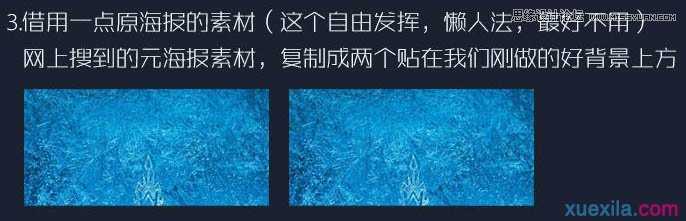
3、借用一点原海报的素材,可以自由发挥。
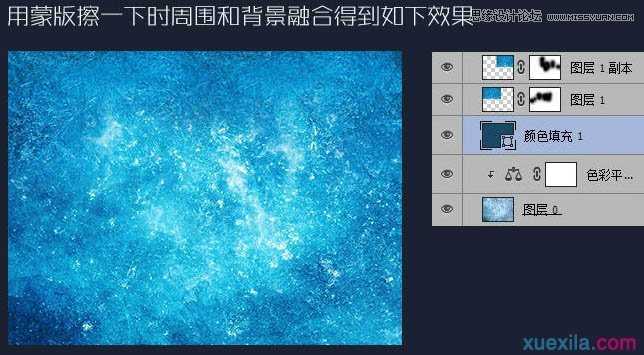
用蒙版擦一下四周和背景融合,如下图。
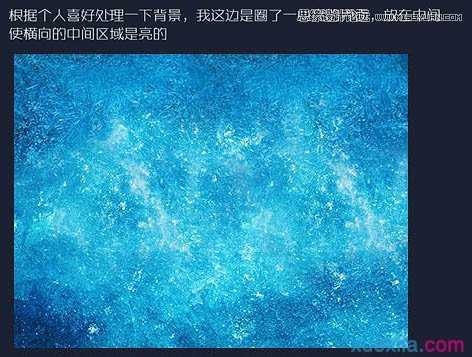
根据个人喜好处理一下背景,我这边是圈了一些亮的界面,放在中间,使横向的中间区域是亮的。
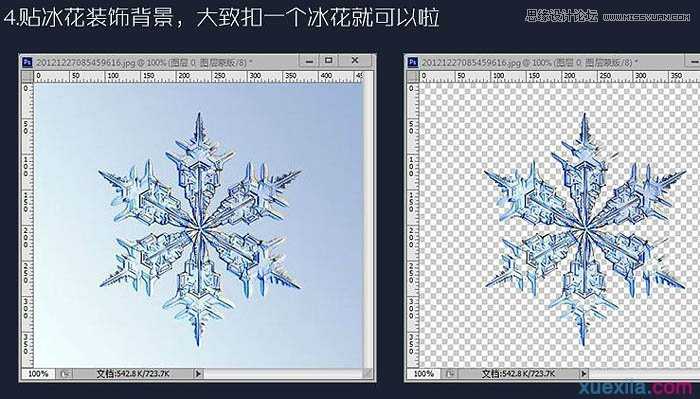
4、贴冰花装饰背景,打造抠一个冰花就可以了。

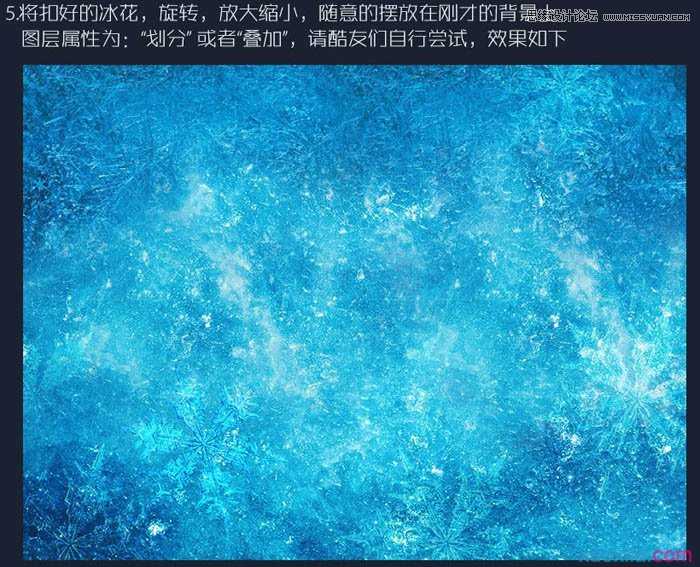
5、将抠好的冰花旋转,放大缩小,随意的摆放在刚才的背景上,图层模式为“划分”或“叠加”,效果如下图。
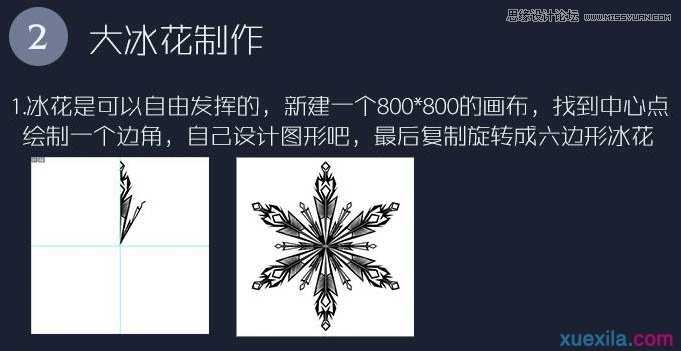
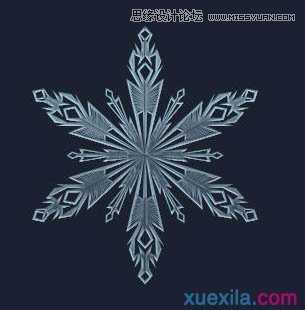
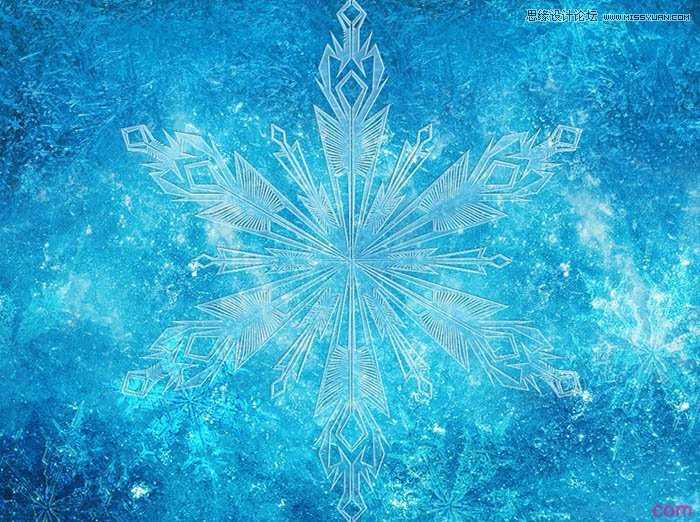
6、大冰花制作:冰花是可以自由发挥的,新建一个800 * 800的画布,找到中心点绘制一个边角,自己设置图形吧,最后复制旋转成六边形冰花。
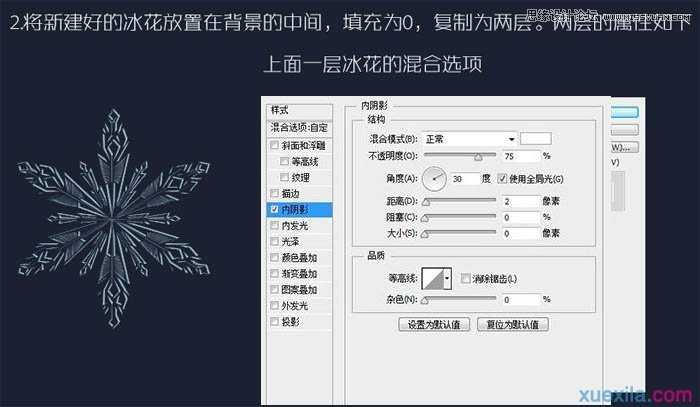
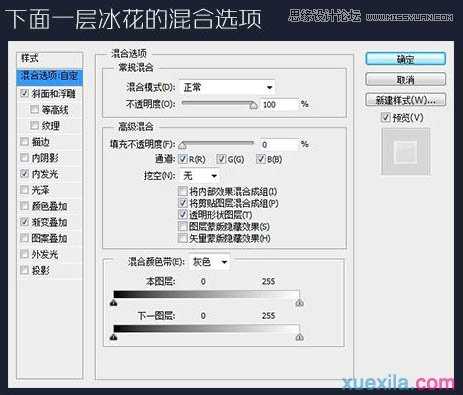
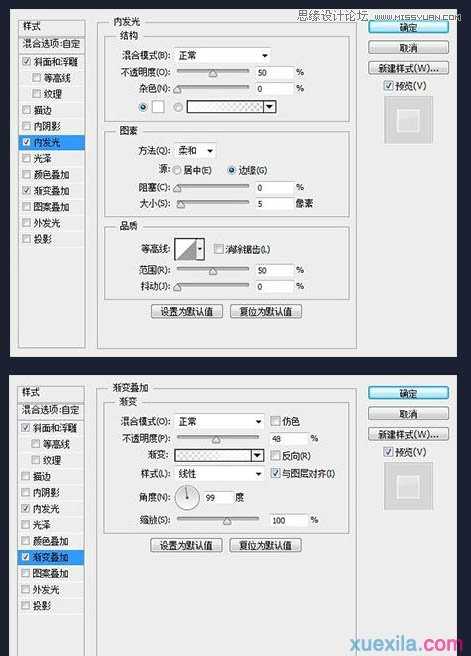
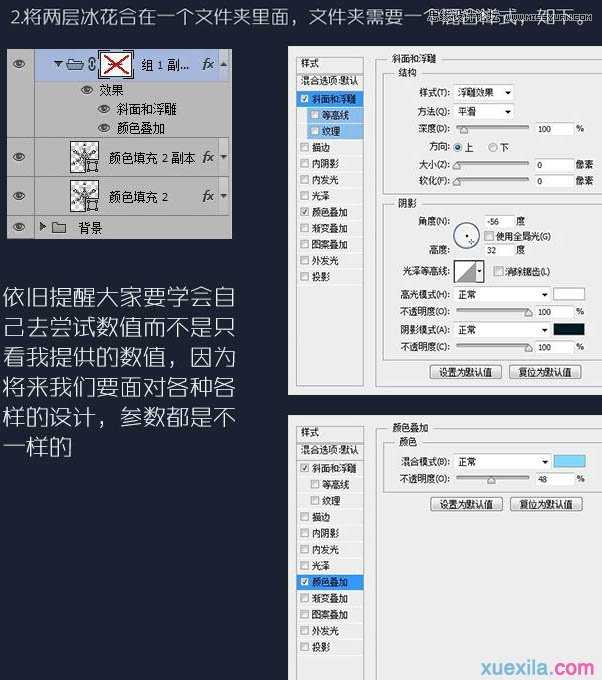
7、将新建好的冰花放置在背景的中间,填充为:0%,复制为两层。两层的属性如下,上面一层冰花的混合选项如下。
8、将两层冰花合在一个文件夹里面,文件夹需要一个混合样式如下。
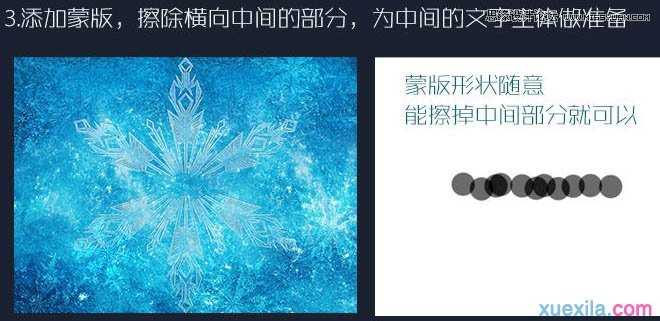
9、添加蒙版,擦除横向中间的部分,为中间的文字主体做准备。
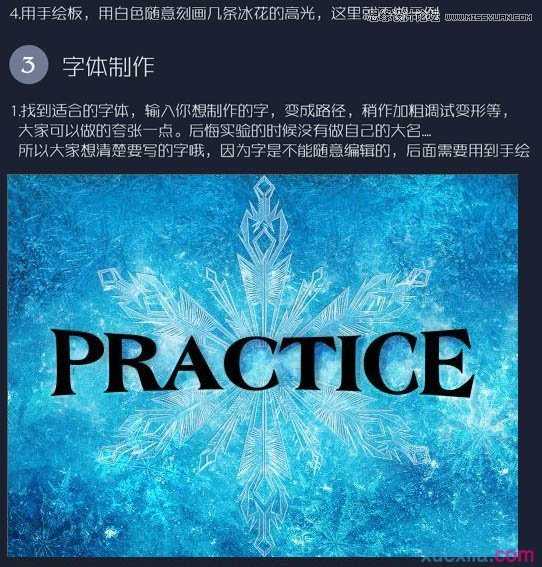
10、找到合适的字体,输入你想制造的字,变成路径,稍作加粗调试变形等,大家可以做得夸张一点。
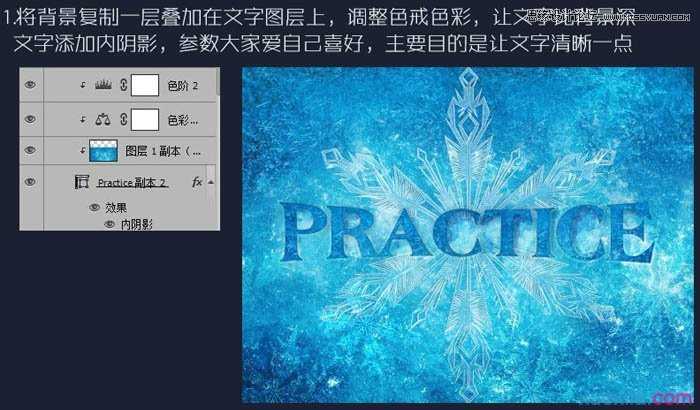
11、将背景复制一层,叠加到文字图层上,调整色阶色彩,让文字比背景深。文字添加内阴影。
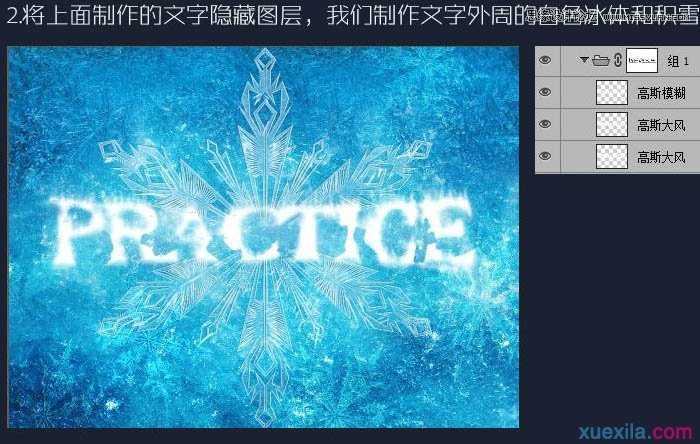
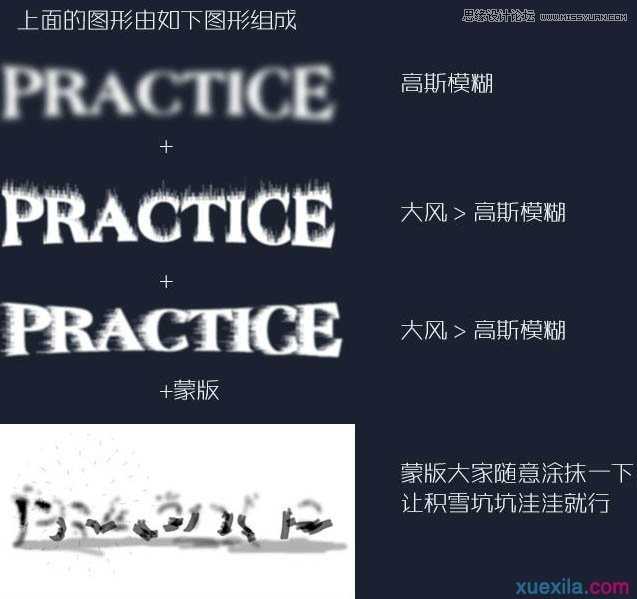
12、将上面制造的文字隐藏,我们制造文字外围的白色冰体和积雪。
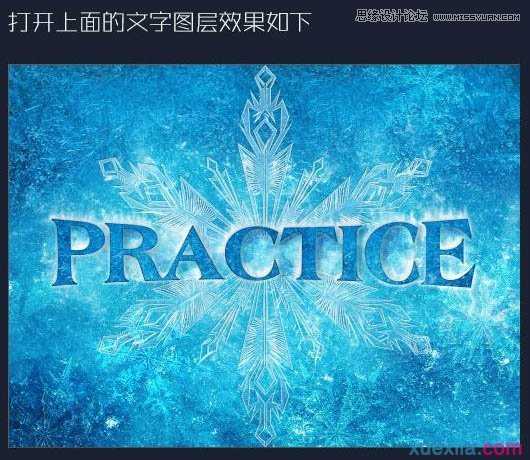
13、打开上面的文字图层效果如下。
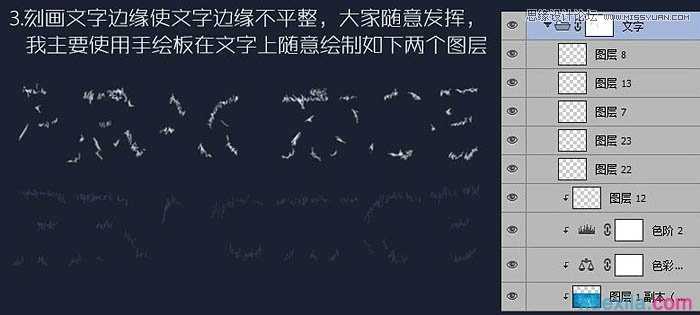
14、刻画文字边缘,使文字边缘不平整,大家随意发挥。
15、效果还不够明显,我在文字图层的文件夹上又加了一个图层蒙版。

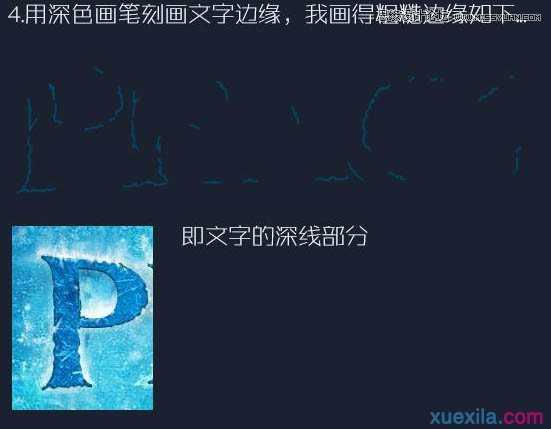
16、用深色画笔刻画文字边缘,我画得粗糙边缘如下。
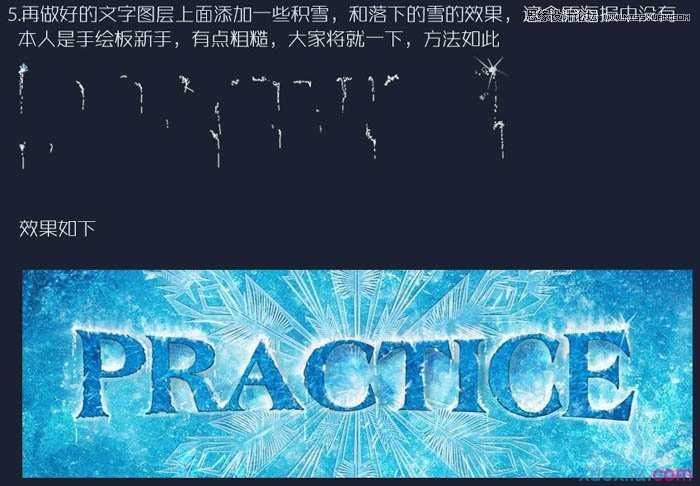
17、在做好的文字图层上面添加一些积雪,和落下的雪的效果。
18、制作星星点缀画面,这个不需要详细介绍了。

19、添加副标题点缀画面。
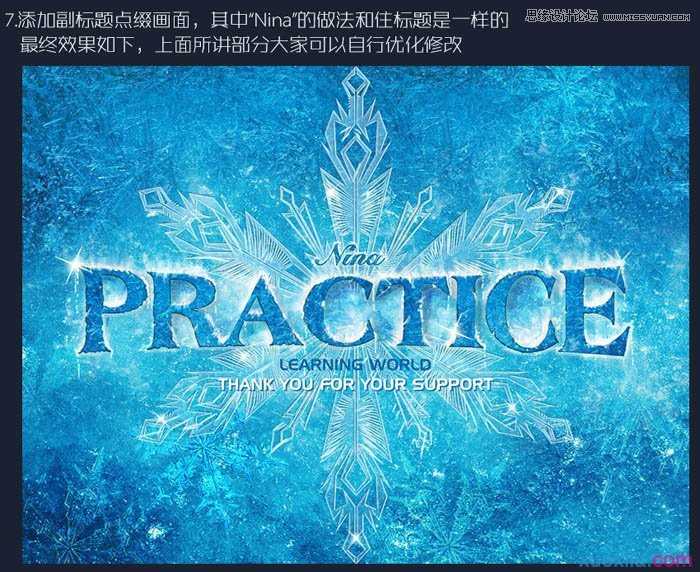
最终效果:
ps冰霜文字特效制作教程的评论条评论