
photoshop钢笔怎样创建选区
发布时间:2017-05-28 14:54
相关话题
选区是大家在photoshop中处理图片经常用到的,可以用很多命令工具创建。很多刚学习的新手小伙伴可能还不知道,下面是小编带来关于photoshop钢笔怎样创建选区的内容,希望可以让大家有所收获!
photoshop钢笔创建选区的方法
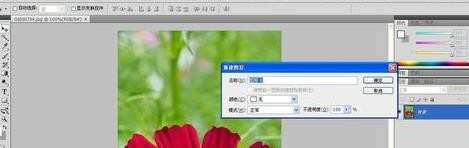
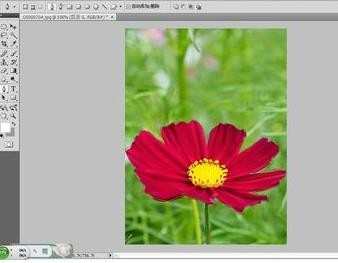
在ps中打开需要处理的图片,双击解锁图片图层
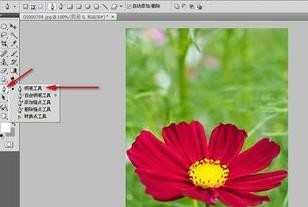
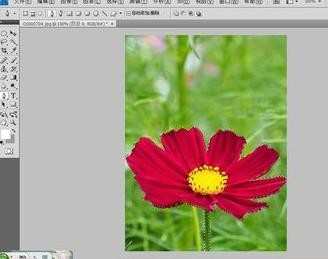
选择工具栏中的钢笔工具
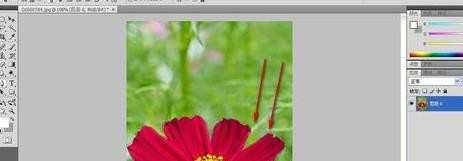
使用钢笔工具勾绘出图片中花朵的轮廓
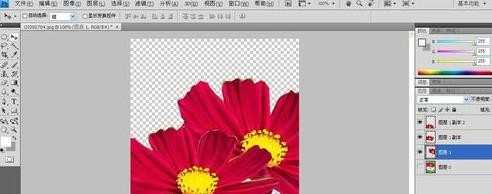
选择“路径”—“工作路径”
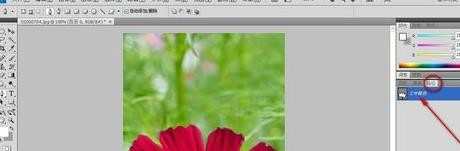
然后选择右下角正数第三个按钮“将路经载入为选区”,用钢笔工具勾绘的图像就变成了选区
图像就被抠选出来了,可以新建个图层,复制多个花朵
photoshop钢笔怎样创建选区的评论条评论